Main Work Flow -
Exposing a Polymer Plate
This is where they plate is made. Read through this entire section to make sure you have everything ready before starting the process. (video overview at the bottom of the screen in the FAQ)
Prepare the Printing Frame
Closely inspect the parts of the contact printing frame for damage and dirt.

Clean both sides of the glass on the contact printing frame. Even the smallest speck of dust will show up in the image.
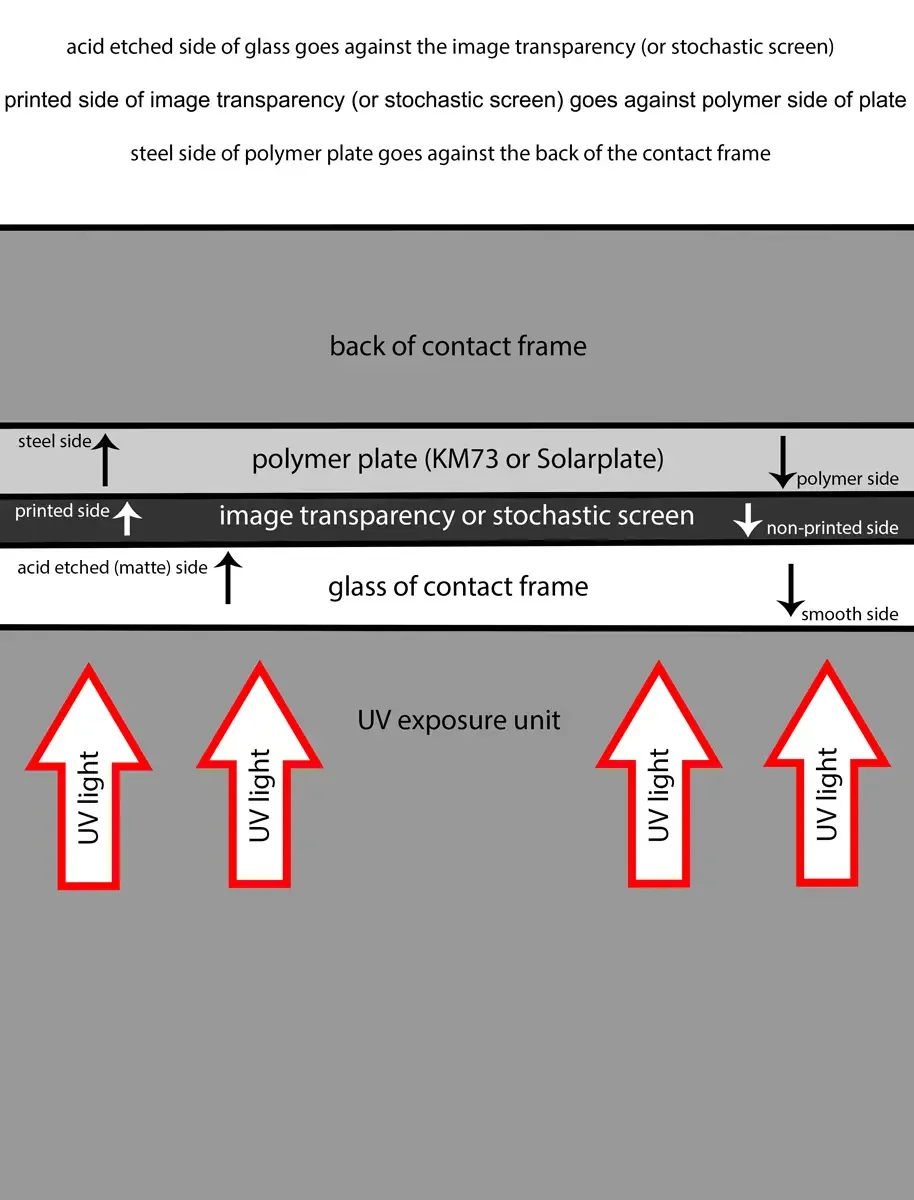
Remember that the smooth side of the glass will go towards the UV exosure unit, and the acid-etched side (matte) will face the transparency and KM73 plate.
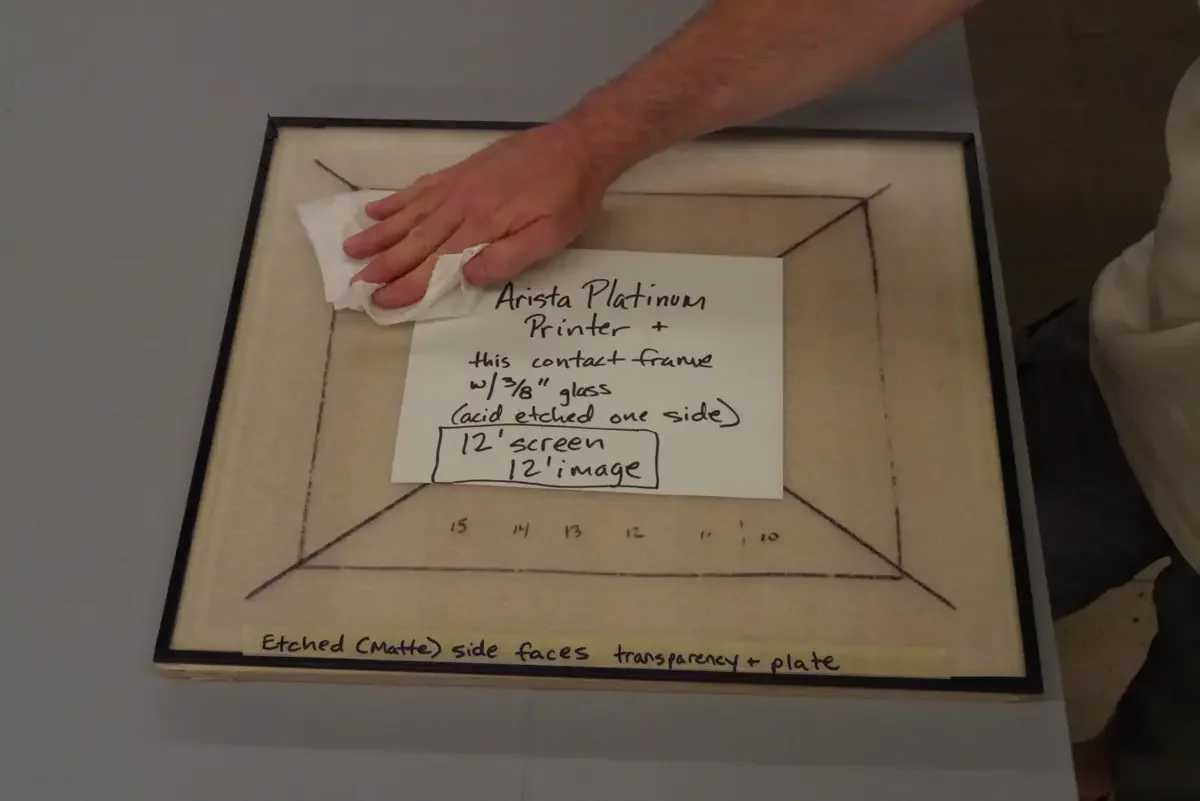
Clean the glass surface of the UV exposure unit.
Turn on the safe light. Simple low-wattage yellow, orange, or red incandescent bulbs can be used as safe lights for this process, but flourescent lights should not be used.
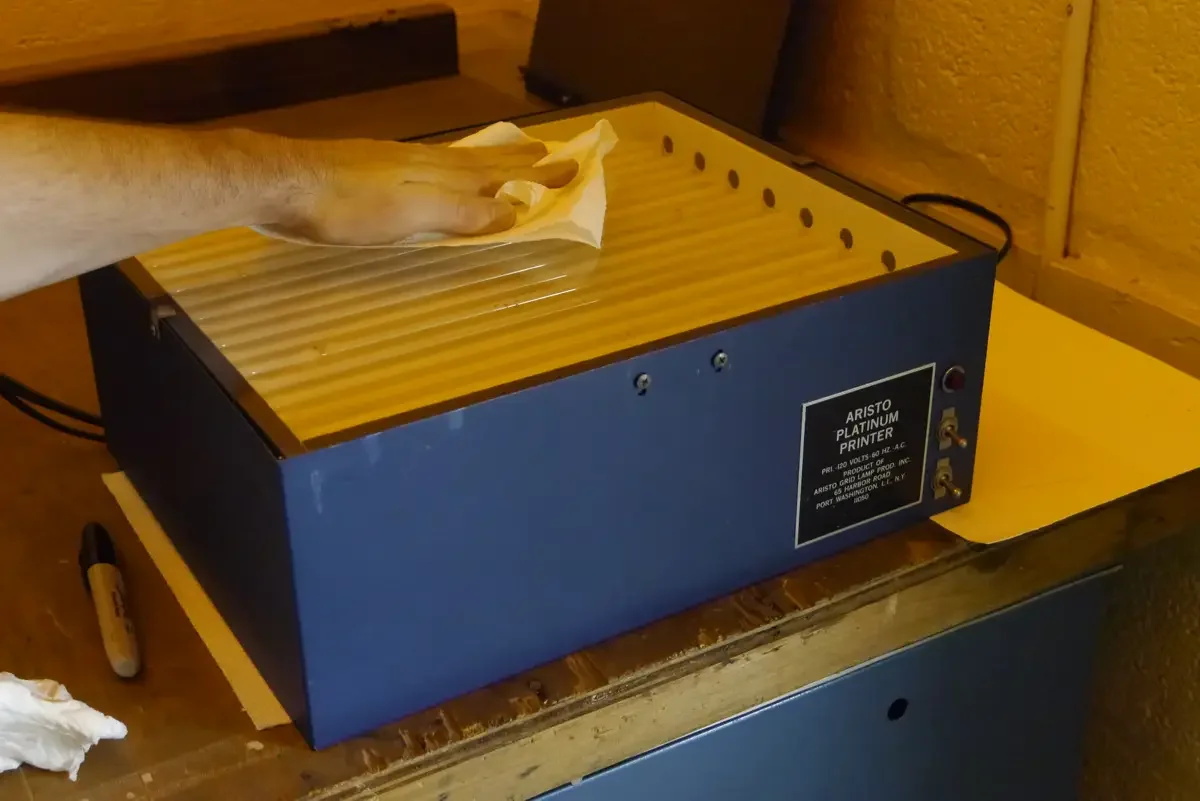
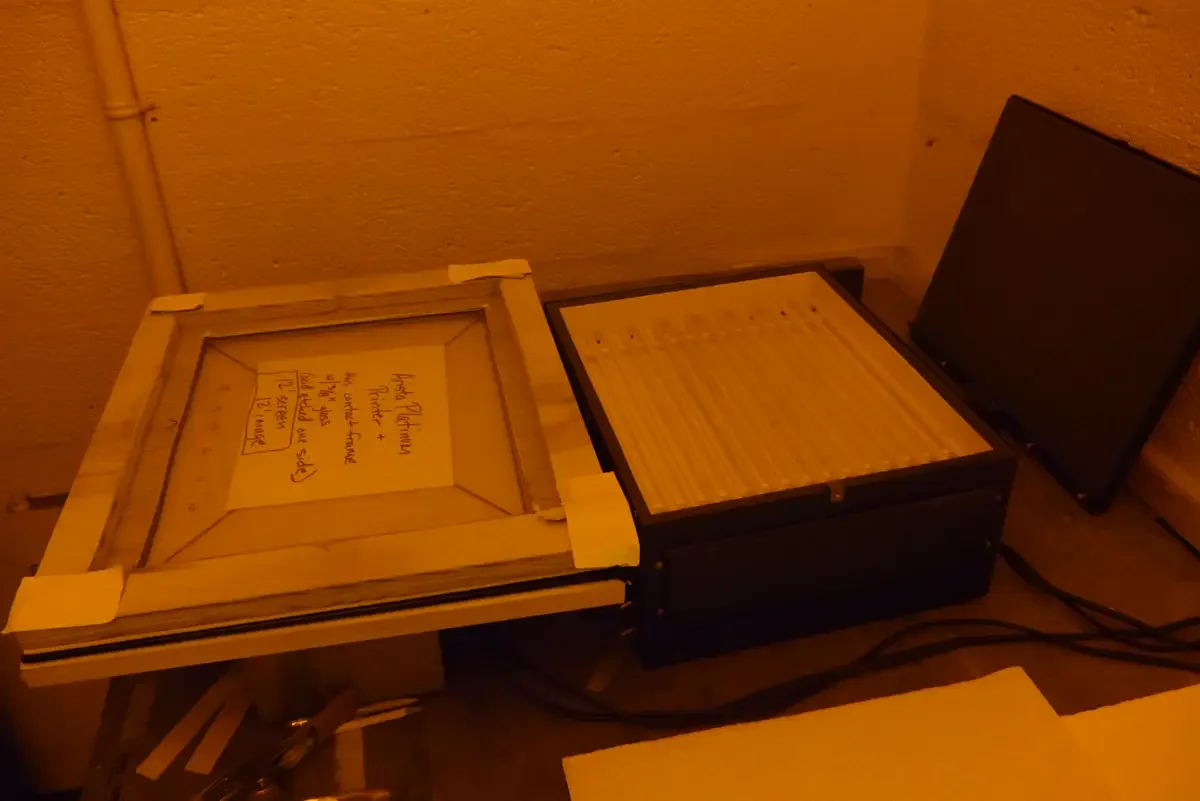
Set up the contact frame and UV exposure unit.
Many people do a warm up exposure, in which they turn the UV unit on for a minute. If you do this, be sure the light source is covered, and your eyes and skin are protected from UV radiation. I place a thick black bag over the UV unit, don UV filtering eye glasses, hit the time and leave the room while the unit is running.
Make the Base Exposure
a.k.a. “Aquatint” Exposure
Take a KM73 plate out of the light-safe bag, placing it face-up on the contact frame. Remove the protective UV film from teh polymer side of the plate.
The KM73 plates are steel-backed photo-polymer. The steel acts as the stiff substrate, while the greenish photopolymer is the UV sensitive side.
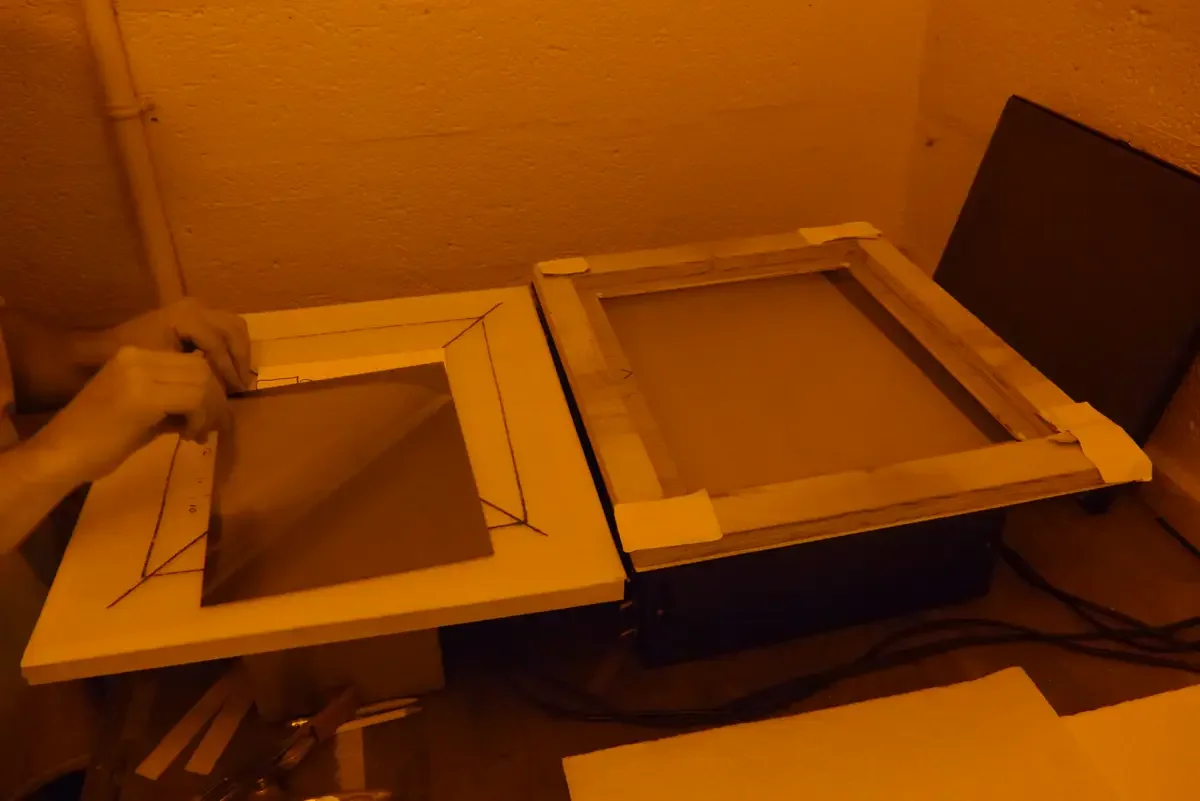
Center the plate on the contact frame, making sure that the steel side is against the contact frame back, and the polymer side will face the glass. (In this photo, the polymer side is facing up, and glass will go on top of it)
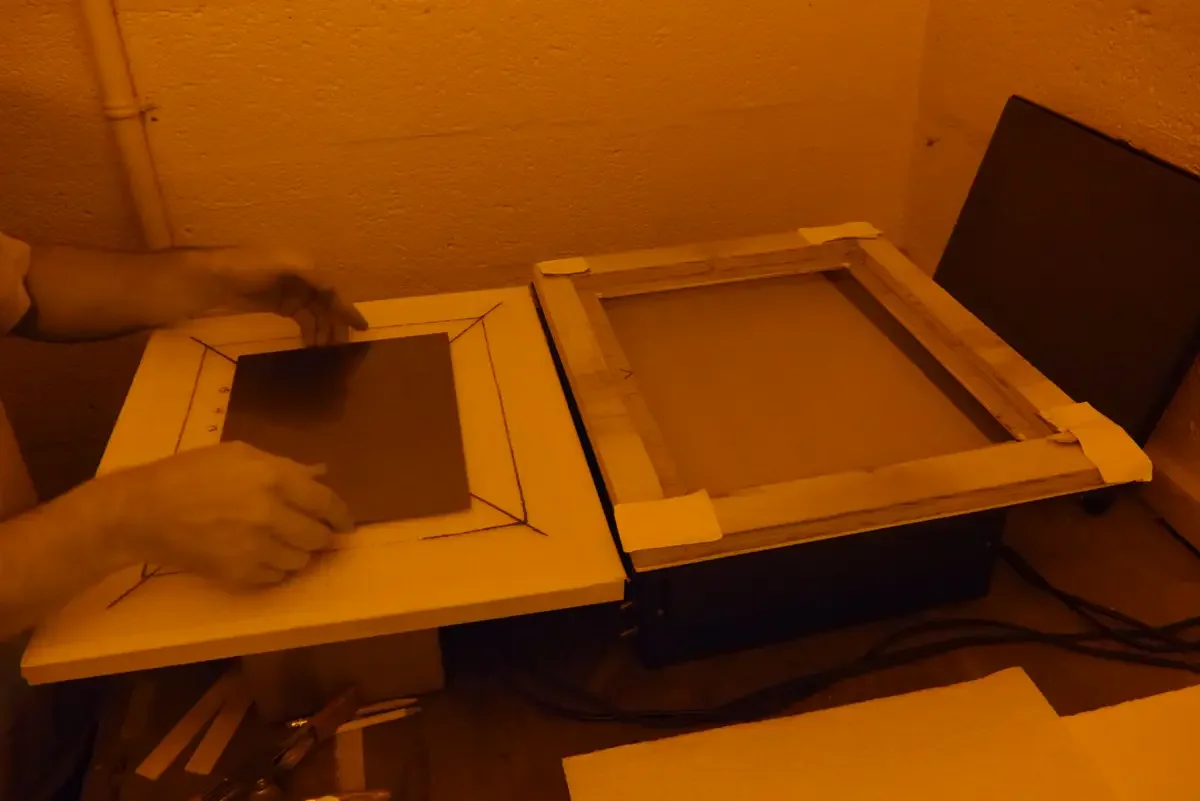
Place the stochastic-pattern screen (“aquatint” screen) on top of the polymer side of the plate. Make sure that the printed side of the stochastic screen faces the polymer.
Take a close look at the stochastic screen that you have. The printed side will have a matte finish, while the non-printed side will appear glossy. If the screen is not already marked, make your own notes on the screen that are easy to read in the darkroom.
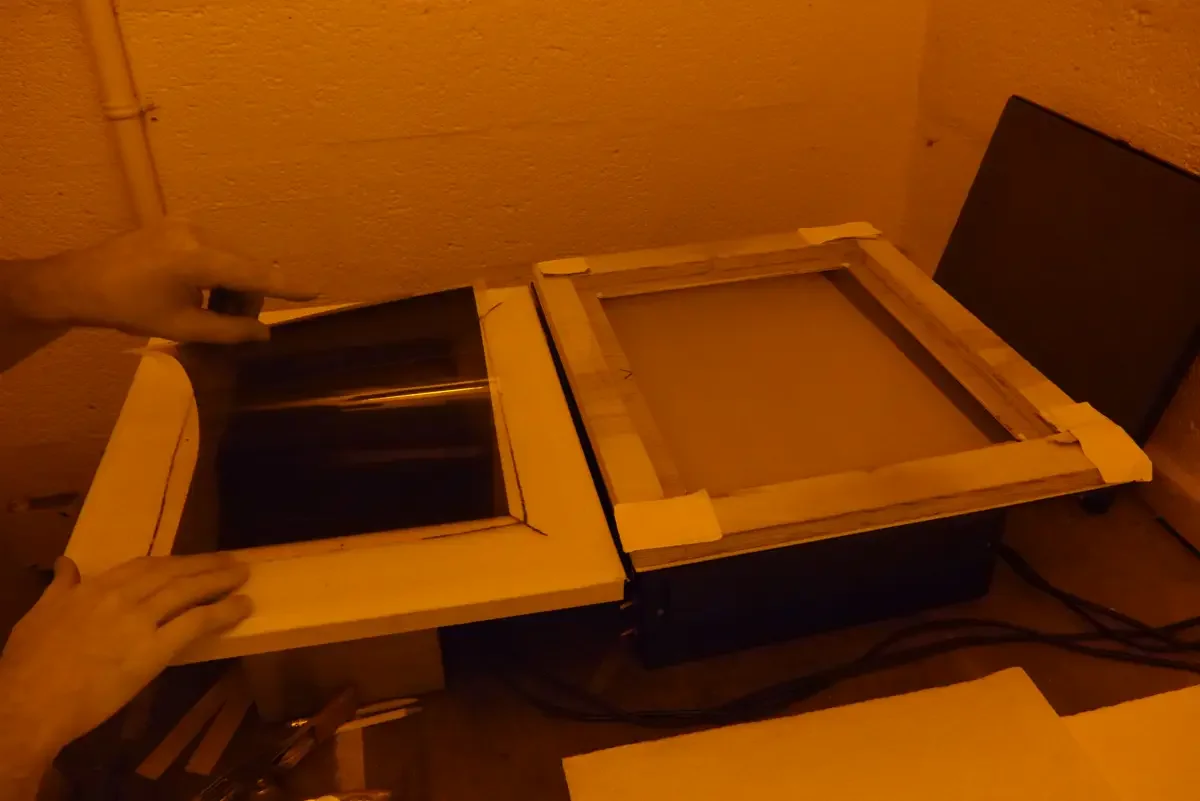
Place the glass and frame on top of the stochastic screen and KM73 plate. Make sure the matte side of the glass (acid etched side) faces the stochastic screen

Clamp the contact frame on all sides, creating even positive pressure that holds the stochastic screen tightly, and evenly, against the KM73 plate.
Everything, stacked together, should be in this order:
Contact frame base
KM73 plate (steel side faces contact frame and polymer side faces stochastic screen)
Stochastic screen - a.k.a. “aquatint” screen (matte printed side faces KM73 plate and glossy non-printed side faces glass)
Glass (smooth side faces UV unit)
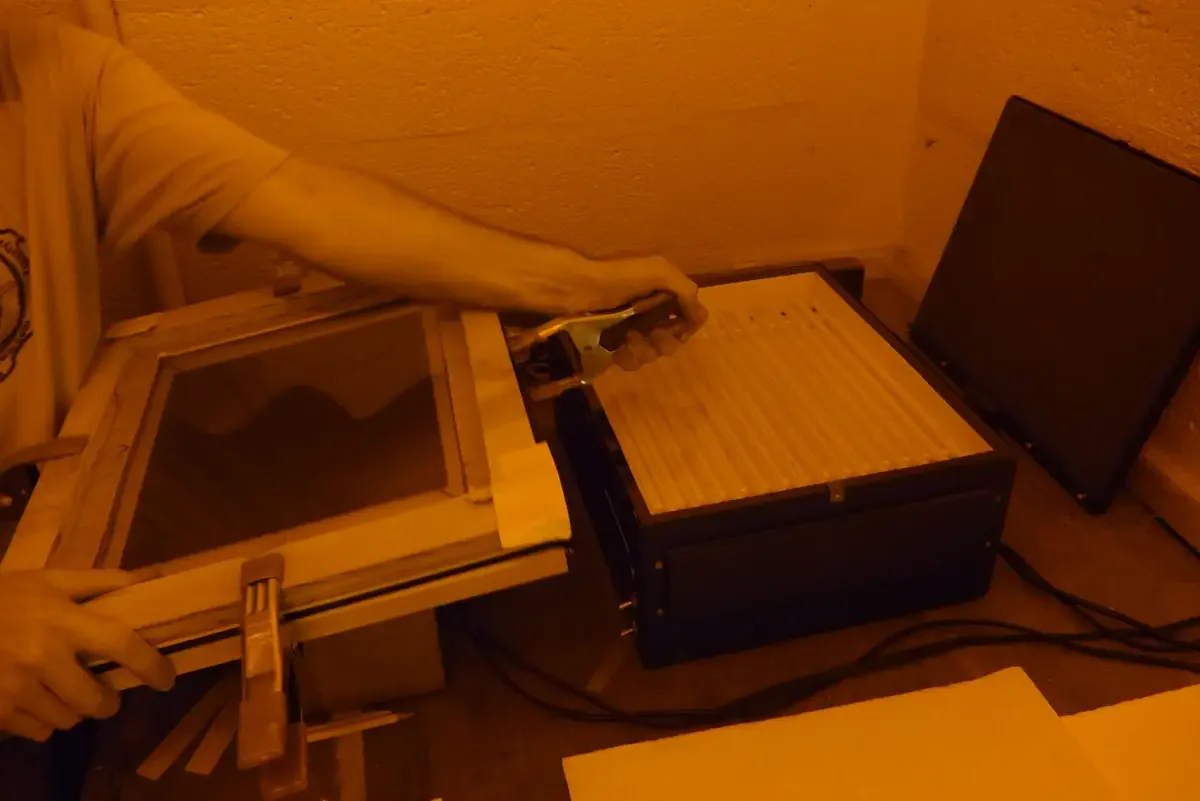
Place the contact frame on top of the UV exposure unit. Make sure that it sits flat, allowing for even exposure to UV light.
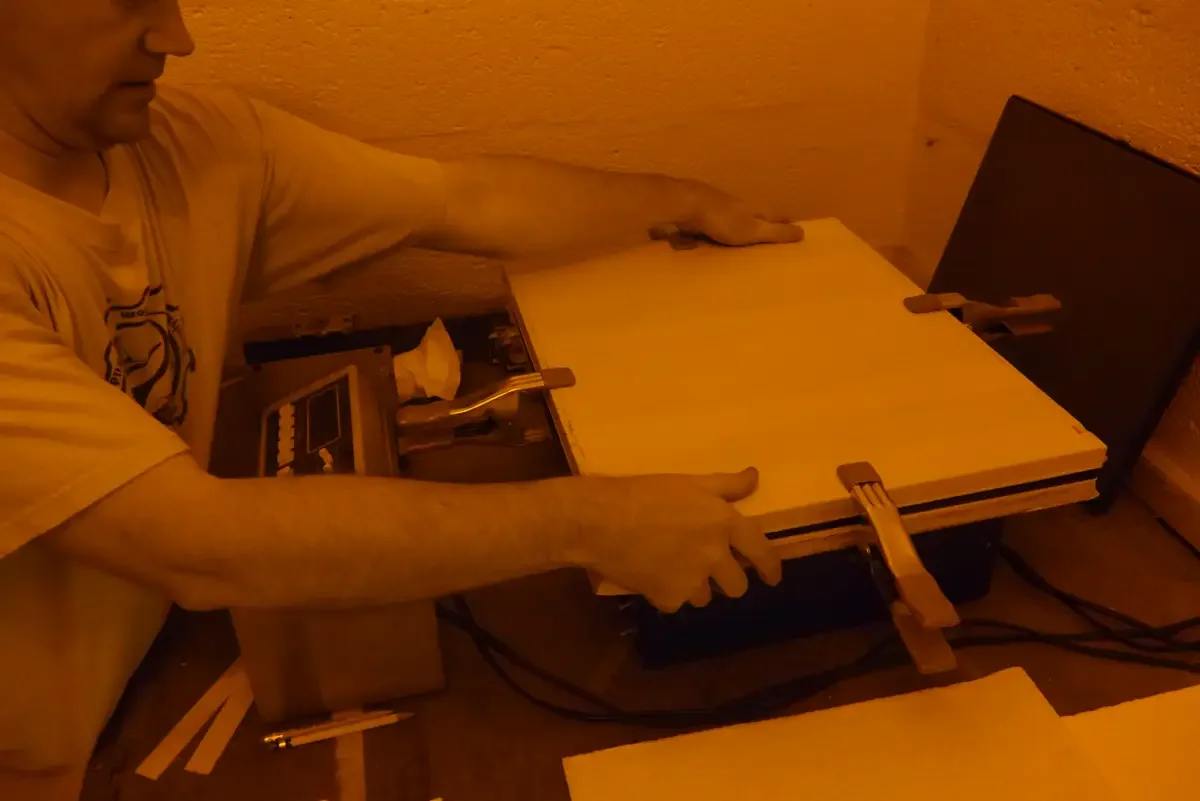
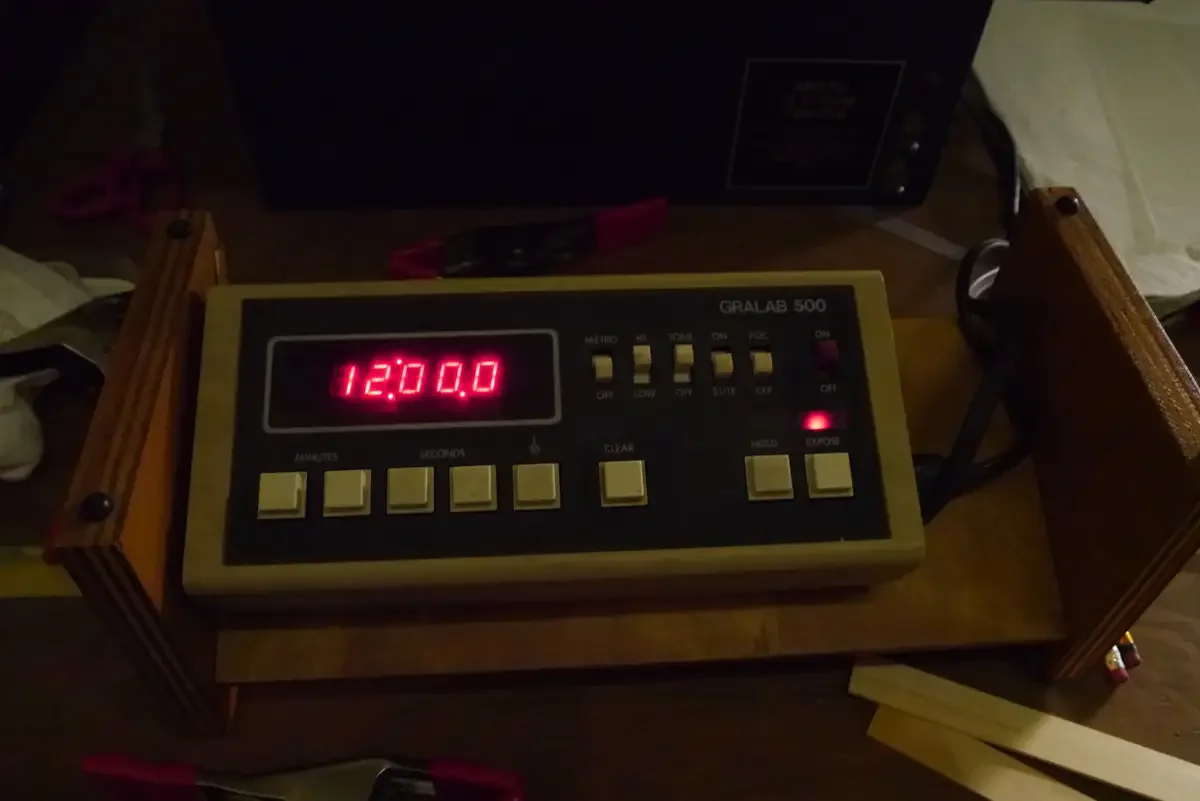
Expose the KM73 plate to the stochastic screen for Base Exposure time.
The UV exposure units that I have used:
Aristo Platinum Printer: 10 - 16 minutes
(depending on bulb strength and glass thickness)
Ryonet RXP 16×20: 3 - 6 minutes
(depending on bulb strength and glass thickness)
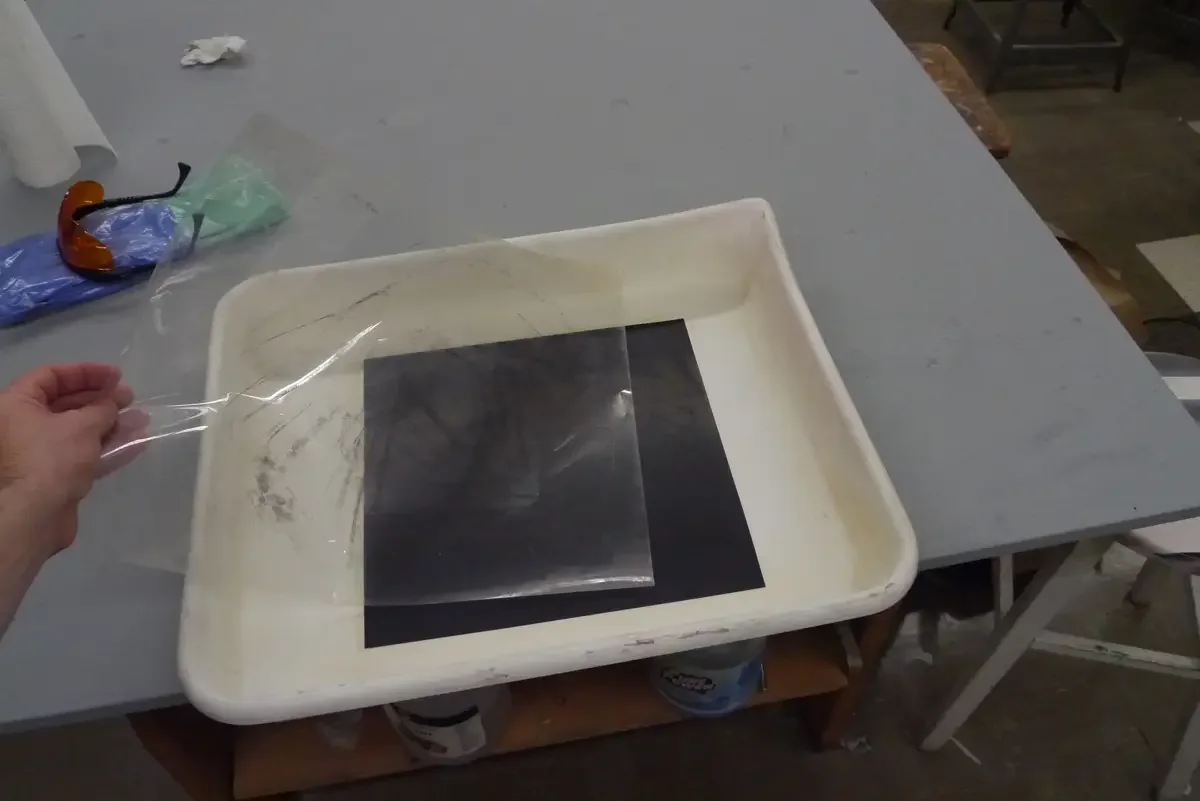
While making the stochastic screen exposure, prepare the washout tray by placing a piece of acetate over the magnet. This will make removing the steel-backed KM73 plate from the tray easier.
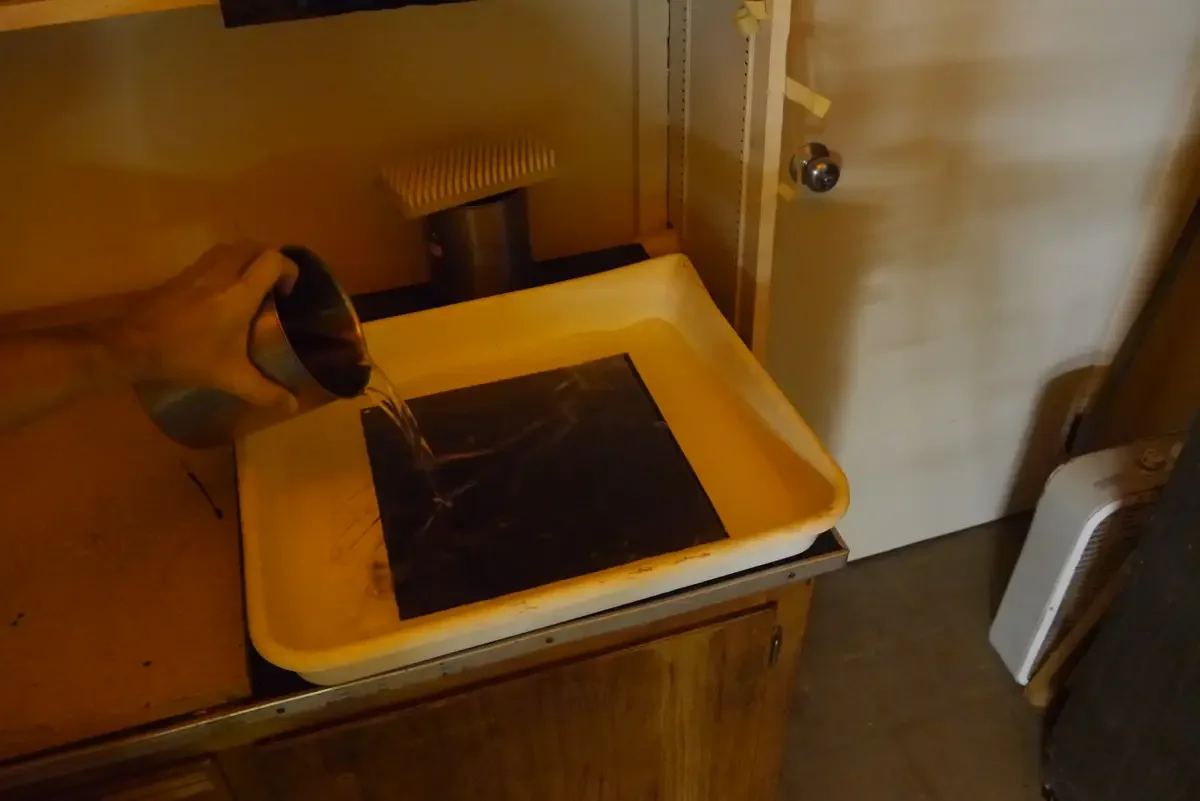
Pour enough water into the washout tray to make a pool that is at least 1/2” deep.
Get paper towels ready so that you can immediately blot the water off the plate when finished washing out.

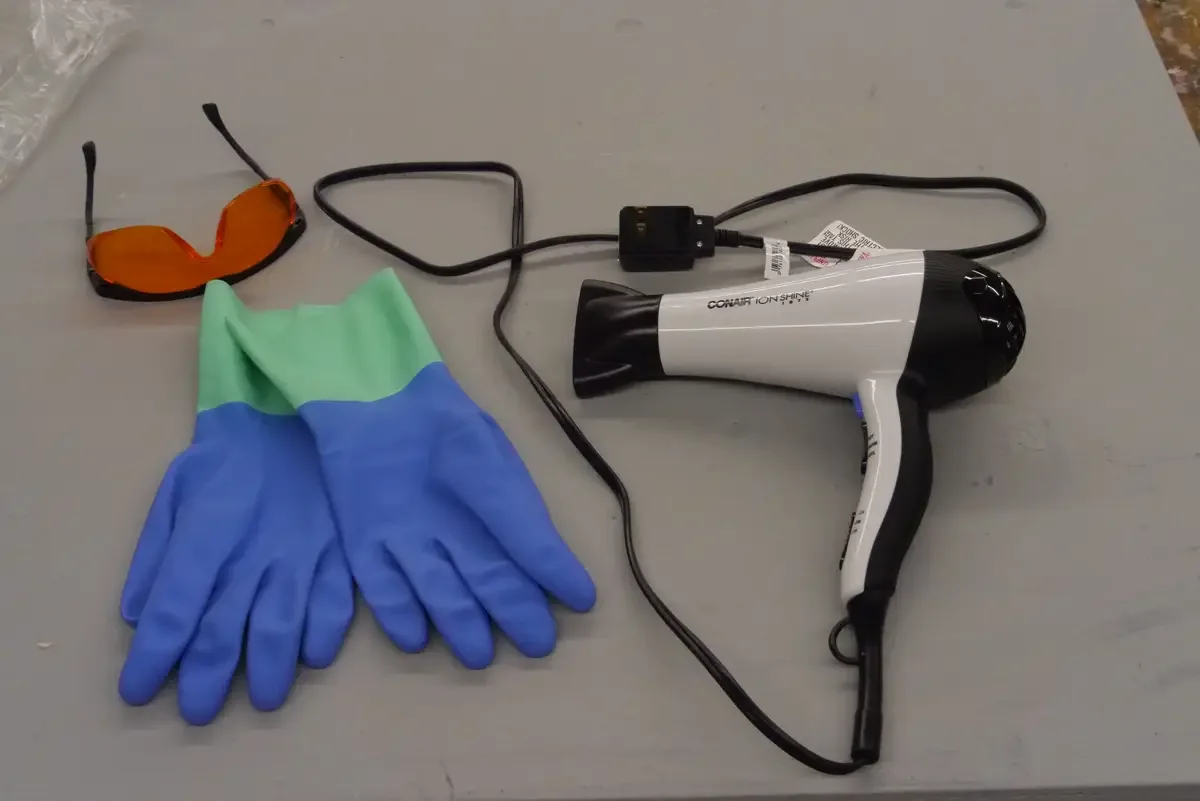
Have UV-filtering eye glasses, latex gloves (or nitrile or vinyl), and a hair dryer within easy reach.
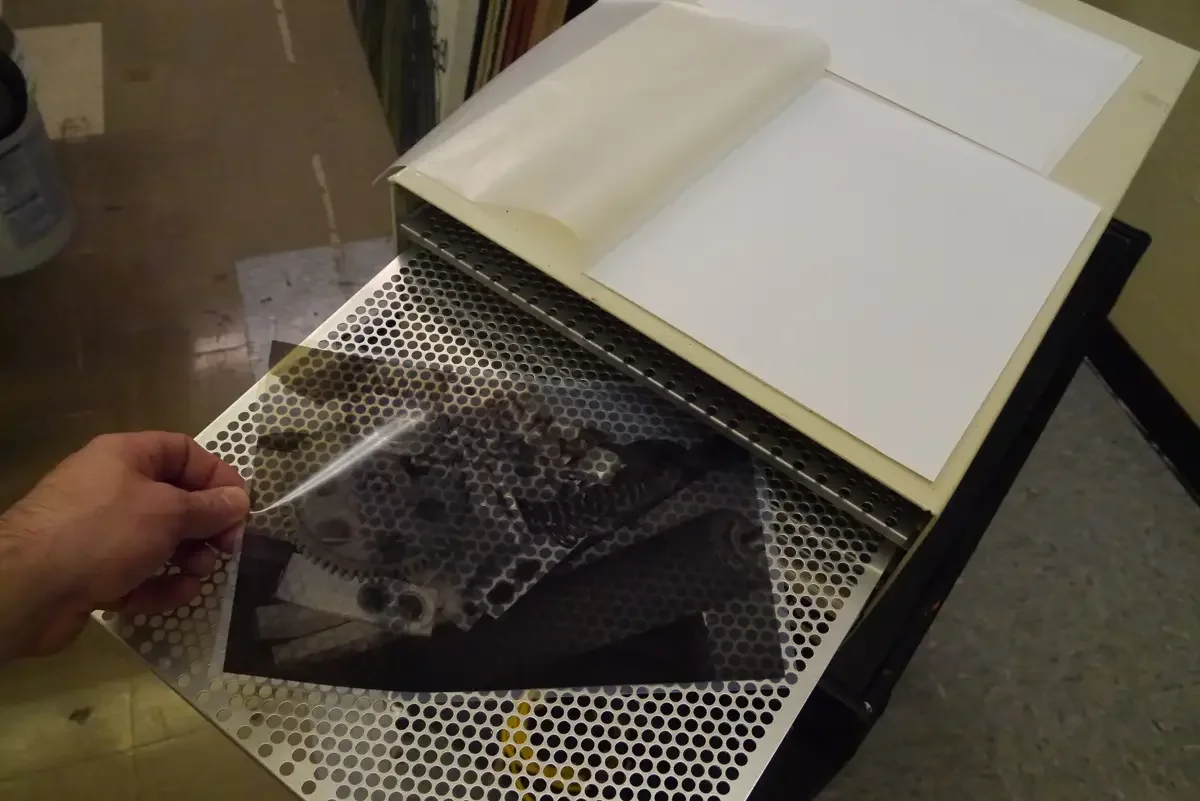
Remove the transparency from the print dryer.
No matter how old the transparency is, I recommend placing it in the print dryer for 10 minutes before exposure. This will remove any atmospheric humidity that is has accumulated while note being used. 5 minutes with a hair dryer can have the same effect.
Place the transparency on a clean surface, and dust some baby powder on it.
Baby powder makes a slip coat so that they plastic transparency does not stick to the polymer side of the KM73 plate. It also will let small amounts of gas escape during the exposure process, and is one of the mattifying processes that minimize the effects of newton rings.
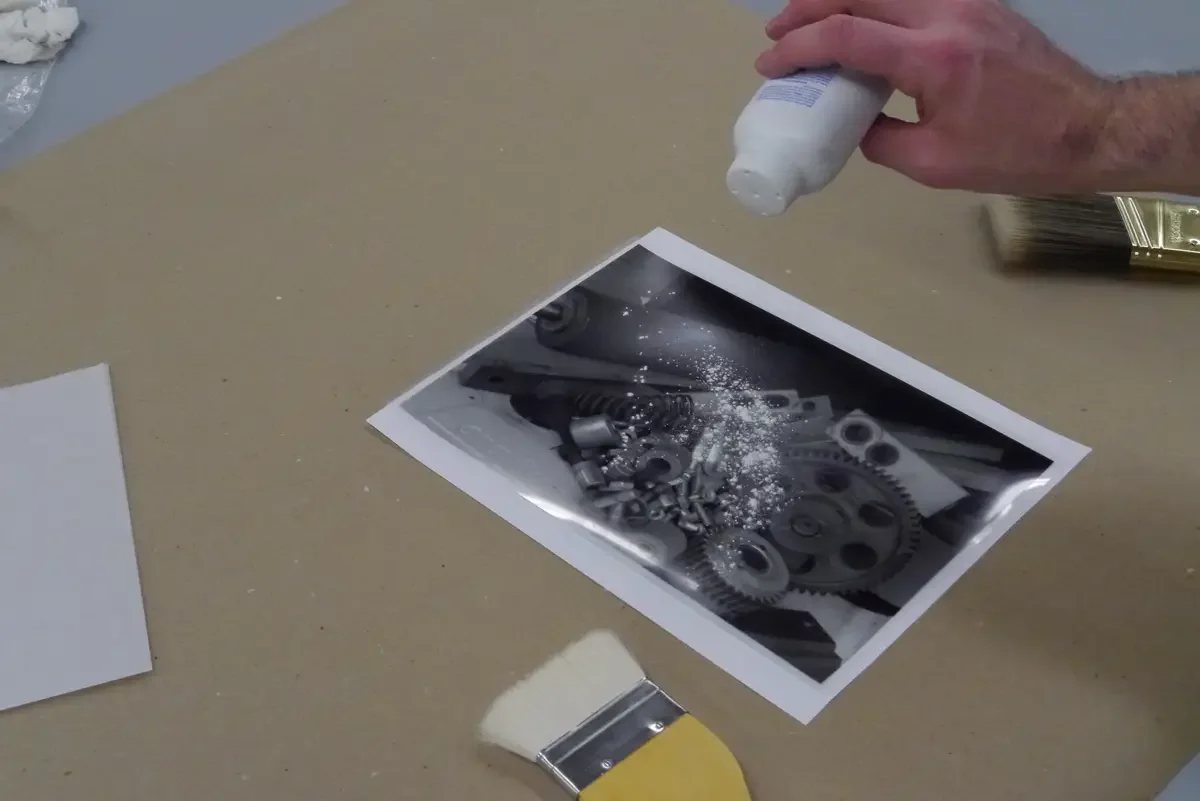
Using a soft hake brush, spread the baby powder across both sides of the transparency.
Use even, gentle sweeping strokes through this process. The idea is to make an even slip layer on both sides, while not leaving behind any excess powder. When done correctly, it will look like you spread powder on, then removed it all.

When the stochastic screen exposure time (base exposure time) is finished, remove the glass from the contact frame.

Remove the stochastic screen from the KM73 Plate

Make the Image Exposure
Place the prepared transparency on top of the polymer side of the KM73 plate. Put the printed side of the transparency against the plate, allowing the non-printed side to face the glass and UV exposure unit.
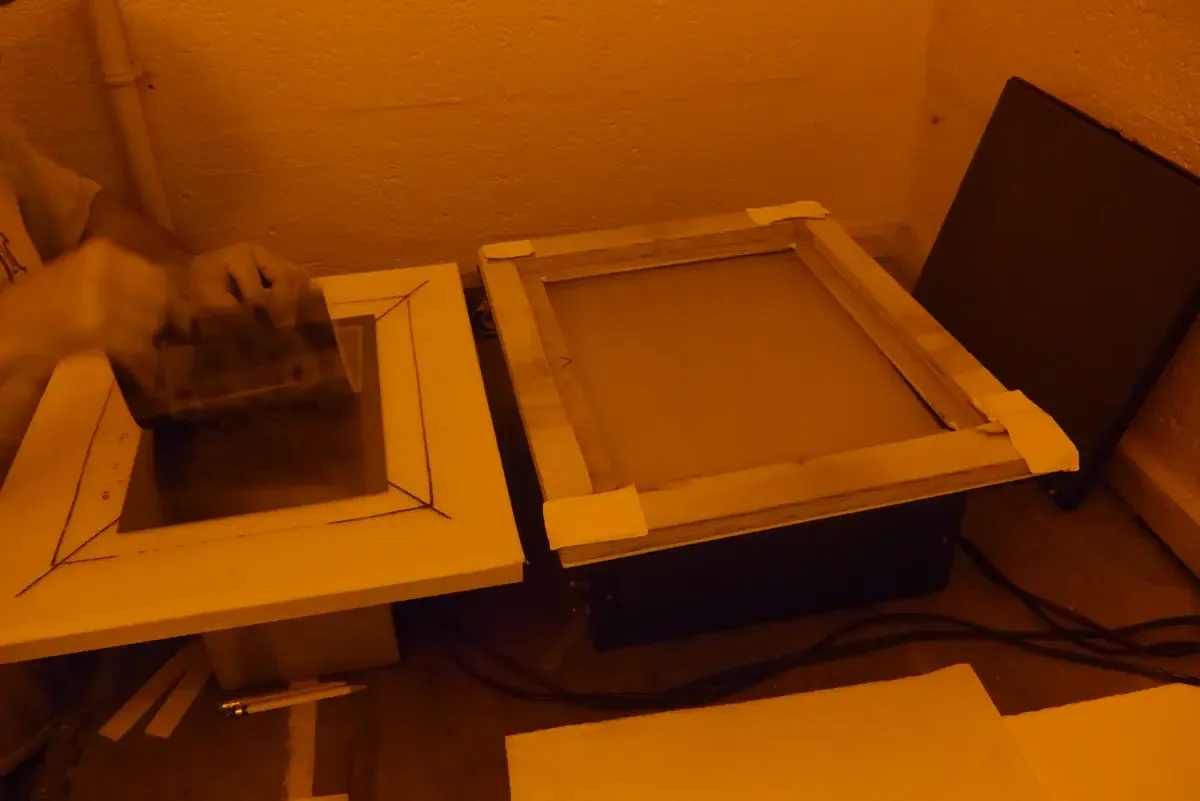
Replace the glass. Clamp the contact frame back together. Put the it back on top of the exposure unit.
Remember the order:
UV unit
Glass
Transparency
KM73 plate
Contact Frame Back
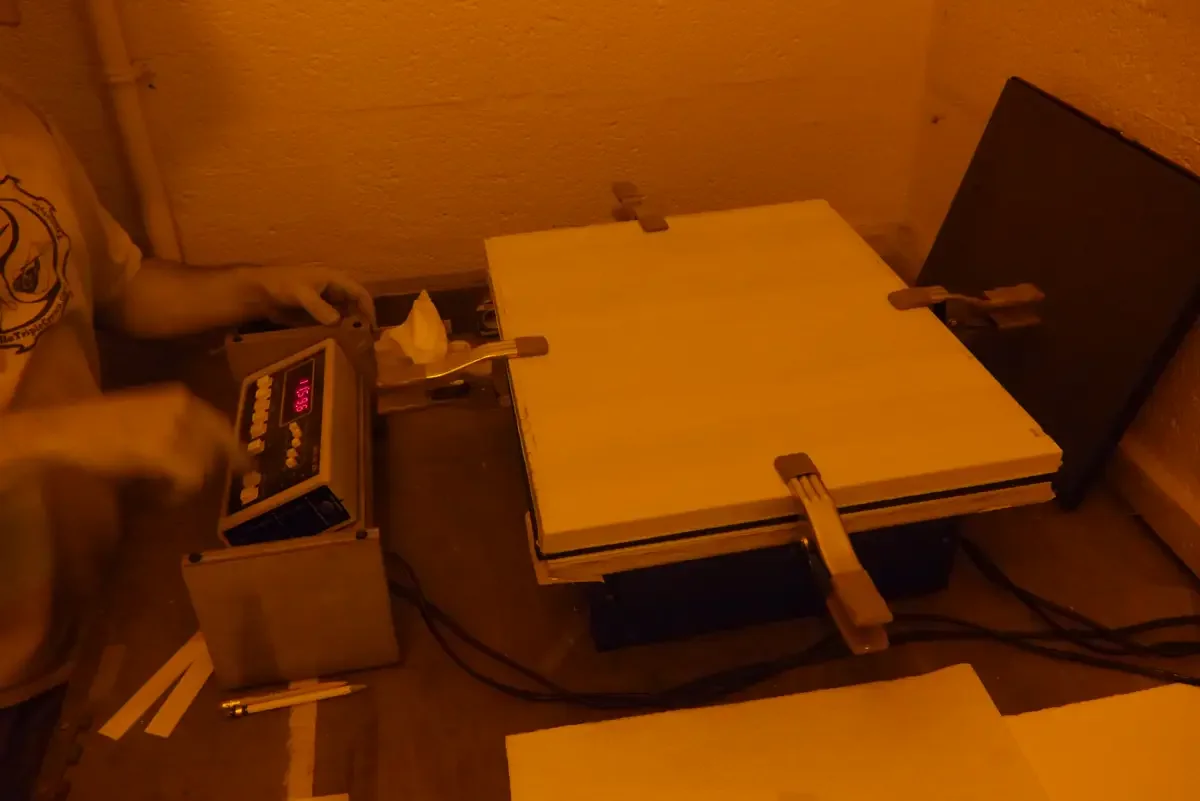
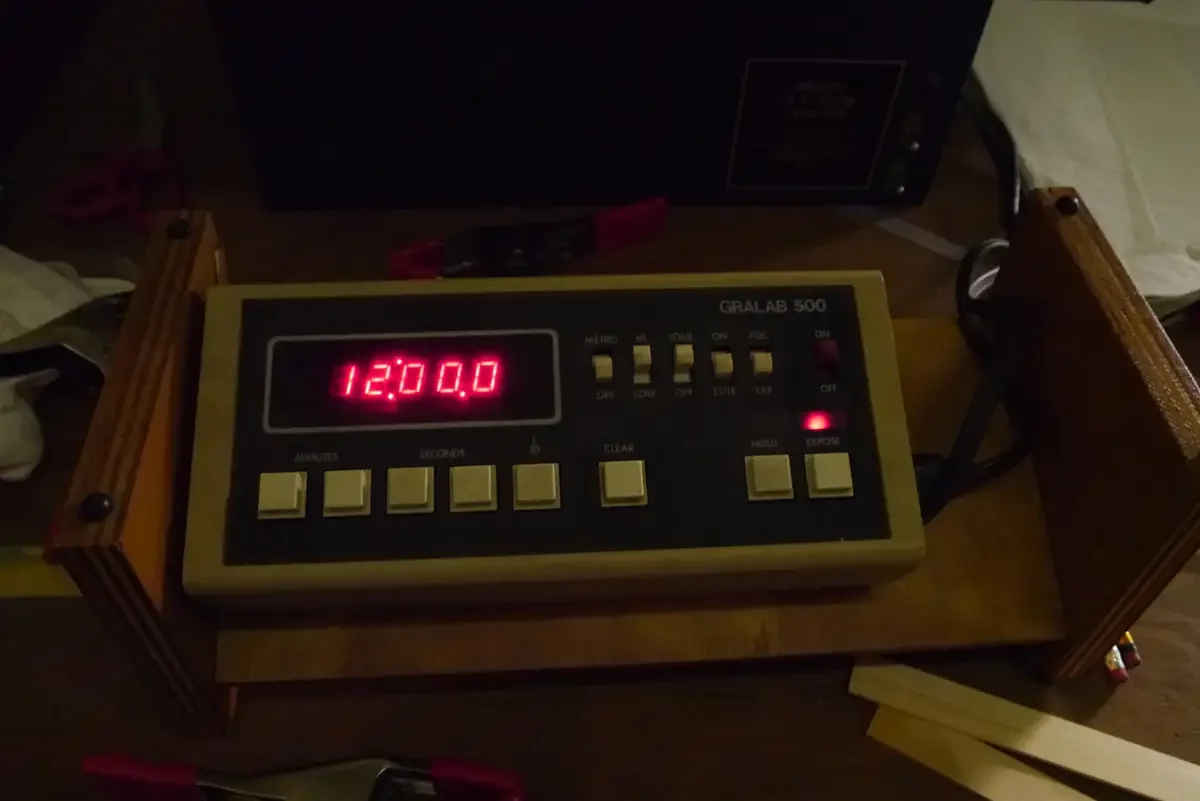
Expose the transparency for roughly the same time as the stochastic screen. Slightly longer time will produce a lighter image, but the changes are slight enough that I tend to use a 1:1 exposure ratio (stochastic:image).
Establishing your base exposure time take experimentation. It depends on many variables within your own system. Finding this time is covered in later sections.
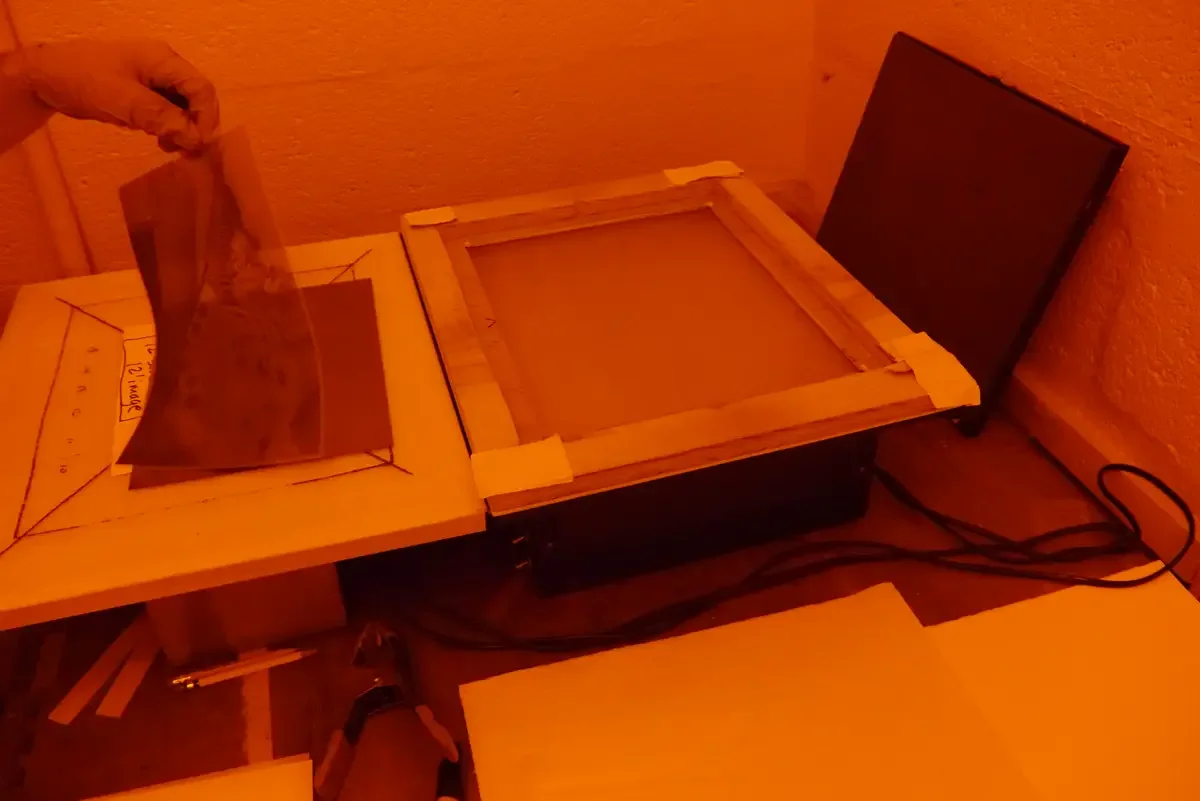
When the exposure is finished, remove the transparency and put it in a safe place.
Put on gloves, and gently pick up the KM73 plate that has received both the stochastic screen exposure and the transparency (image) exposure.
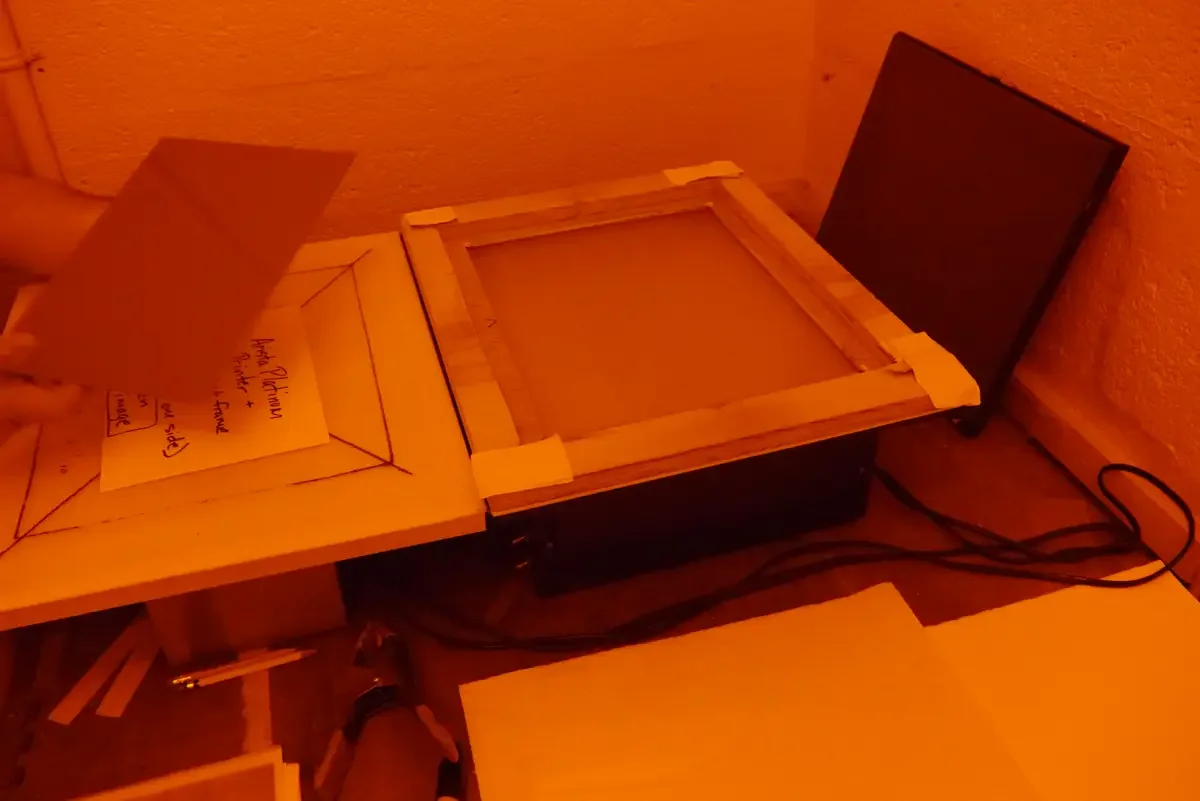
Image Washout
Put the plate into the washout tray. The steel back of the KM73 plate will be held in place by the magnet in th tray. The sheet of acetate between the magnet and plate will be used to remove the plate from the water.
Let it sit for 1 minute.
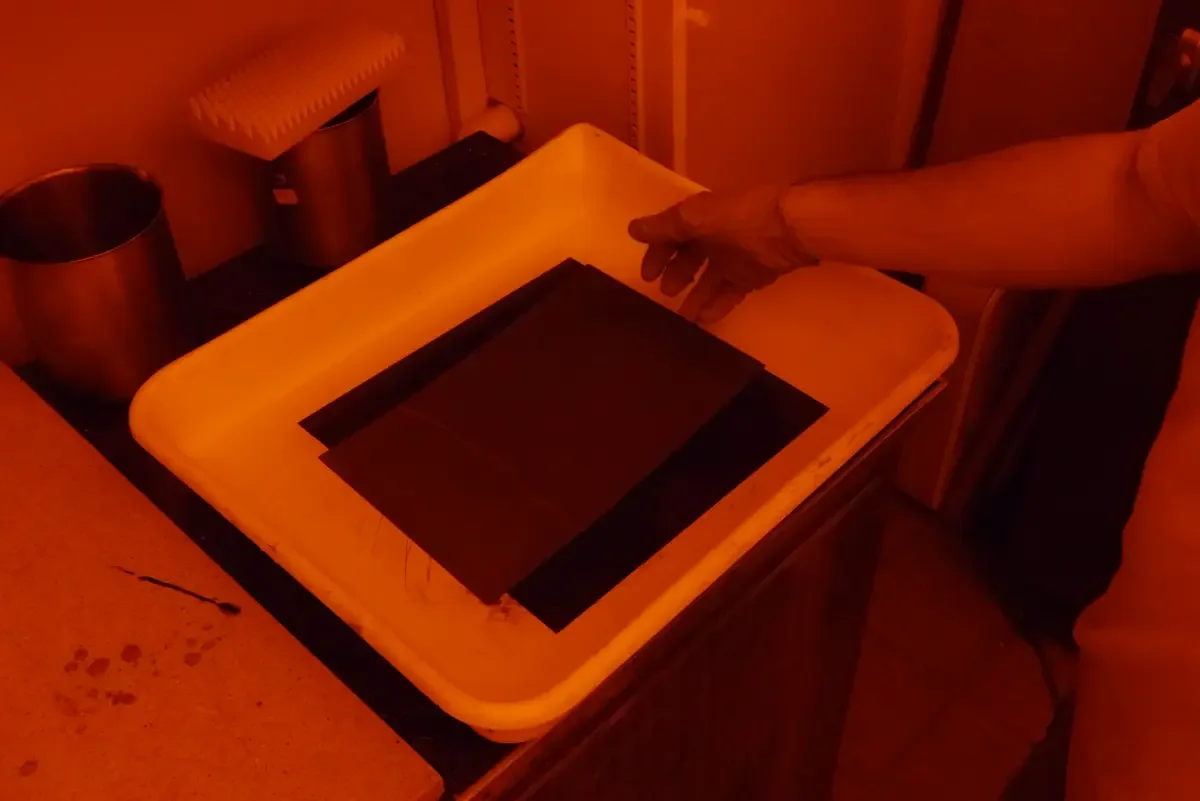
After the plate has sat for 1 minute, GENTLY brush the plate with a soft brush for another minute.
The pressure applied to the brush should only be the weight of your hand. Do not press on the brush.
The polymer that was not cured by the UV light is easily removed. The polymer that was cured is only hard enough to resist gentle scrubbing. Too much pressure and too much scrubbing will remove imporant image details.

After no more than 2 minutes in the washout tray, immediately bring the plate over to paper towels.
Some people use newsprint for this process because it leaves less lint than paper towels. I use paper towels carefully and have not yet had an issue.
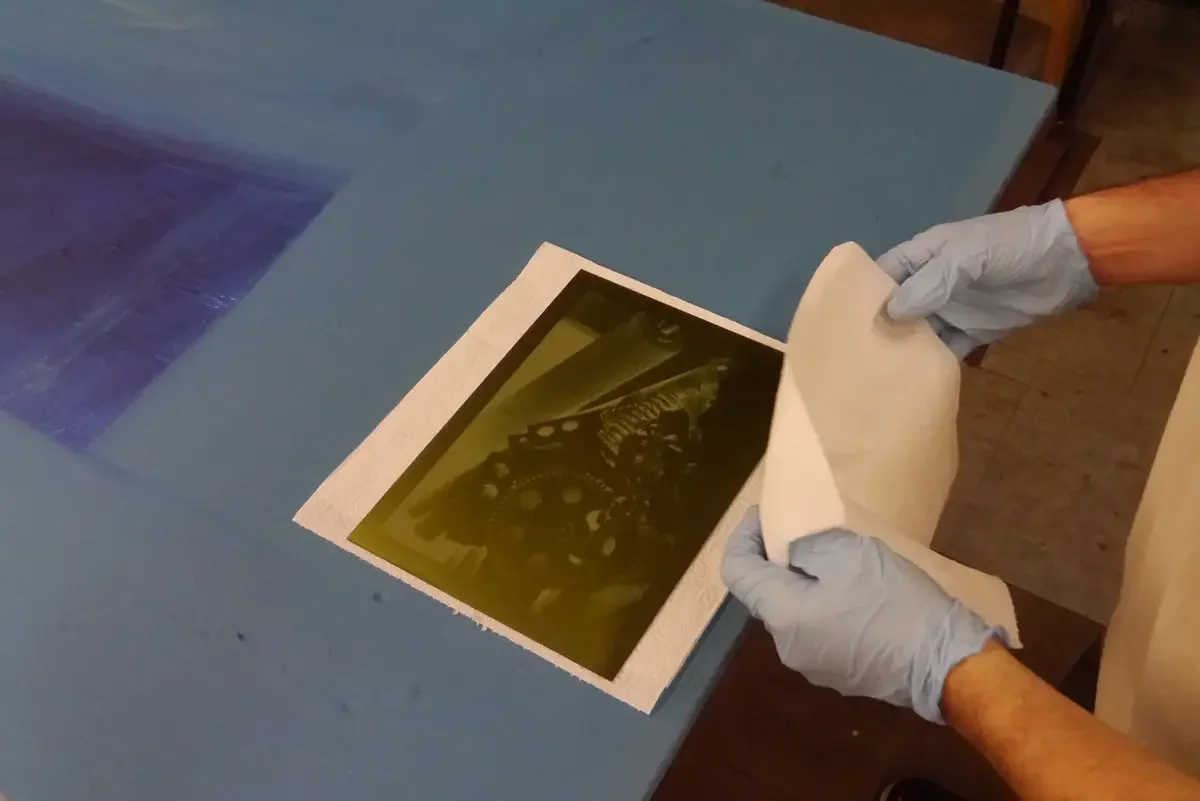
Place a paper towel on top of the plate. Do not remove the paper towel across the plate or you will blur the image you have made. Quickly and gently pat the paper towel to absorb most of the water from the plate.
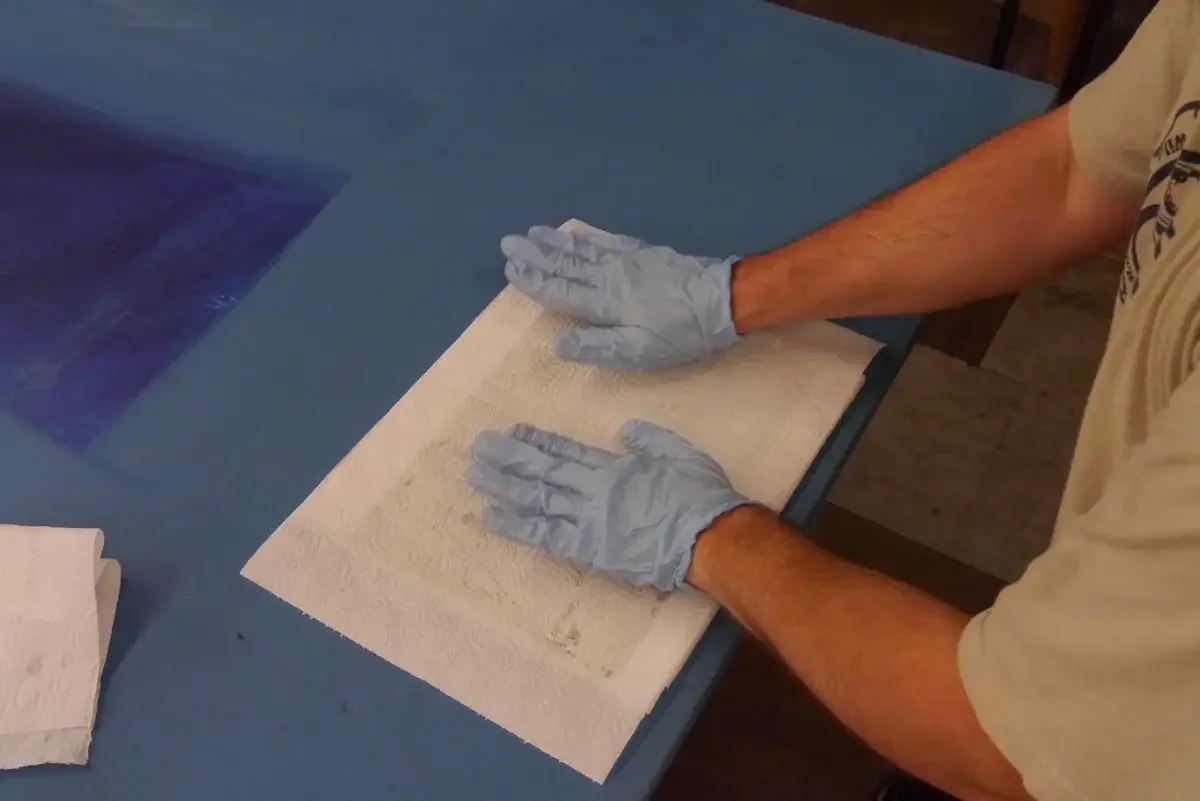
Immediately remove the paper towel from the surface of the plate or it will stick to the uncured polymer. Ball up the paper towel to blot water spots, using very light pressure.
Move quickly and gently throughout this entire process. The entire paper towel step should not make more than 15 seconds.
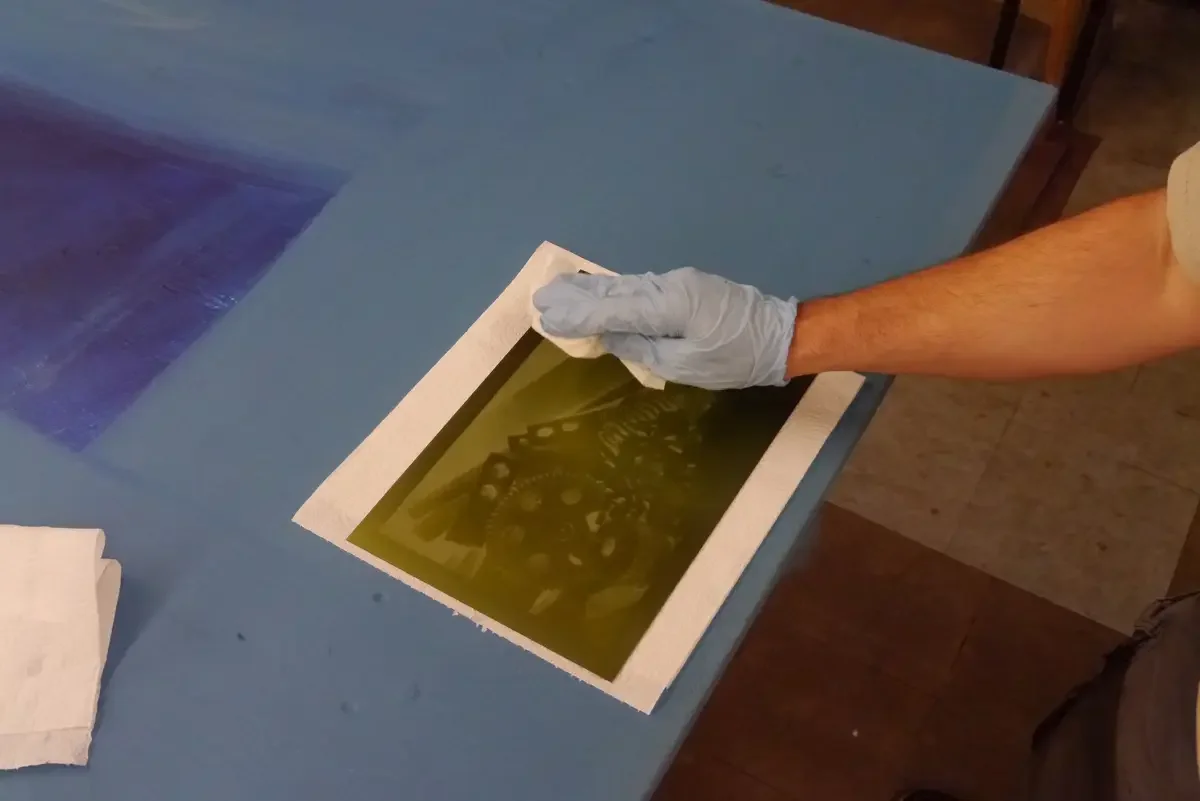
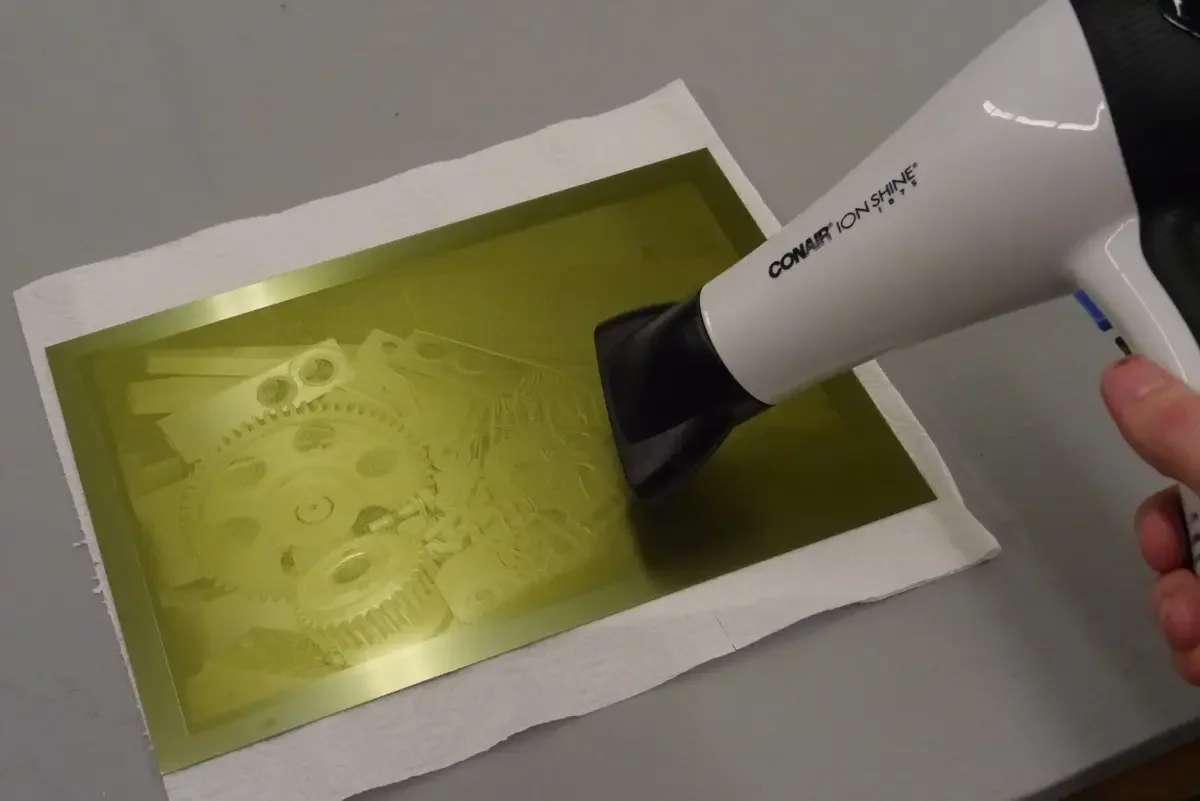
You won’t get every drop of water with the paper towels. That is ok. Use a hair dryer (high heat) to finish drying the plate. Water will be gone within 20 seconds.
Lower the heat on the hair dryer and use a sweeping motion to keep the drying moving across the entire plate for 7 minutes. This helps heat-set the polymer.
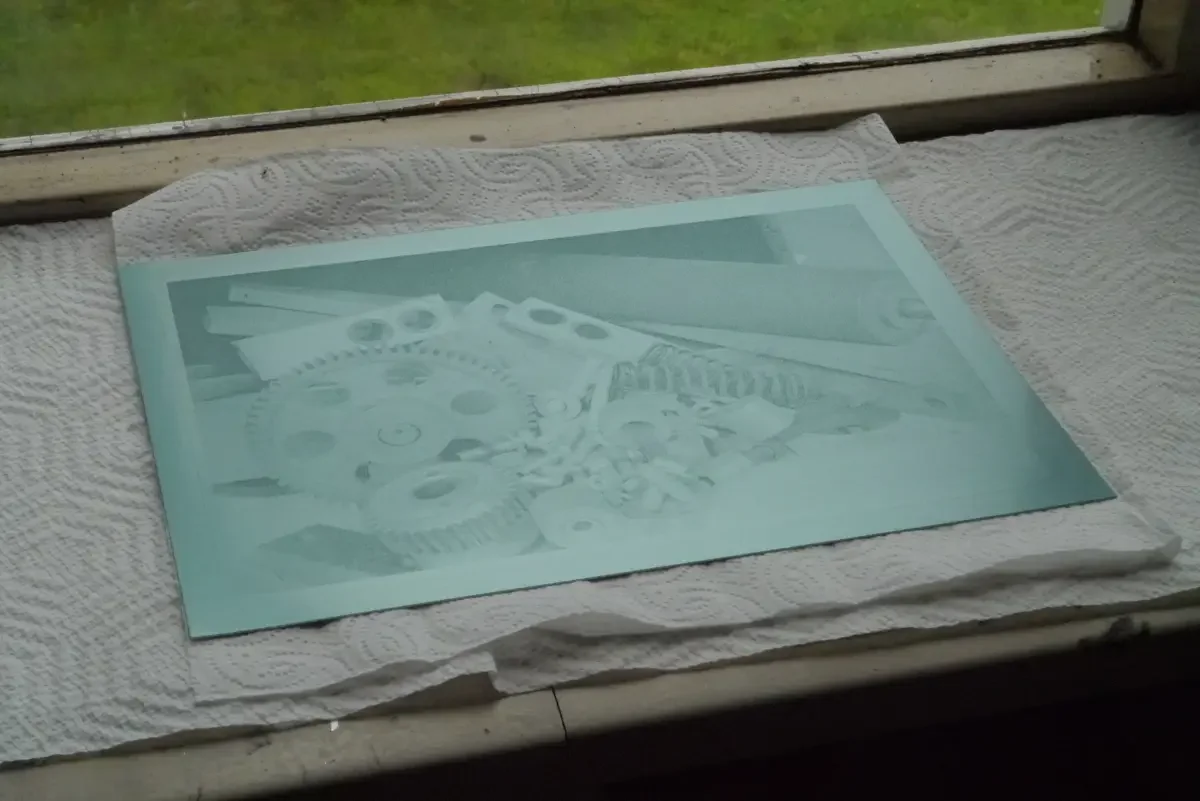
Let the plate sit in a window for a couple of hours. This exposes the plate to more UV light and some heat, further ensuring that the images is fully cured. As the polymer cures, its tint moves away from green and towards blue/cyan.
I tend to make most of my plates at night, so leave them in a window that faces the sunrise, knowing that they will get a good dose of UV from the morning sun.
Post-expose the KM73 plate by putting it against the UV unit (polymer facing the UV lights). It does not need to go back into the contact-printing frame for this step.
Placing the plate in the window works well, but does take a long time. This step is quicker and easier to measure. Use about the same time as the Base Exposure Time. If you reallly want to be sure the plate is cured, add 20% to the time.

Prepare the plate for printing.
When all of the exposure (and curing) steps are finished, you are ready to trim the plate and prepare the edges.
I have been using the same size for two series of prints, so made a template out of acrylic.

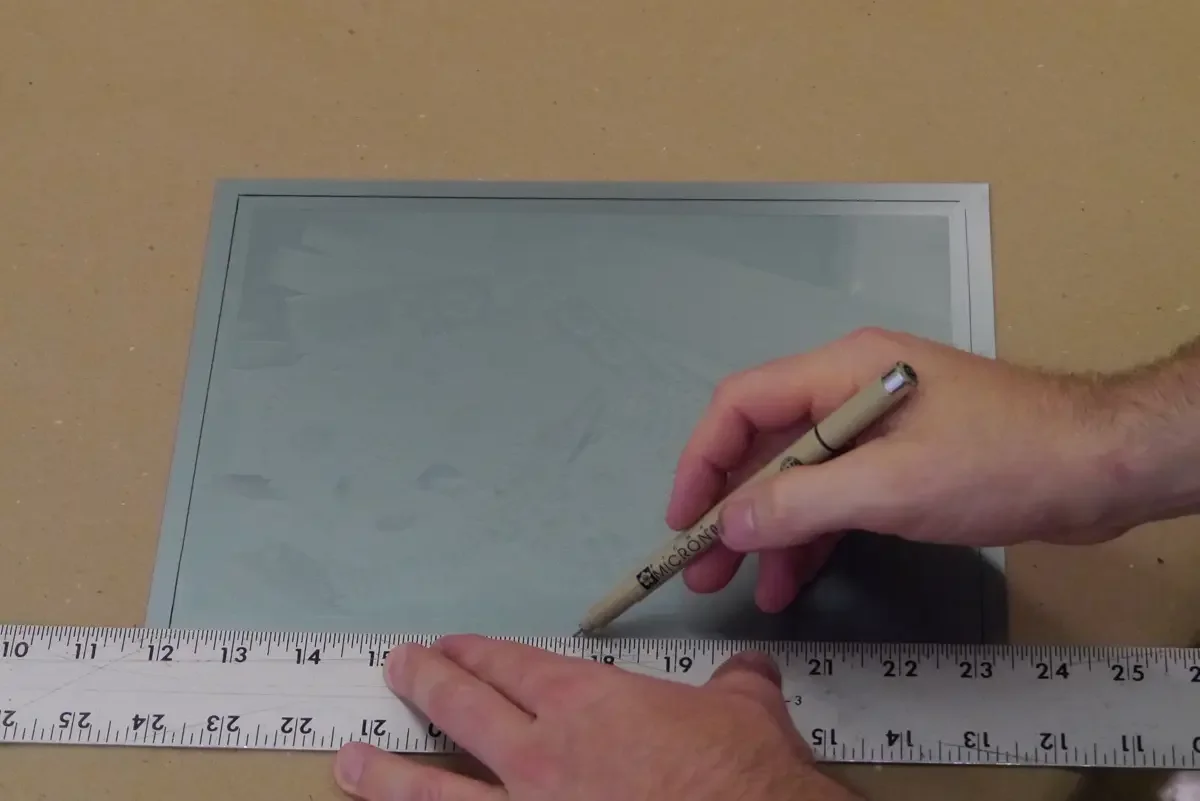
Use a straight edge and marker to draw trim lines around the image.
I like to leave 1/8” x 3/8” border on all the plates I make. It was initially an aesthetic choice, but I have since found that it makes the inking process easier too. Many choices. Most work well. You decide your own look.
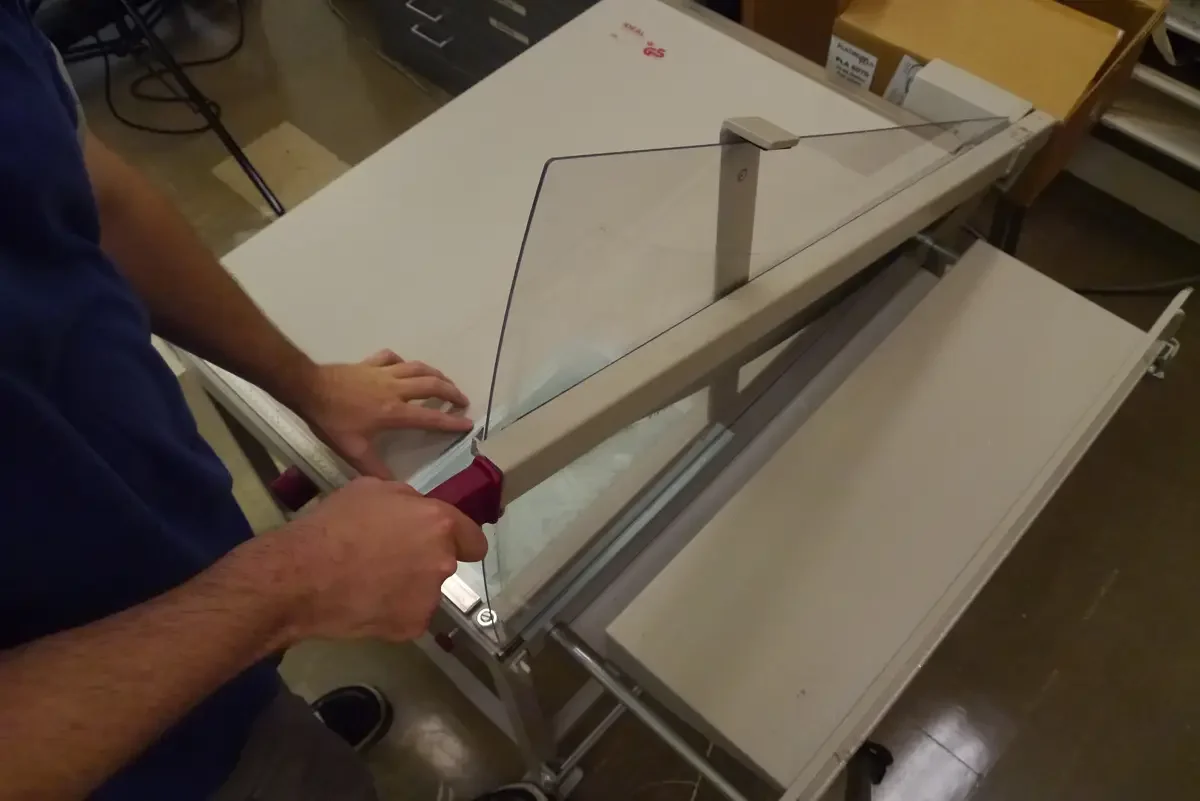
Cut the plate with either a guillotine-style paper cutter or with hand-held metal shears.
Cut a piece of paper to a size that is about 1/4” smaller than the size of the plate. Tape that paper on top of the plate so fine metal and polymer shavings do not get trapped in the image area as you prepare the edges for printing (next step).
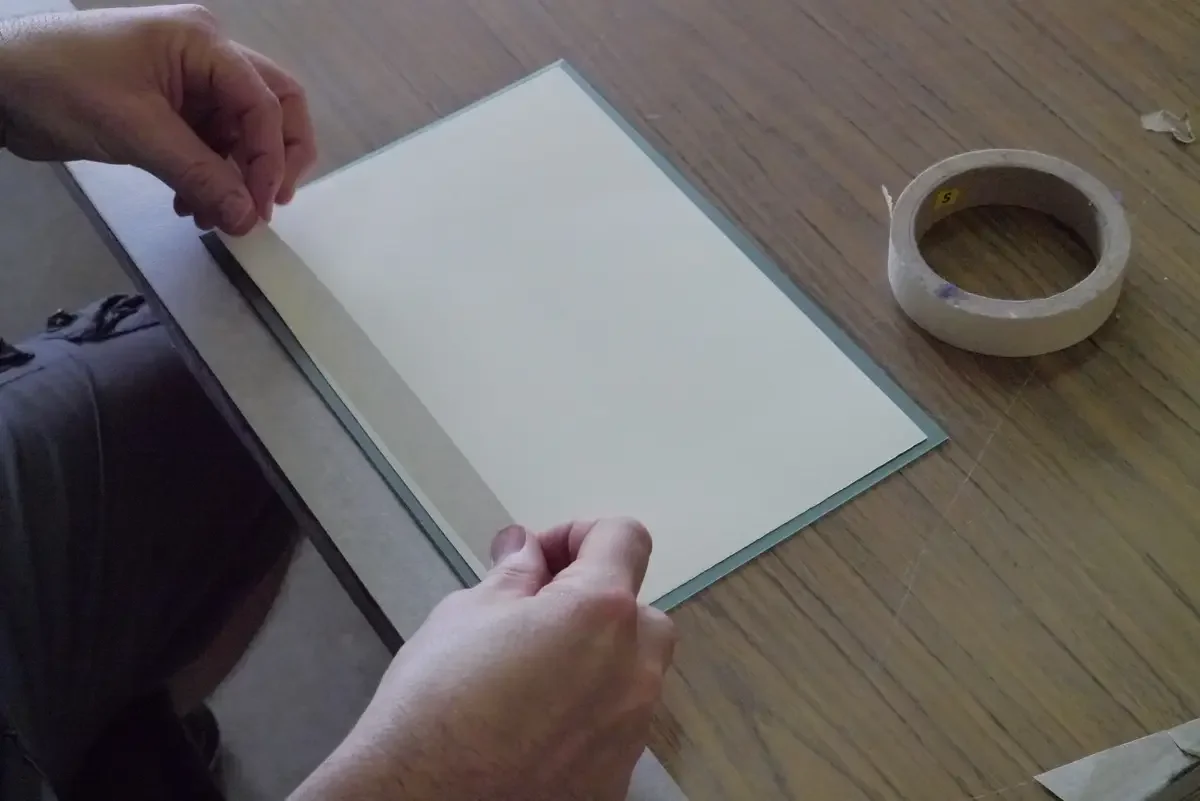
Using a fine-tooth file, remove metal burs and bevel the edges of the plate.
I like to round the corners and put a 45 degree angle on the edges. It makes inking and wiping a bit easier.
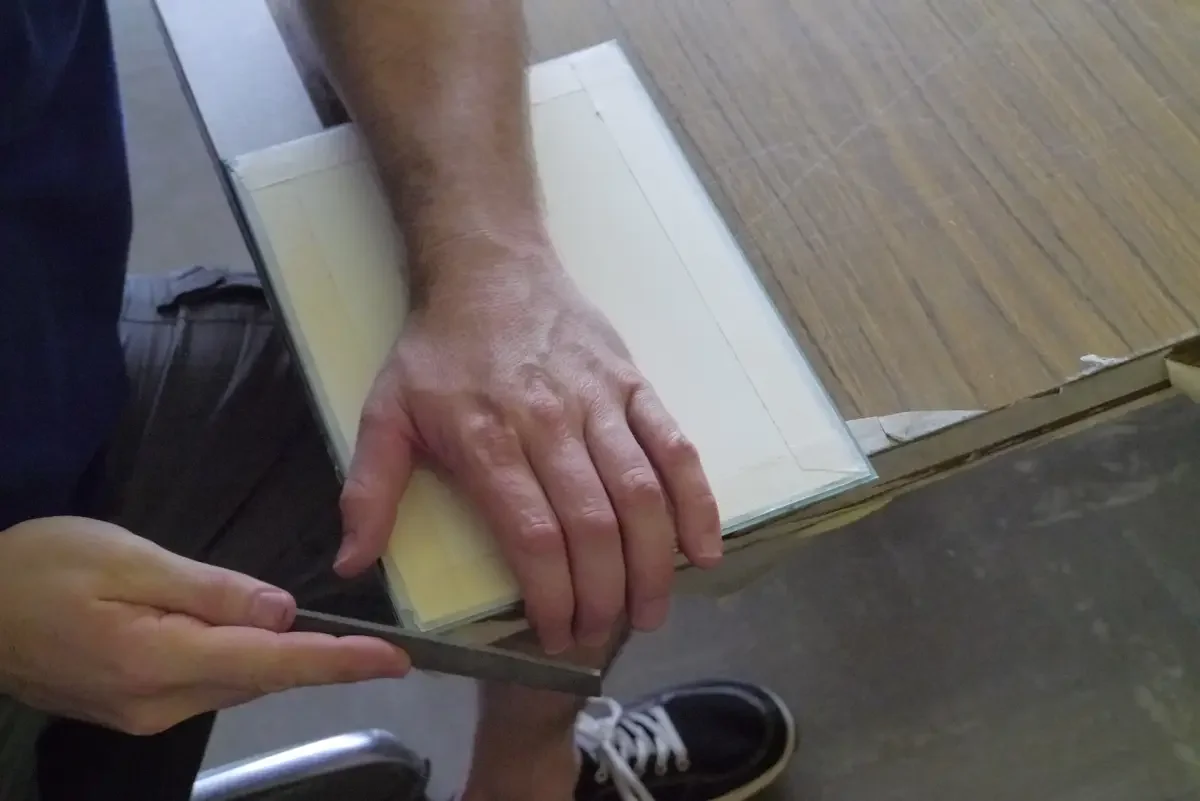
Go all the way around the plate, making sure that every edge has been treated with the file. Burs and hard edges will hold ink (which can make unexpected marks on your print) and wear out the tarlatan faster.
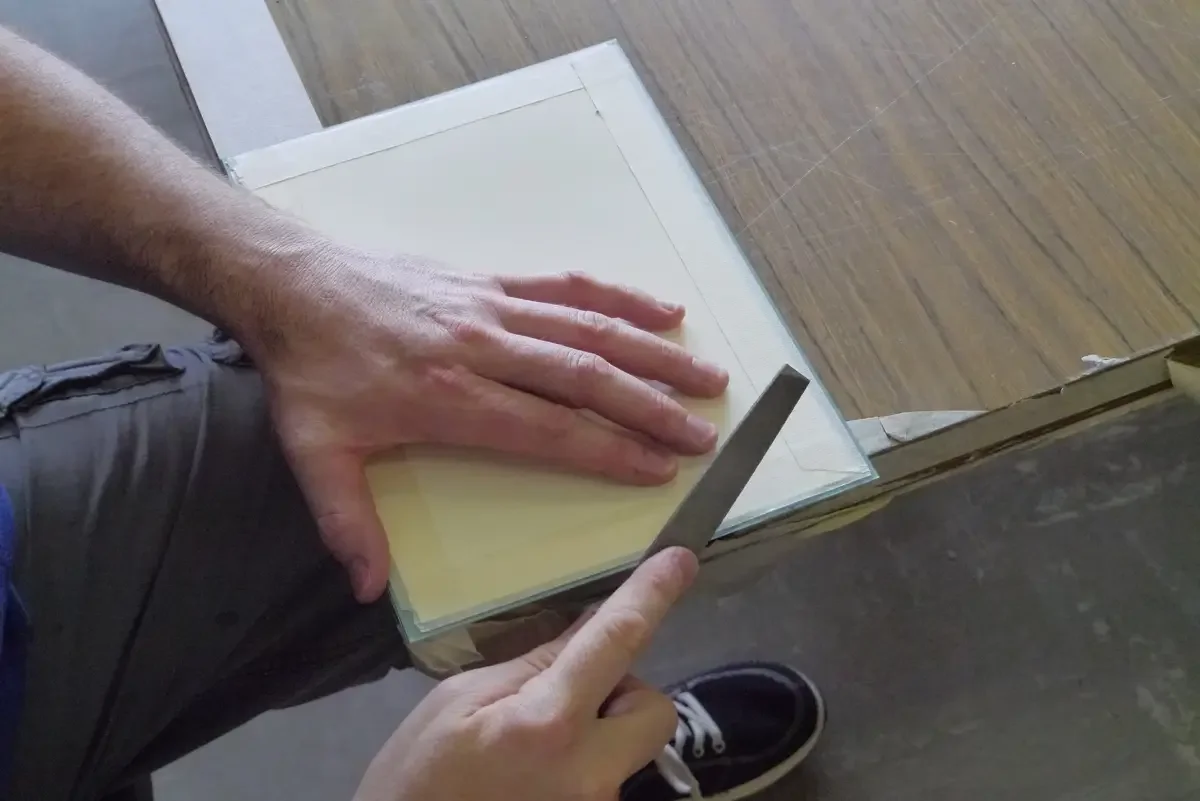
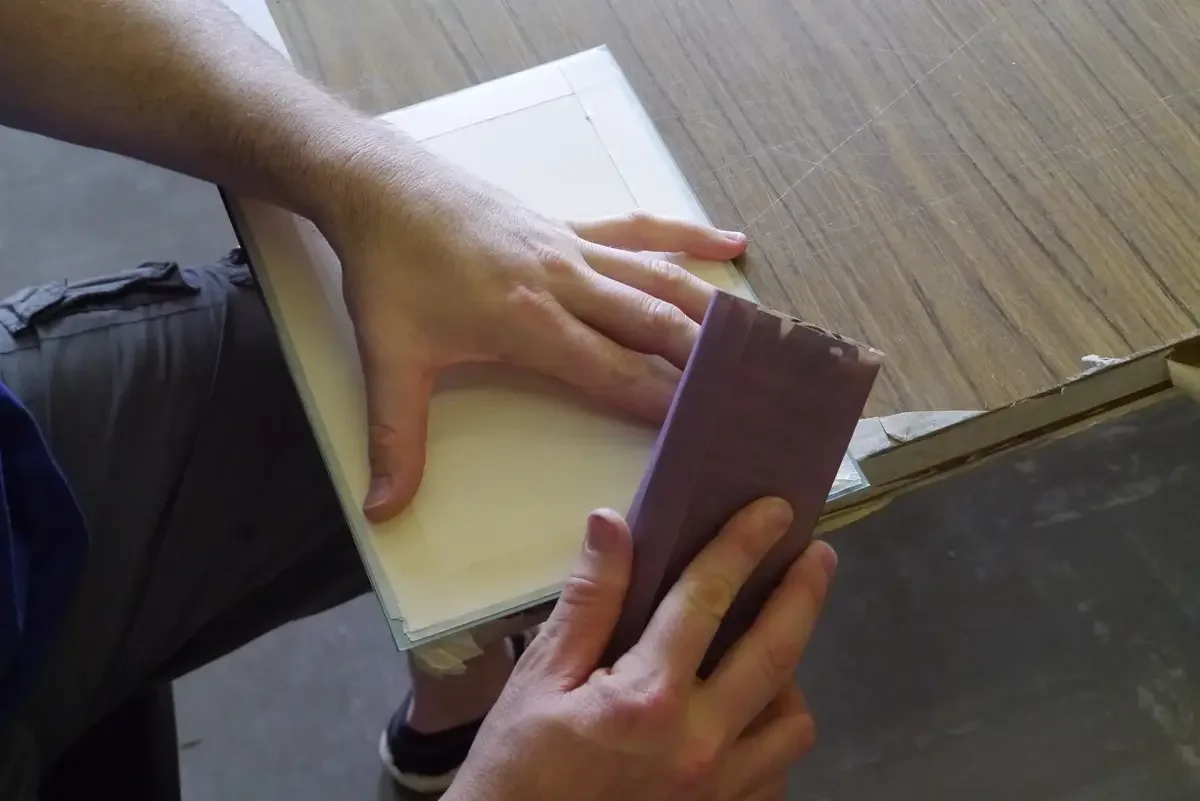
Sand the edges with progressively finer sand paper to achieve a smooth finish, making it easier to clean with each ink/wipe/print cycle.
I use 400, 600, then 1200 grit sandpaper.
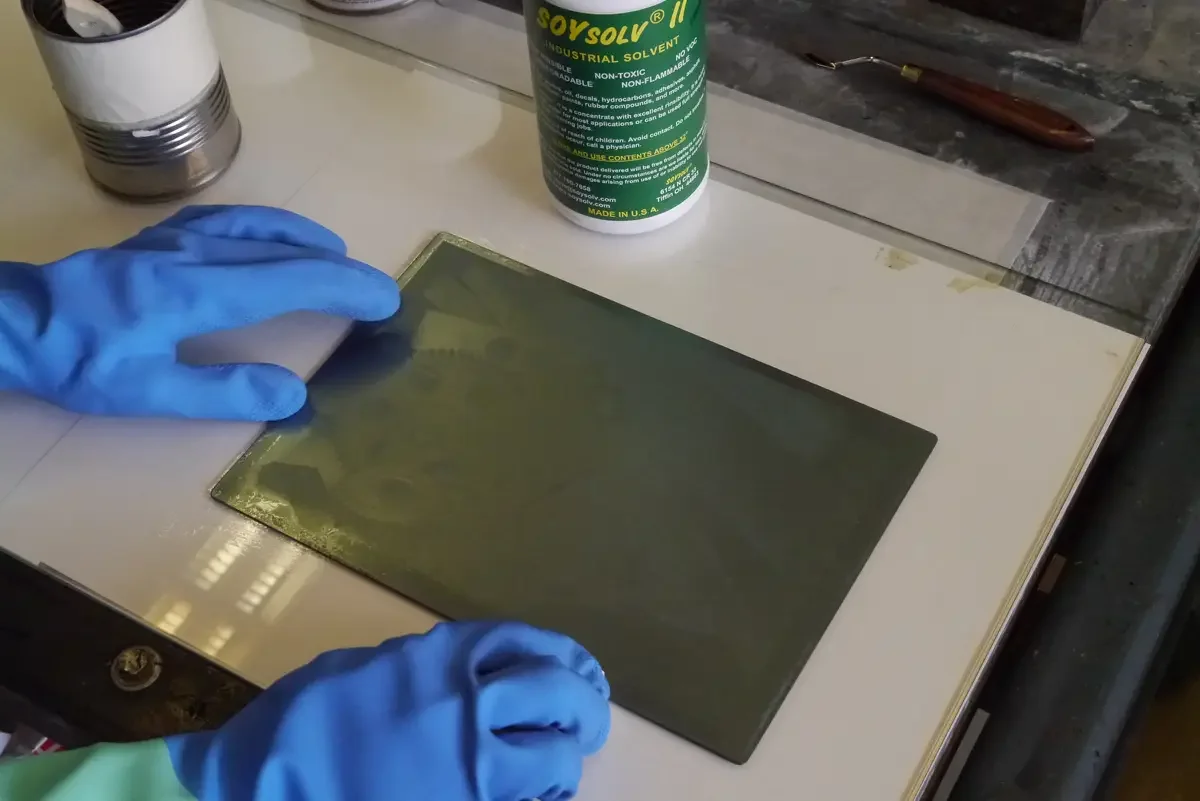
Take off the paper, and use SoySolv II (or another solvent) to remove residual glue from the tape.
Remove all solvent and the plate is ready for inking and printing.
If you use another solvent, check to make sure it won’t harm the plate.
Always wear gloves and have adequate ventilation.
Video overview showing the process of making a plate.
Frequently Asked Questions
What is a stochastic screen and why is it used in photogravure?
A stochastic screen is a film with a random dot pattern used to create the aquatint matrix on the polymer plate. Without it, the plate would have no surface texture to hold ink in the shadow areas and would print flat. The stochastic screen exposure is made first, before the image transparency, and establishes the dot structure that gives the final print its tonal range.
What is the correct order for the exposure stack?
UV unit - light faces KM73 plate
glass - smooth side faces UV unit, acid-etched side against transparency/screen
image transparency or stochastic screen - printed side faces KM73 plate
KM73 plate - polymer side against printed side of transparency or screen
contact frame base
Why is baby powder applied to the transparency before plate exposure?
Baby powder creates a slip coat between the plastic transparency and the polymer surface. This prevents the two surfaces from sticking together and allows small amounts of gas to escape during exposure. It also reduces Newton rings, the circular interference patterns caused by plastic-to-plastic light refraction that can create visible spots in the final print.
What happens if the polymer plate is over-washed during development?
Over-washing removes polymer from areas that should retain it, destroying image detail particularly in the shadow areas. The washout should take no more than two minutes total: one minute soaking undisturbed, one minute of gentle brushing with no more pressure than the weight of a resting hand. Moving quickly through the drying steps immediately after washout is equally important.
Why does the polymer plate need a post-exposure after washing?
The washout process leaves the polymer in a partially cured state. Post-exposure to UV light completes the curing, hardening the remaining polymer so it can withstand the pressure and abrasion of the inking and printing process. Without adequate post-exposure, the plate surface degrades rapidly during printing.