Main Work Flow -
Inking and Printing on the Etching Press
This is the intalio printmaking process where the prints are made. Read through this entire section to make sure you have everything ready before starting the process.
(videos of the process are at the bottom of the page)
Prepare Printmaking Paper
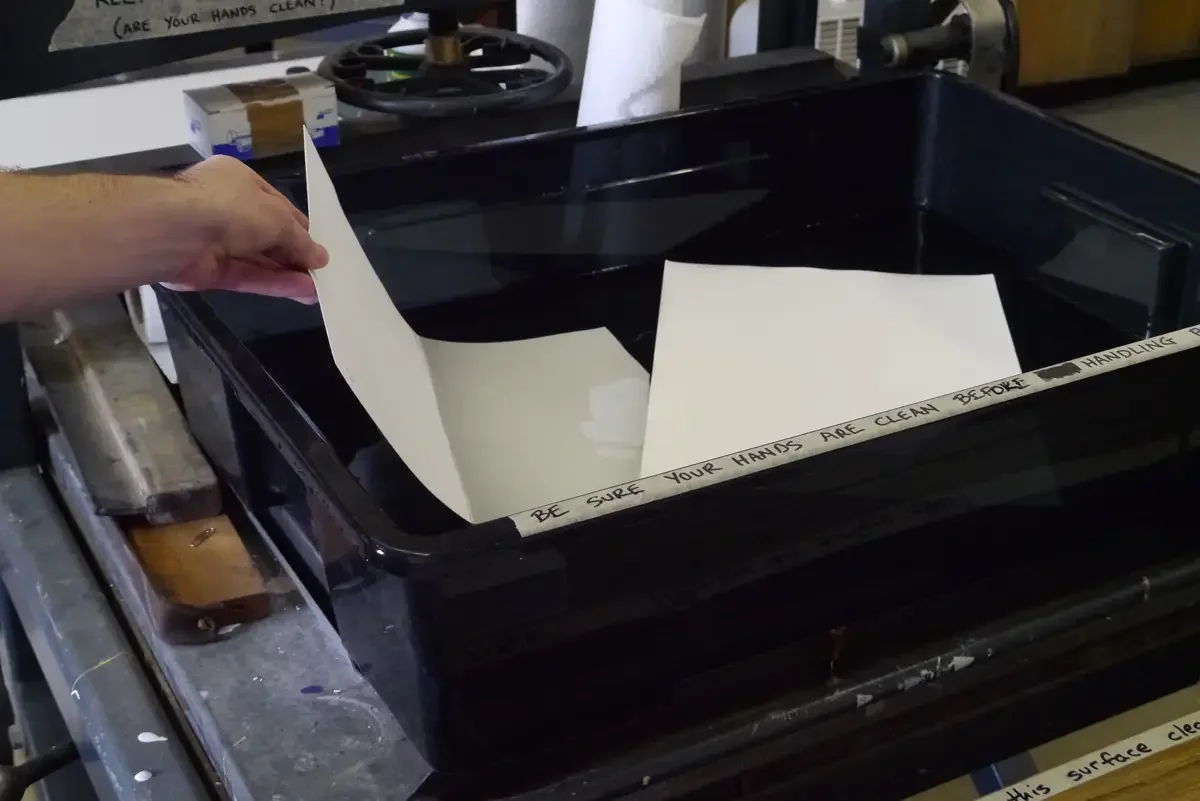
When ready to print, the first thing that needs to happen is preparing paper so that it is damp enough to accept ink and make even tonal transitions.
Place 100% cotton rag paper into a bath of water and let it soak.
Print side down!
Prepare Etching Ink
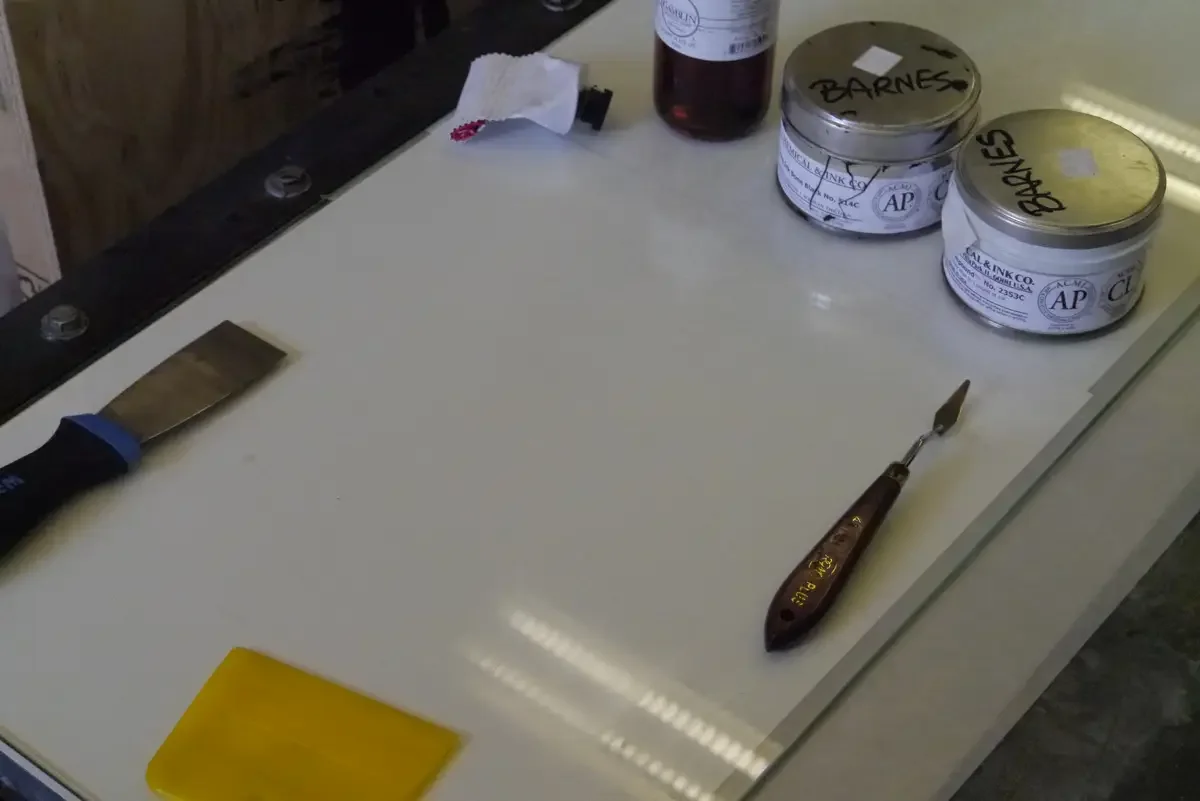
Set up the inking workspace to condition the ink.
Make sure you have ink, palette knife, flat scraper, plastic squeegee/spreader, burnt plate oil, and tack reducer.
Glass makes the best palette, but wax paper or acrylic sheet can work too.
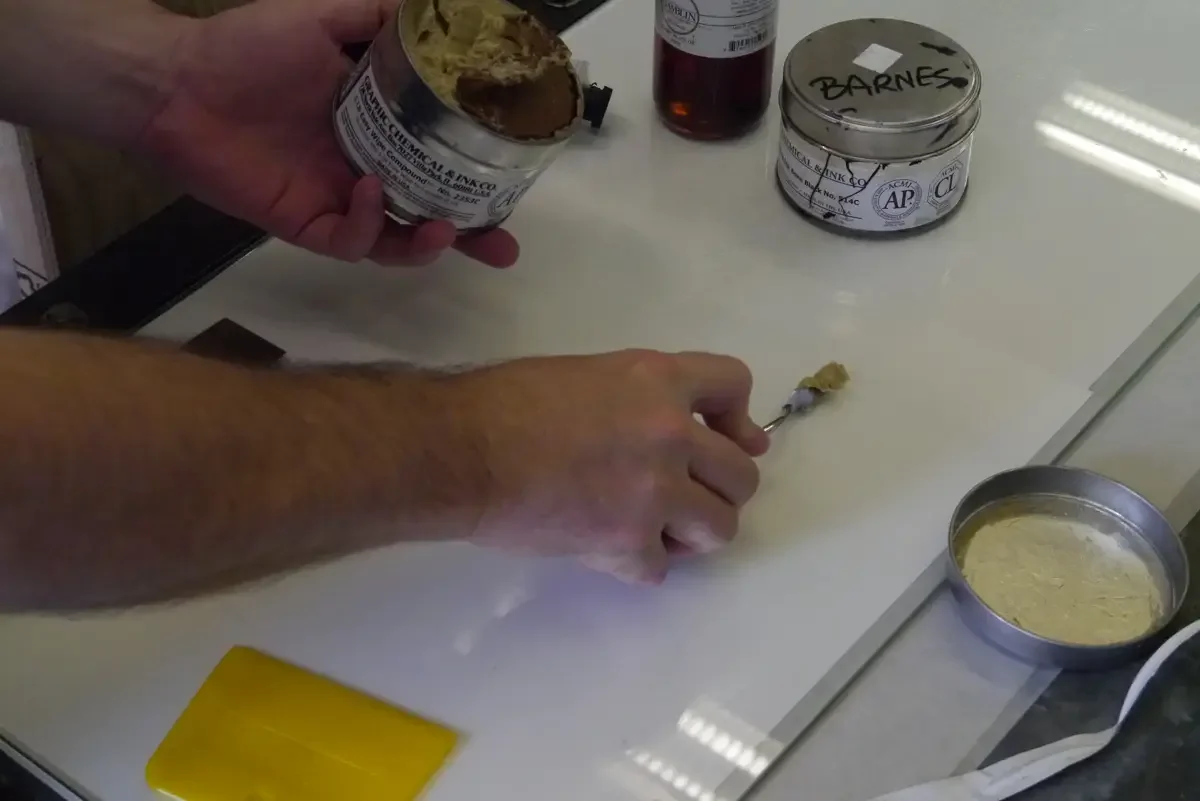
Place a small amount of Graic Chemic Easy Wipe (or any other high-quality tack reducer) on to the palette.
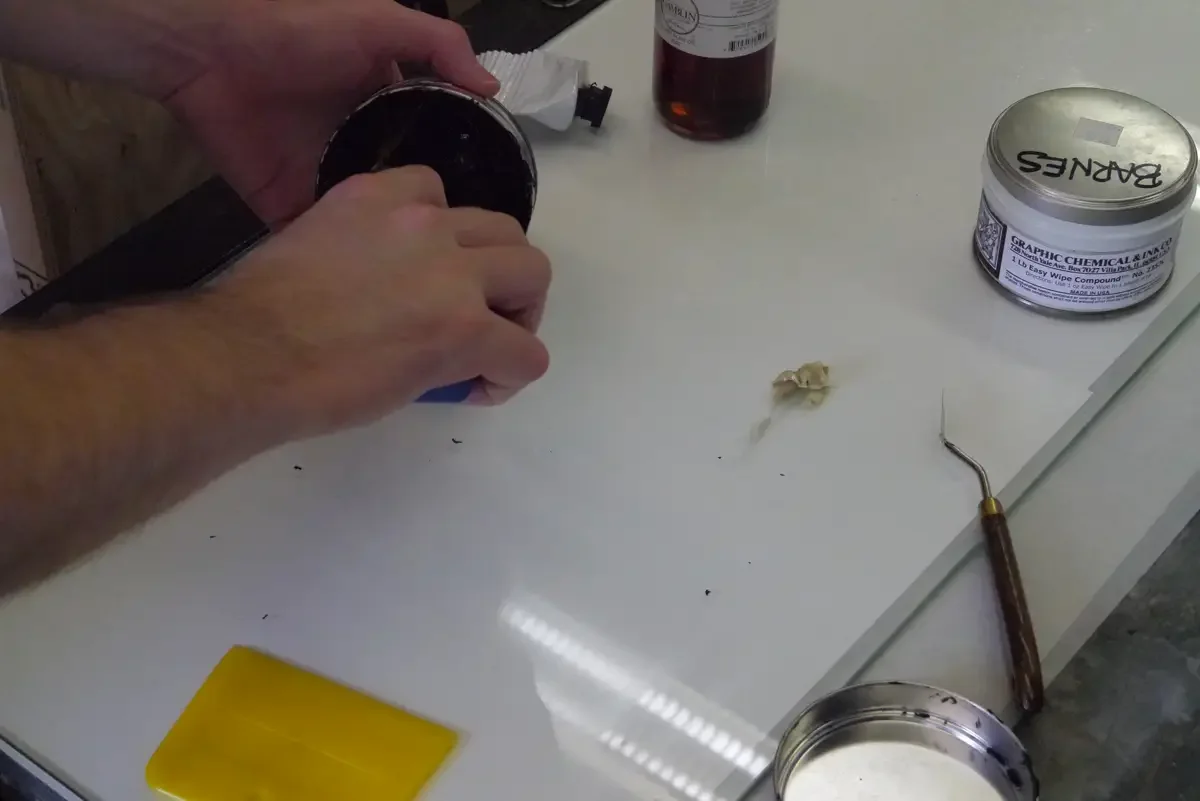
Get some ink and put it on the palette.
Be sure to scrape off even layers of ink from inside the can. At first, you will have to remove the dried film on top of all th eink. Nex, you’ll scrape off an even film of fresh ink. By making sure the ink inside the can is always level and even, the part that dries out will always be a thin coat that rests on top, making it easier to remove. If you dive the knife into the ink, exposing the lower levels to air, they will dry out and you will have chunks of dry ink in the mix.
Pour out a little bit of burnt plate oill on to the palette.
You will not need much.
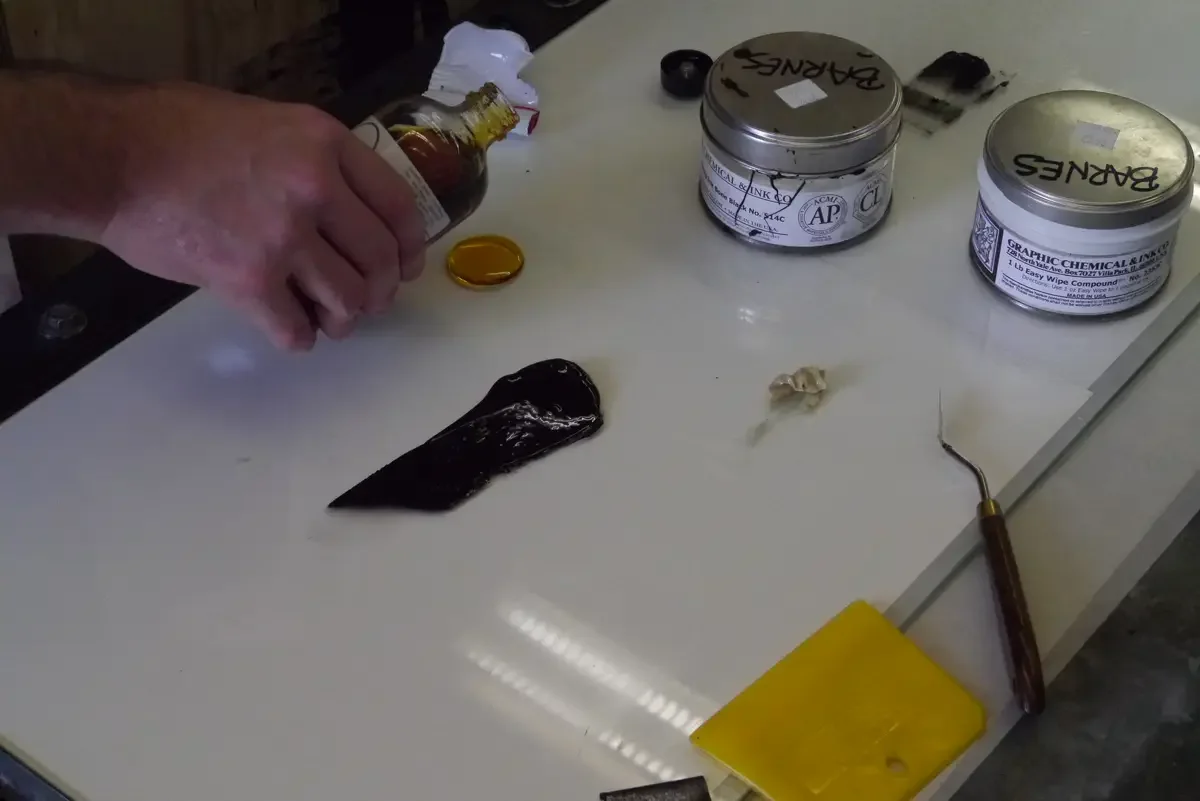
Add up to 10% tack reducer to the ink.
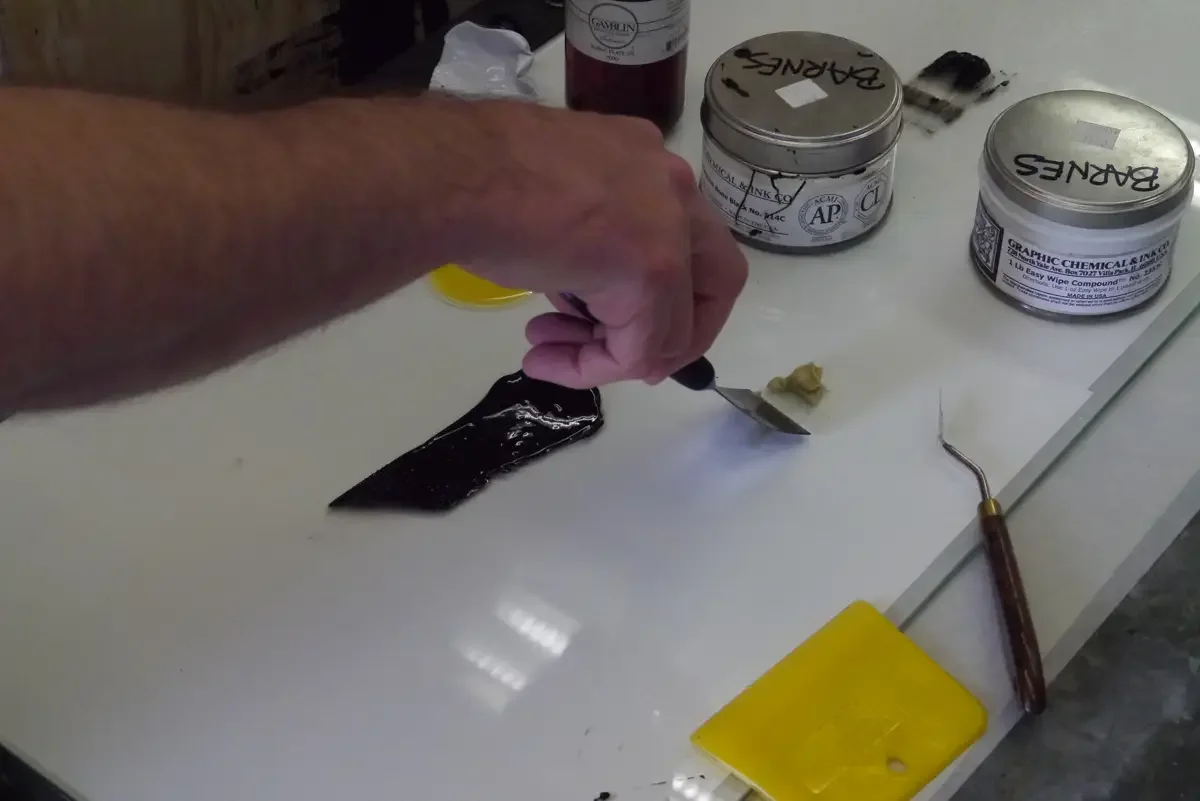
Add a very small amount of burnt plate oil into the ink.
“Draw” the ink down with the flat scraper, to start blending the plate oil and tack reducer with the ink.
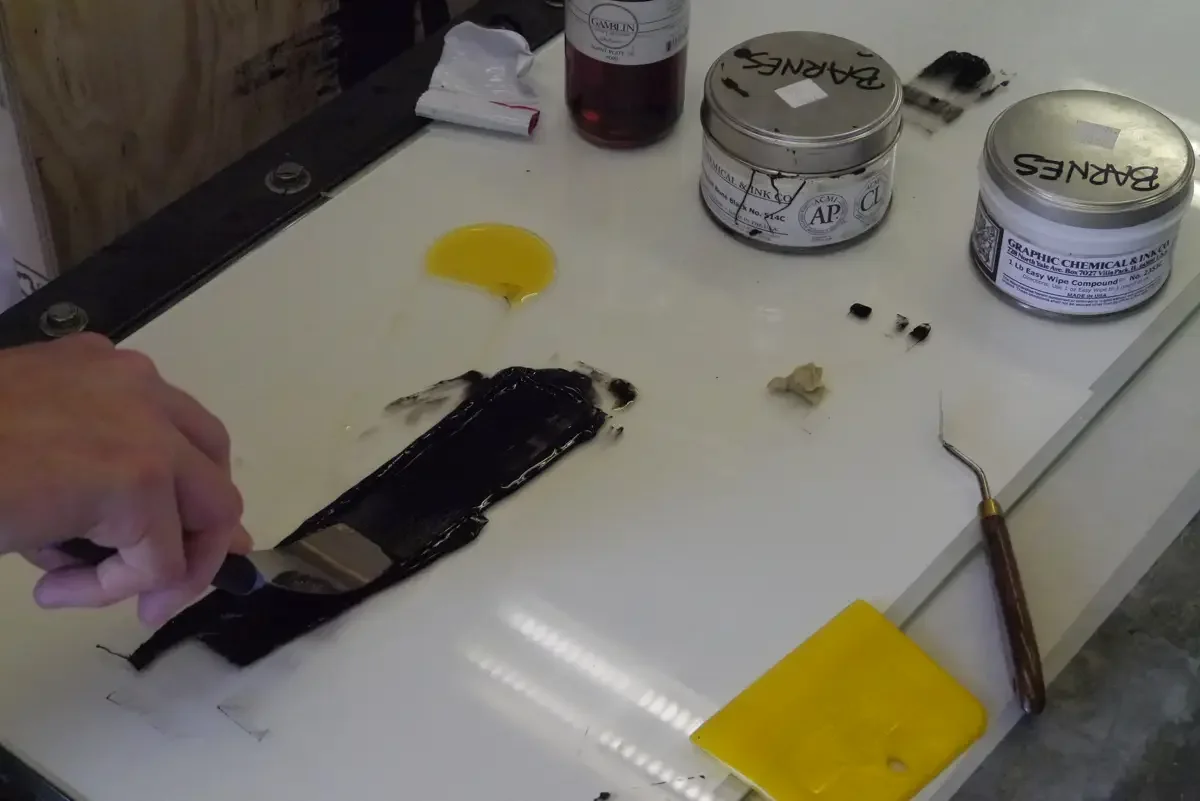
When drawn down flat, inspect the ink for dust and hardened chunks of ink. Remove them if necessary.
Scrape up the spread ink into a pile. Draw the ink down again, and again, to keep mixing the ink. It’s not a motion like mixing baking batter. The best motion is to smash the ink down and draw it out in a line, gather it all back up into a ball, then repeat the process.
Repeat until you feel that everything is evenly mixed, and that the ink is properly conditioned.
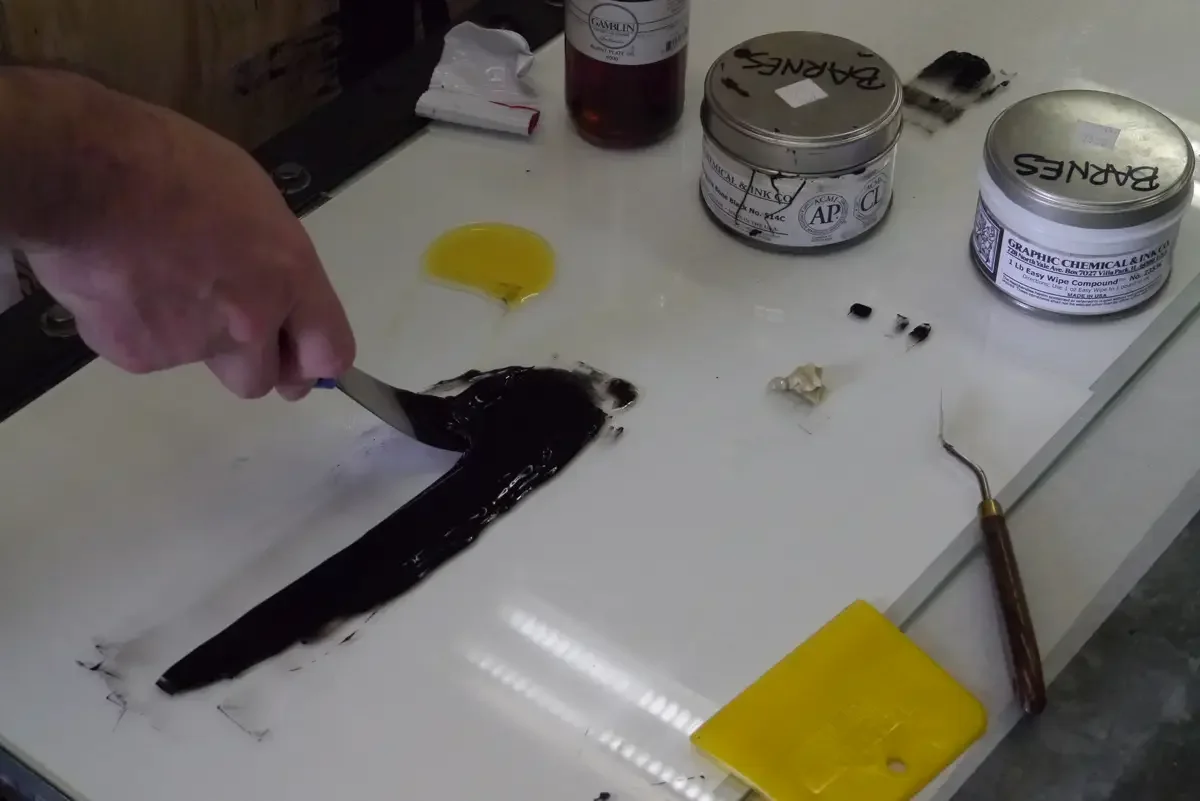
Using a soft plastic squeegee, pick up a bead of ink from the palette.
Bondo brand plastic scrapers, found in the auto body repair aisle will work just as well as any dedicated printmaking scaper.

Spread the ink evenly across the KM73 plate, gently pressing the ink into the aquatint matrix that is your image.
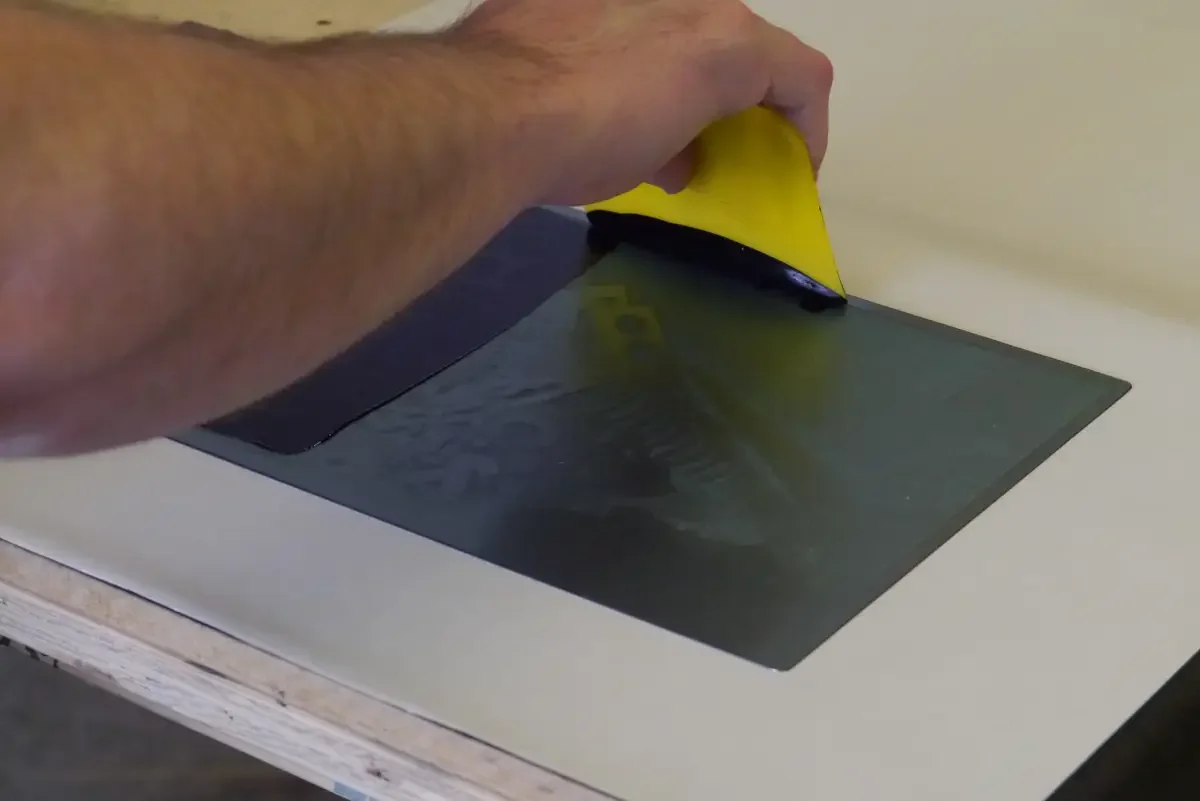
Push the ink into the recesses from more than one angle to make sure everything that requires ink will receive it. The image exists in the recesses, not the surface.
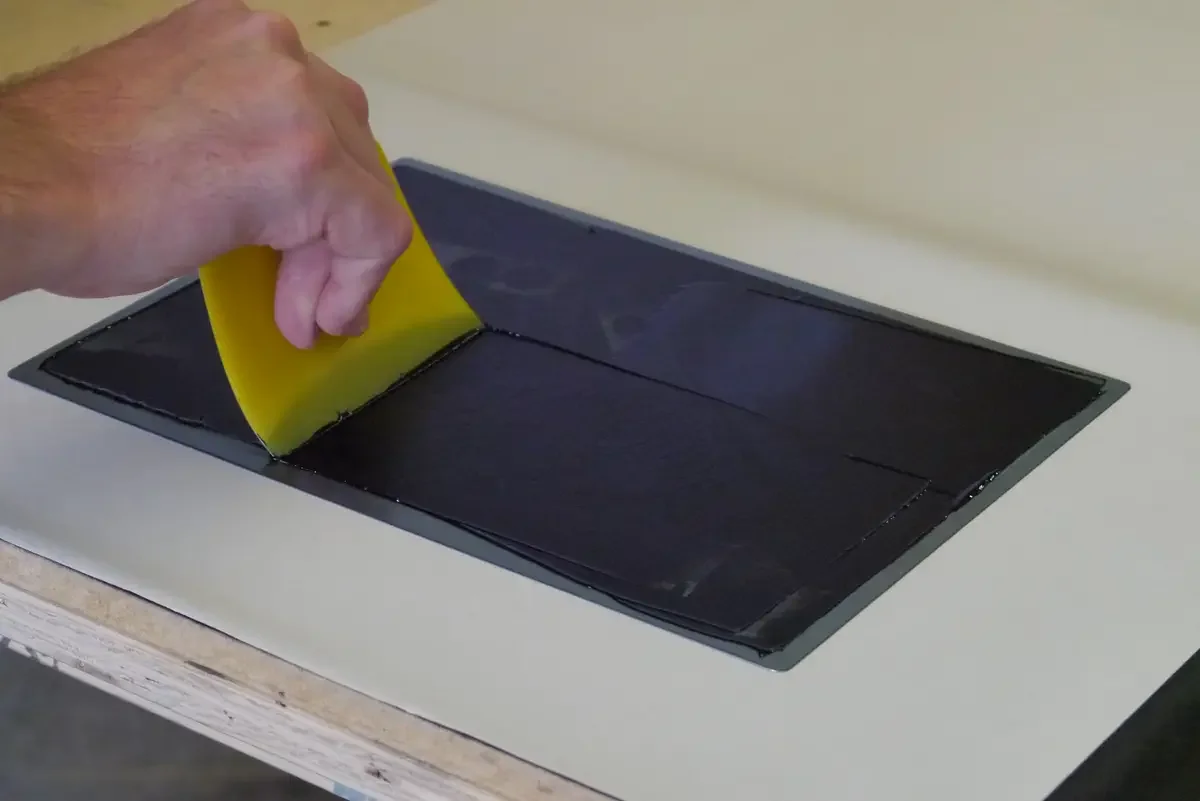
Once covered with ink, begin the process of removing the excess from the top of the plate. Do this by holding the soft plastic scraper perpendicular to the KM73 plate. Apply gentle pressure and scrape extra ink off the surface (wiping that excess onto the palette for re-use).
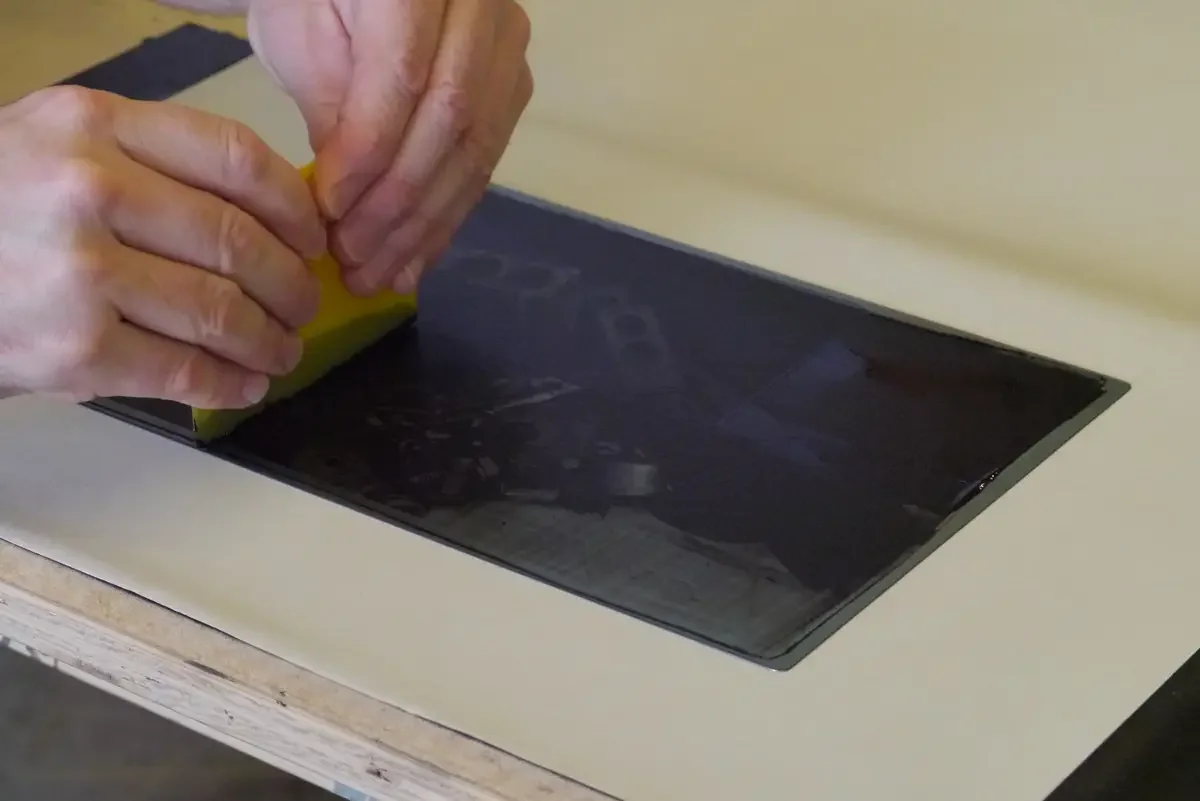
When most of the excess ink is removed form the surface, use a ball of tarlatan to continue removing ink from the surface.
The printmaker must develop a feel for the materials. This can only be achieved with a lot of practice. Beginners should remember to only use as much pressure as a resting forearm; barely more weight than required to operate a mouse on a computer.
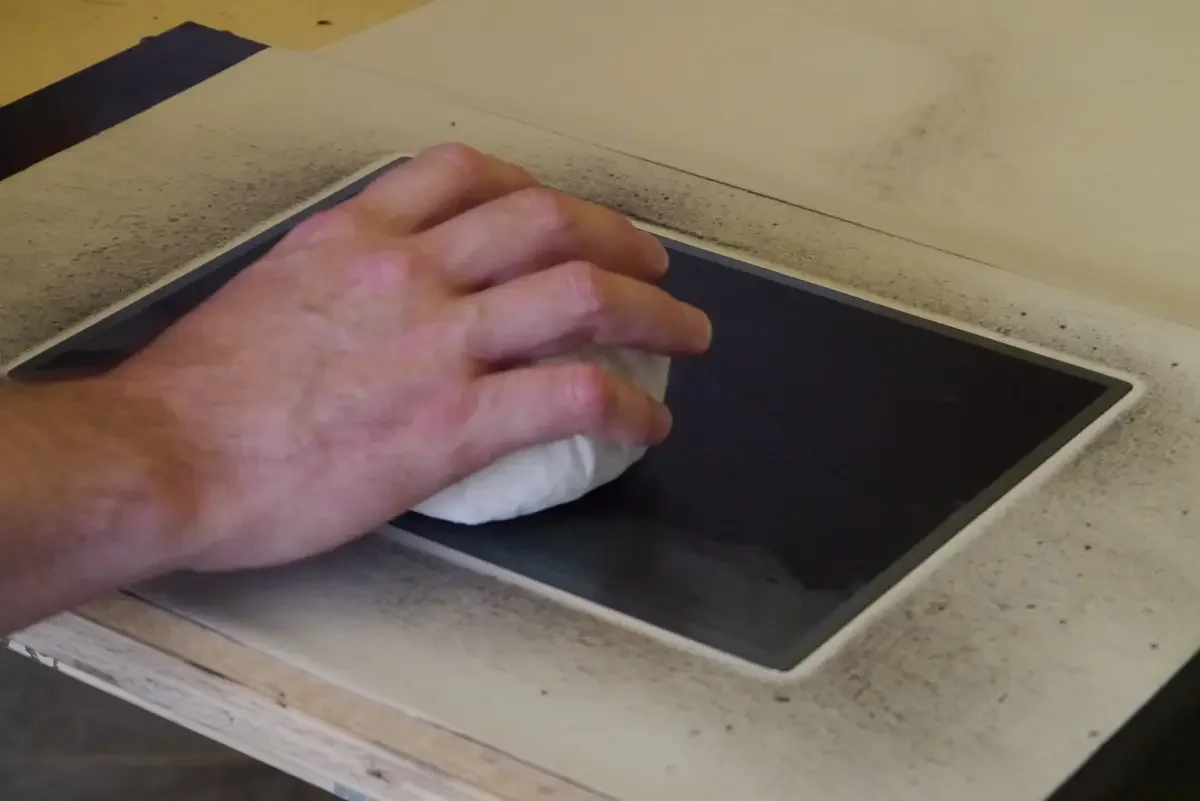
Move the tarlatan flat, across the entire surface of the plate. The idea is to remove ink from only the surface, not from the recesses that make up the aquatint matrix (your image). Stopping a wipe in the middle of the plate may change the gentle pressure of the tarlatan, allowing it to dip into one of the recesses, unintentionally removing ink.
Edges and corners that are sanded smooth make this easier.
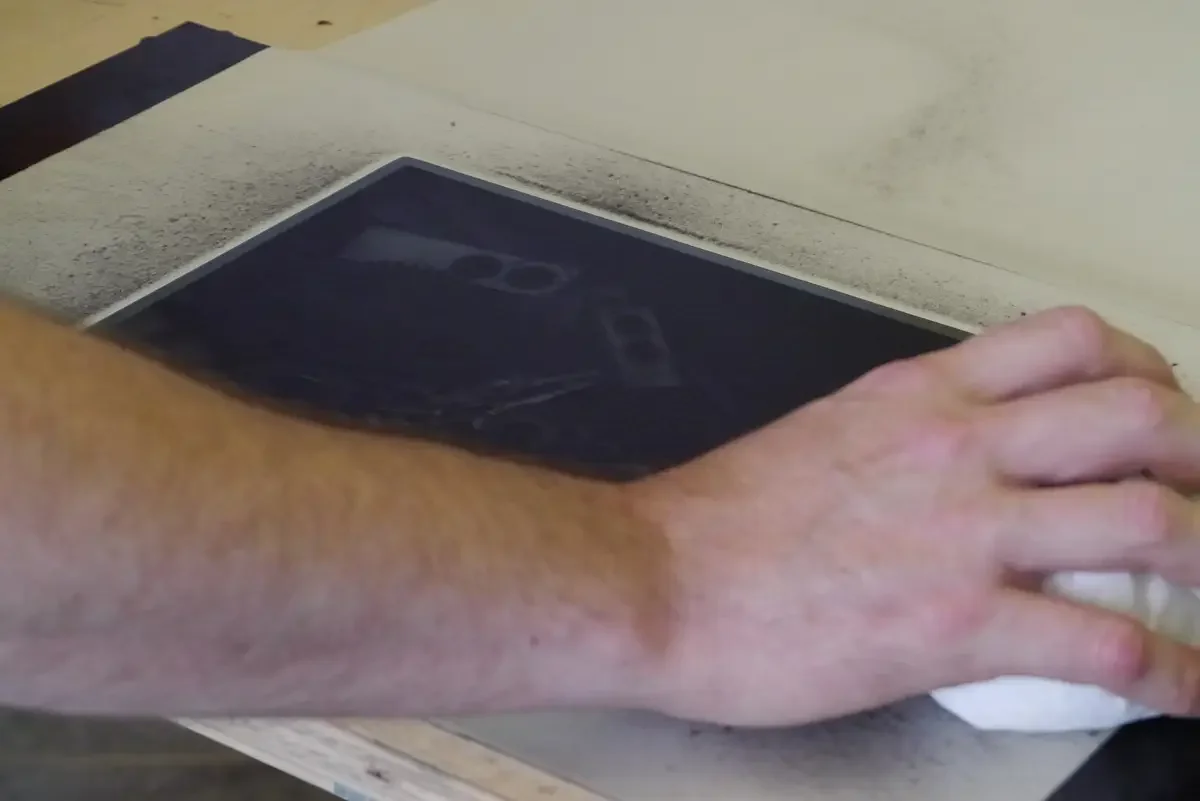
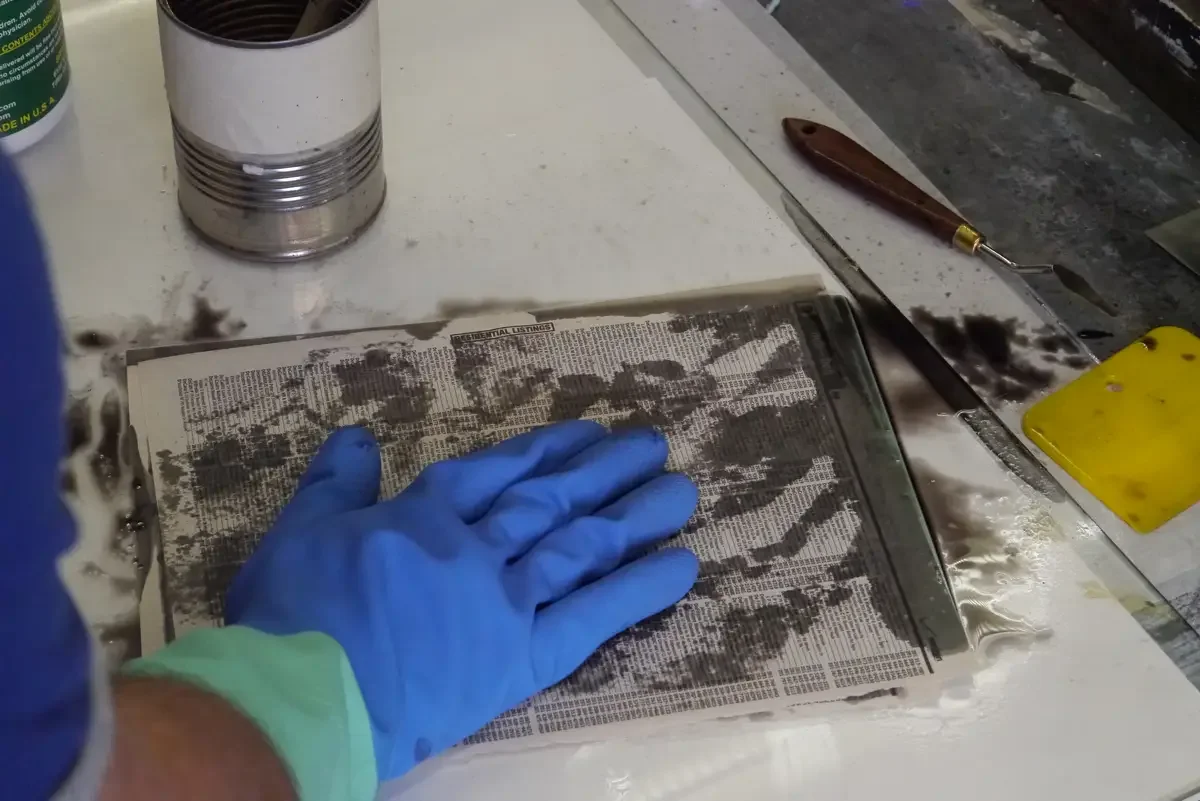
When the tarlatan has removed as much ink as it can (without taking any out of the recesses), then it’s time for a final wipe with tissue paper or pages from a phone book.
First, wipe the edges with the tip of a finger.
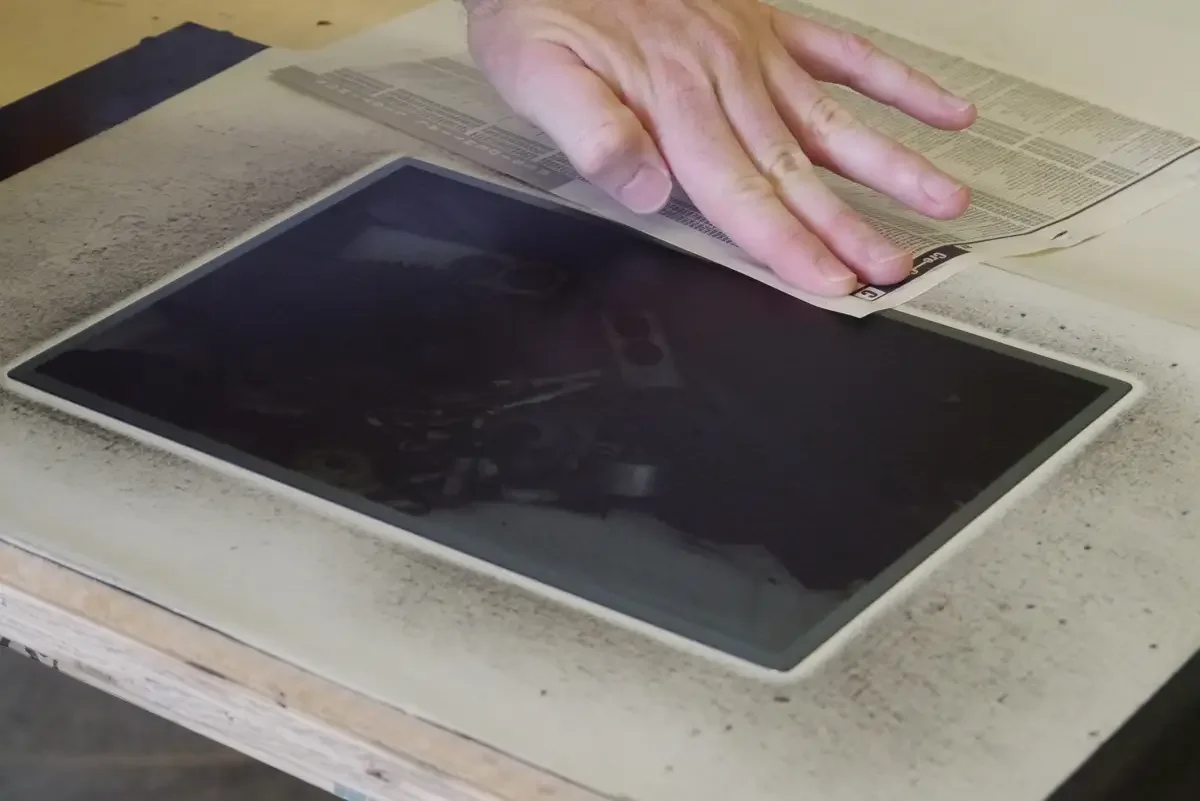
Next, with a flat palm, wipe the entire surface of the plate. Use the same light-weight approach as with the tarlatan.
Keep your hand as flat and relaxed as possible. This will polish the highlights of the image without removing the ink from the shadows.
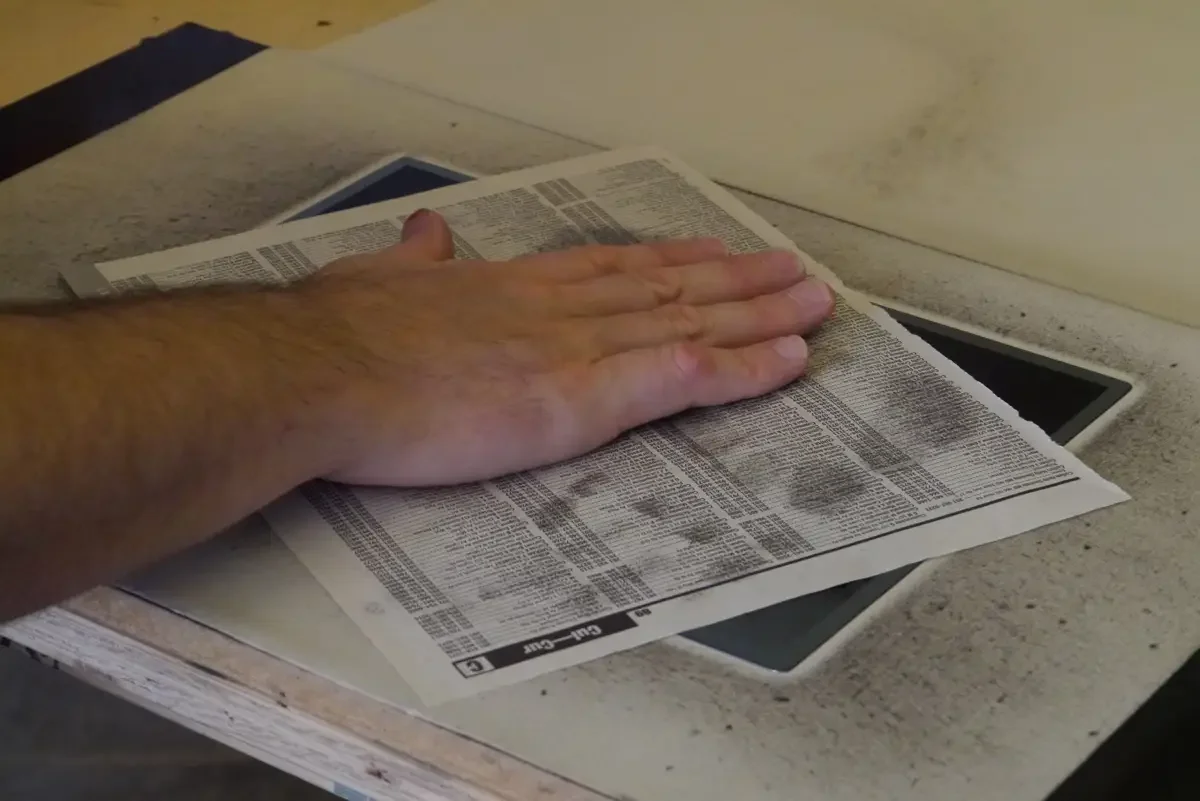
Pick the plate off the magnet with the newspring. Move the plate to the edge of the inking table.

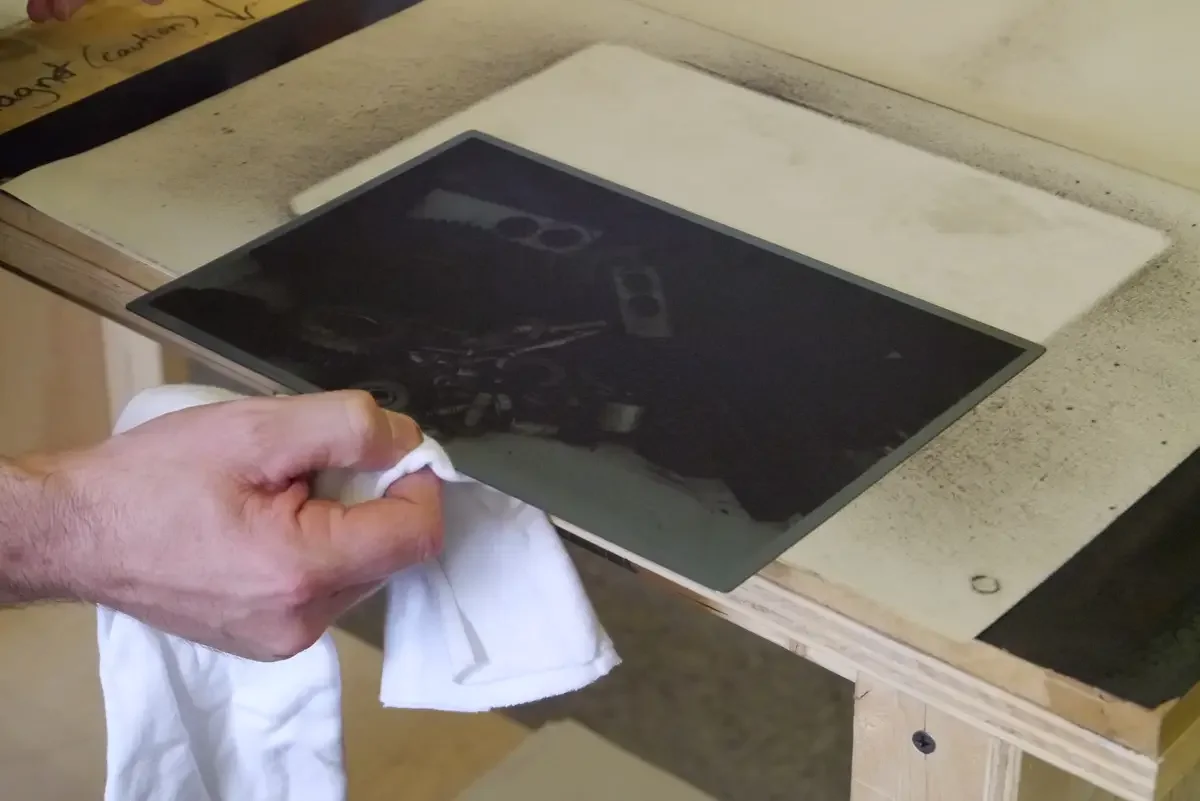
Use a cloth to wipe the edges of the plate. Make sure that the edges do not have any ink that you do not intend to print.
This part of the wiping process can sometimes take as long as all of the inking/wiping steps that preceeded it. It may seem like a lot of work for little reward, but making sure that the edges are clear can sometimes be the difference between a fair print and an excellent print.
Place the plate on the bed of the etching press with the image facing up.
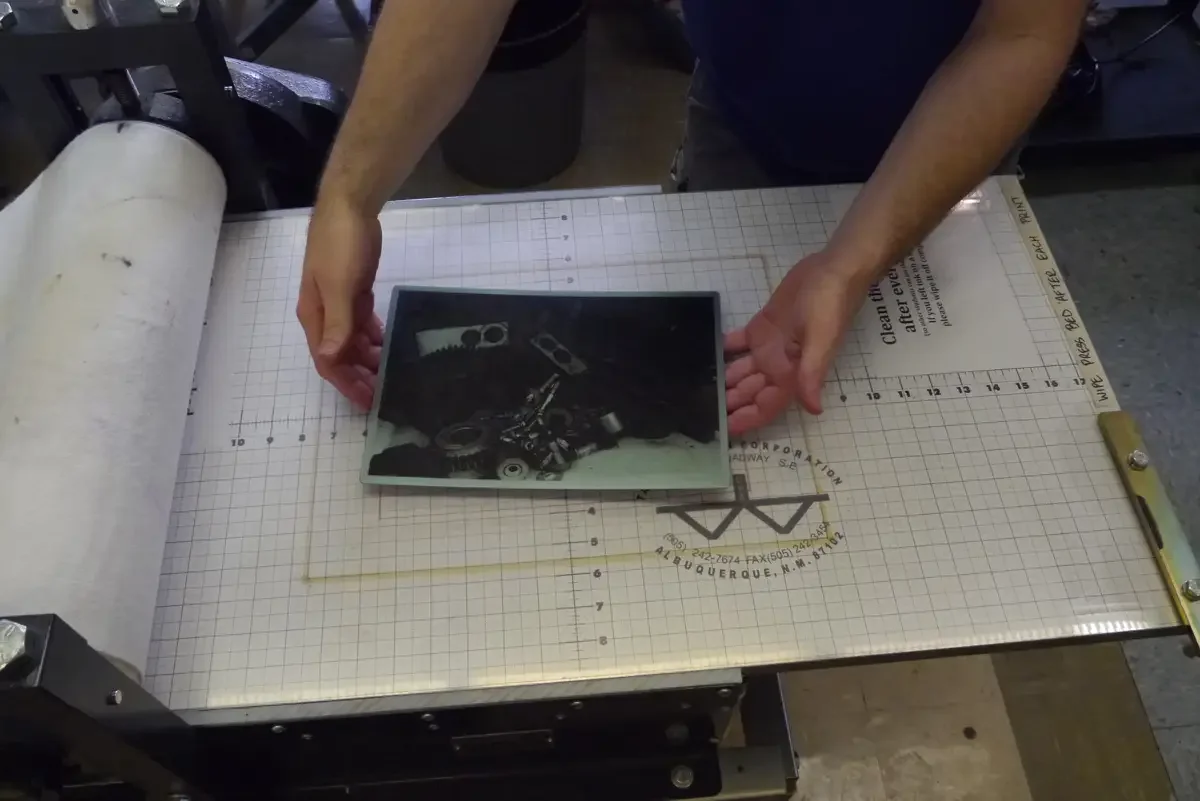
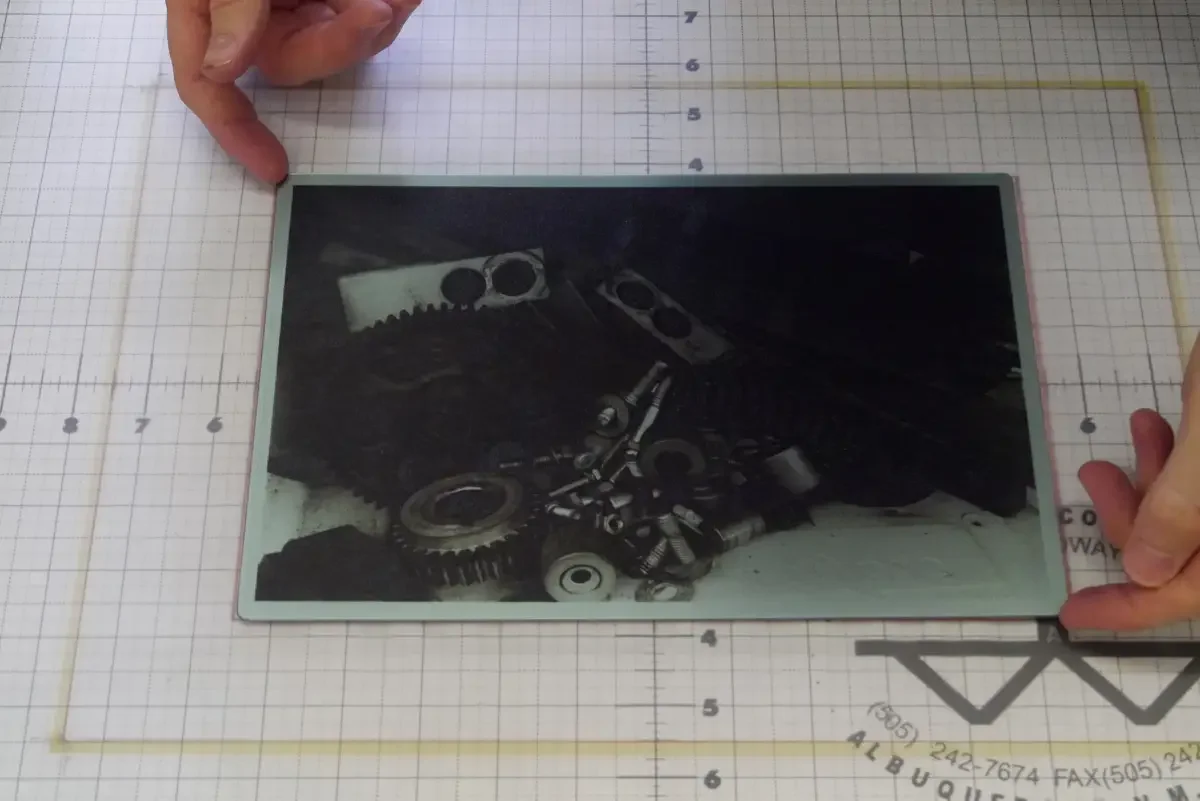
Use your fingernails on the corners of the plate to make sure it is centered on the registration marks.
Check the bed of the press for any errant ink or dirt that will transfer to the printmaking paper.
Clean your hands before you handle paper.

Finish Paper Preparations
With clean parts of your fingers, remove a piece of printmaking paper from the water. Holding the paper by one corner, let water run off until the drips are more than 1 second apart.

Place the printmaking paper on a pice of clean blotter paper.
Newsprint is used as blotter paper in this example, only because it is inexpensive. This is not the best practice since newsprint is a wood-based paper, therefore is slightly acidic. Ideally, 100% cotton blotter paper should be used. Realistically, newsprint is significantly less expensive, so can be used until you are making good prints.
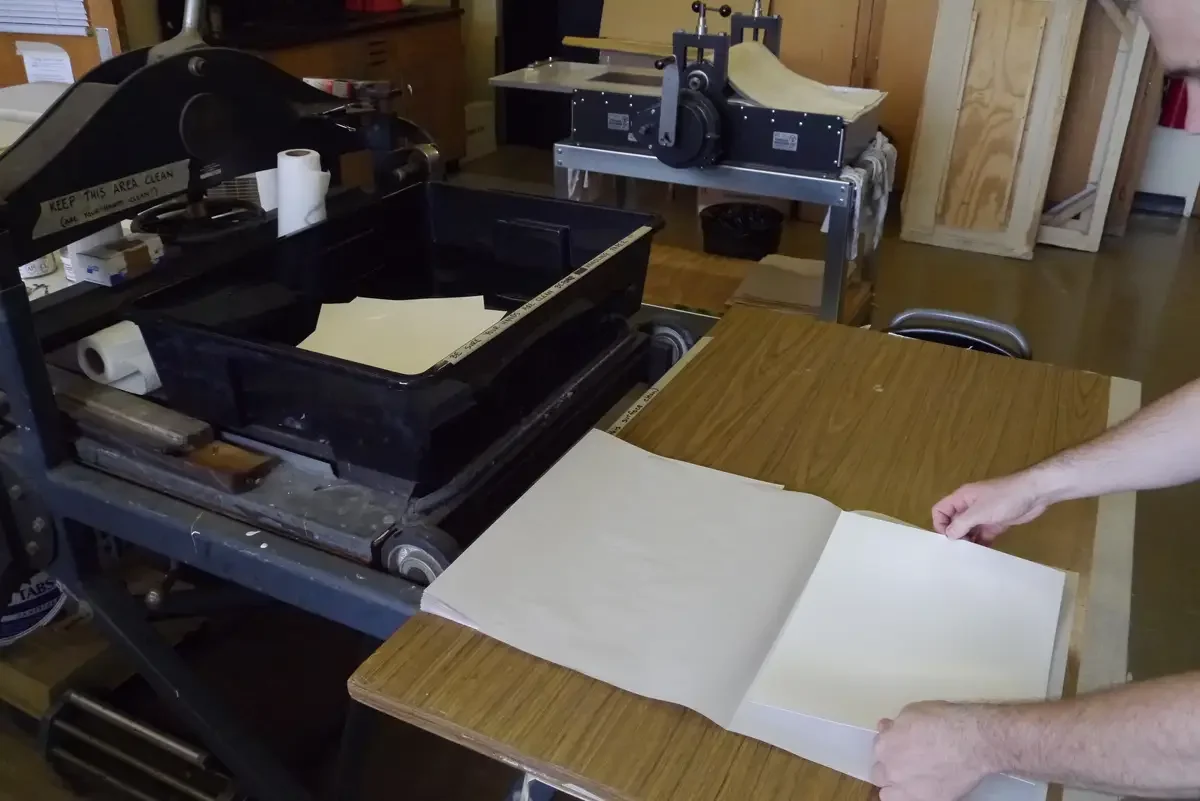
Fold the blotter paper on top of the printmaking paper (or place a second sheet on top, depending on size).

Firmly apply pressure across the surface of the blotter paper to absorb excess water from the printmaking paper.
Repeat this step a second time, with new sheets of blotter paper, to make sure that moisture in the printmaking paper is even. You should not see any standing water. The printmaking paper will be damp and cool to the touch, but not appear wet.

Line up printmaking paper with the registration marks on the bed of the press. Hold one side of the paper firmly.
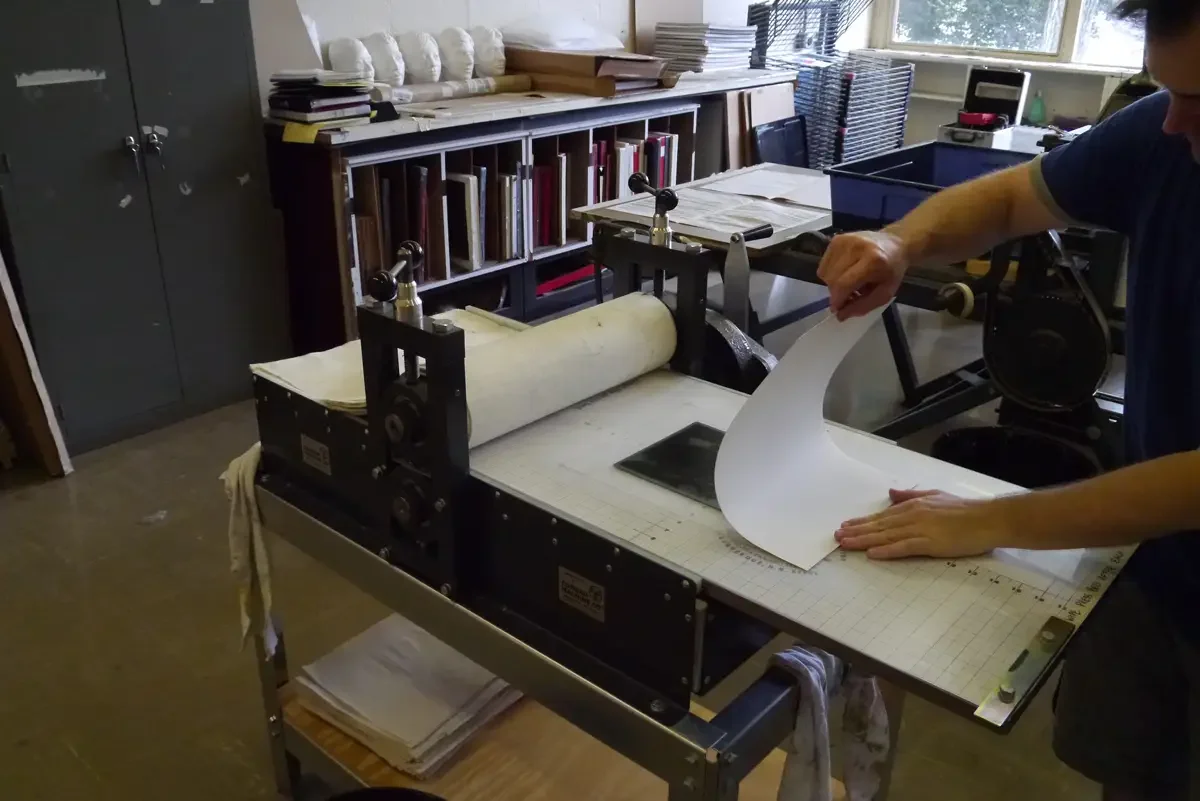
Guide the printmaking paper gently across the KM73 plate. Do not move it once it is on top of the plate or you will smear the image.
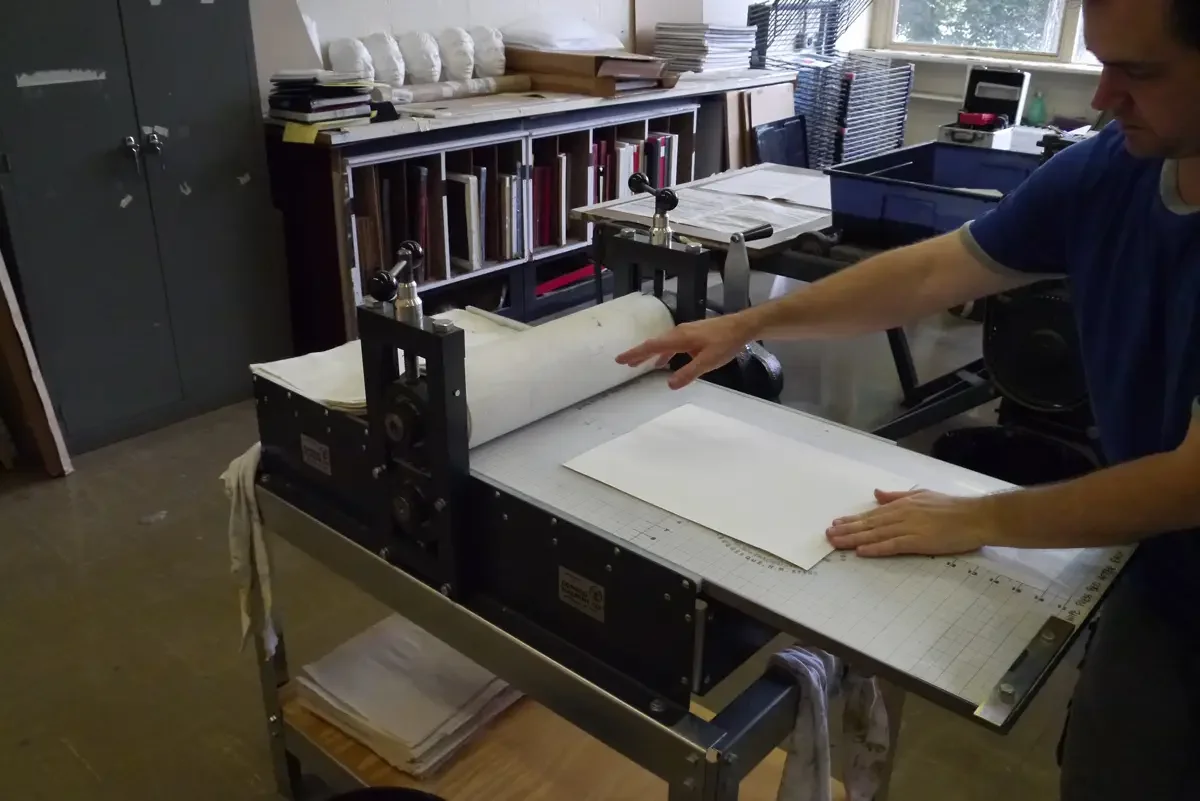
Place a second sheet of printmaking paper on top of the primary sheet of printmaking paper. This second piece of paper acts as a fourth blanket, adding pressure, but doing so in a manner that exactly matches the unique grain pattern of the printmaking paper used.
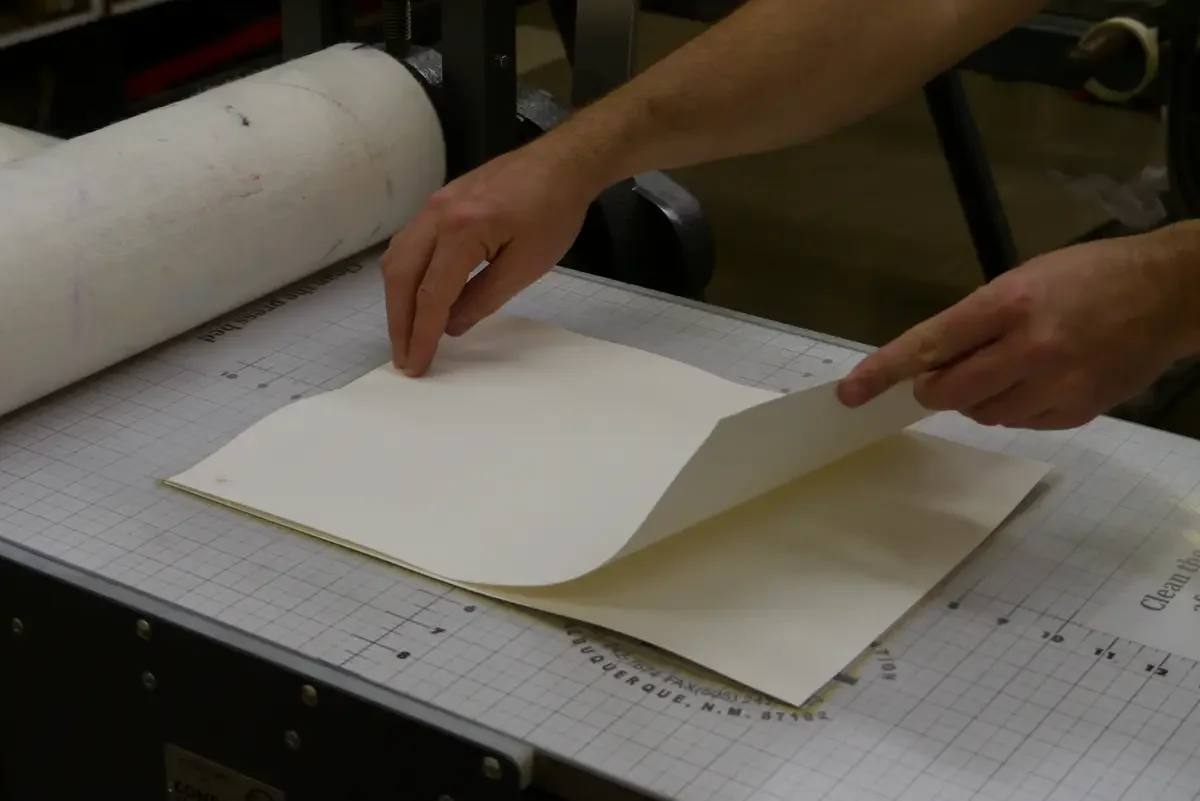
Pull the three blankets on top of the paper and plate.
From top to bottom, you will have a stack of:
etching press roller
pusher blanket
cushion blanket
catcher blanket
extra piece of printmaking paper
damp primary printmaking paper
polymer plate (KM73 in this example)
bed of the press
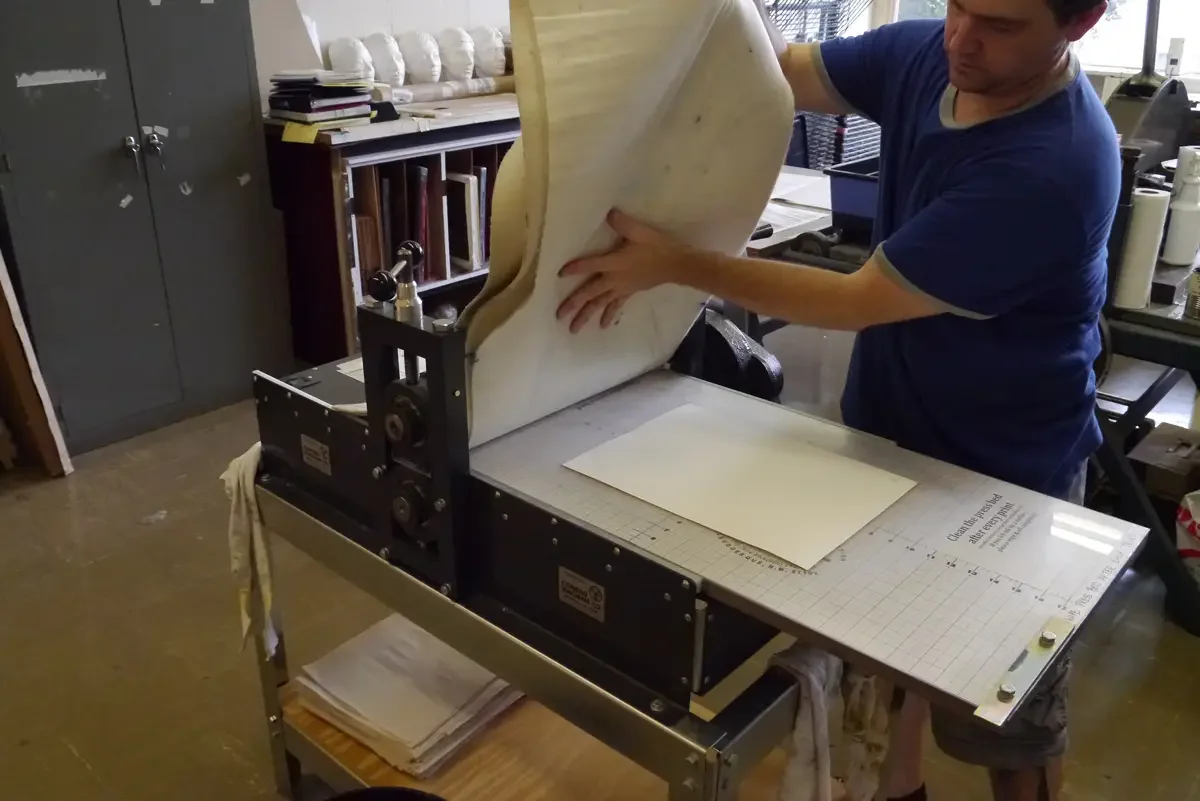
Make sure the blankets are flat and lined up to feed through the etching press rollers.
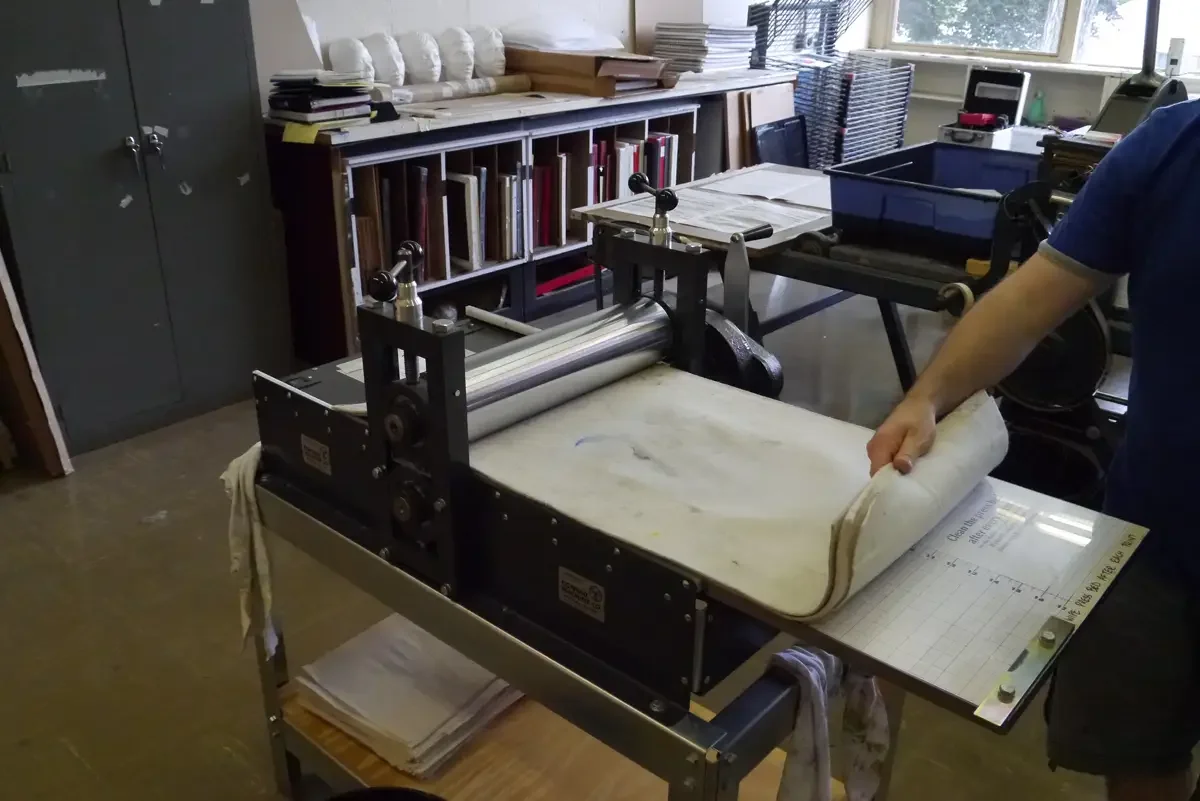
Run the plate, paper, and blankets through the press at a slow, steady pace.
Do not stop in the middle of the plate or you may see a strange mark in the image. Slow and steady is the key to good printing. You are part of the machine in this step.
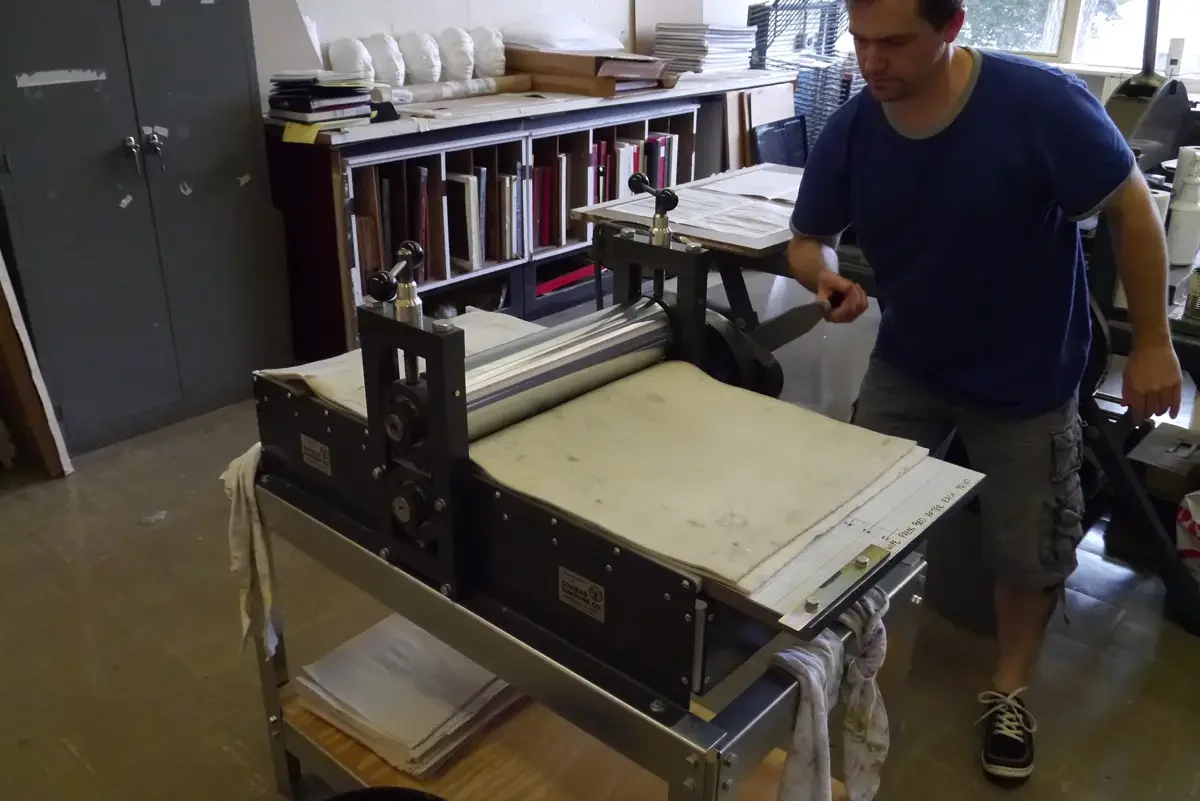
You will feel the plate feed under the rollers, and feel the pressure reduce when the plate is finished passing under the rollers. Make sure that enough of the bed has passed under the rollers for you to retrieve your print. Running the bed full from end to end is a good habit that will ensure everything is printed and that you have enough room to retrieve your print on the other side.

Pull back the blankets and remove the extra piece of printmaking paper.
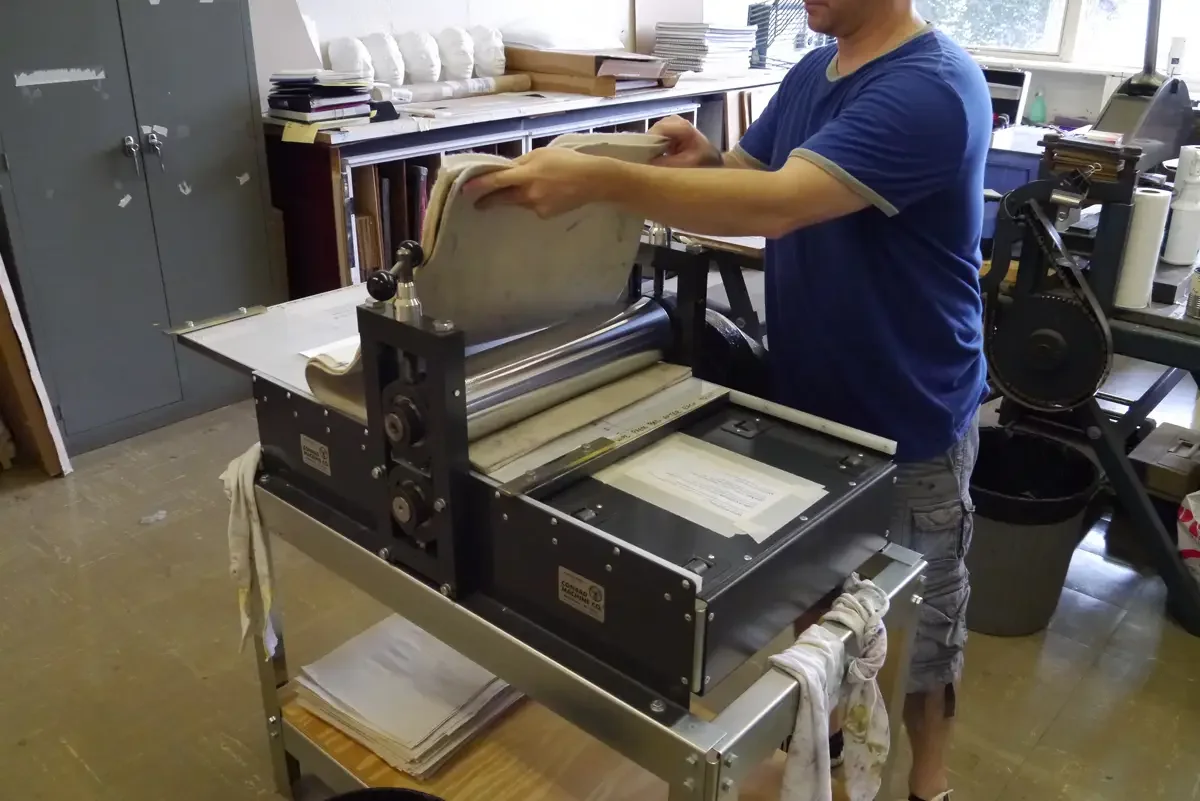
Lift up one corner of the damp printmaking paper, and peel it off the plate, revealing the print.
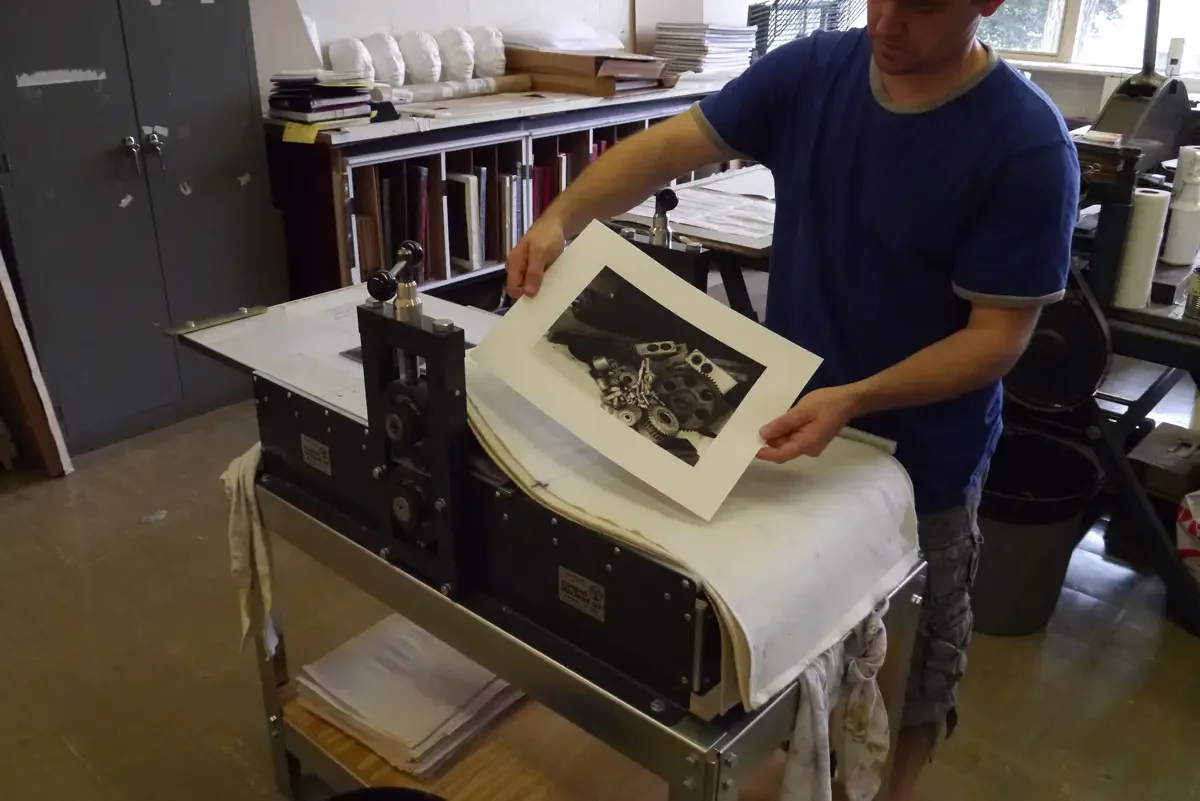
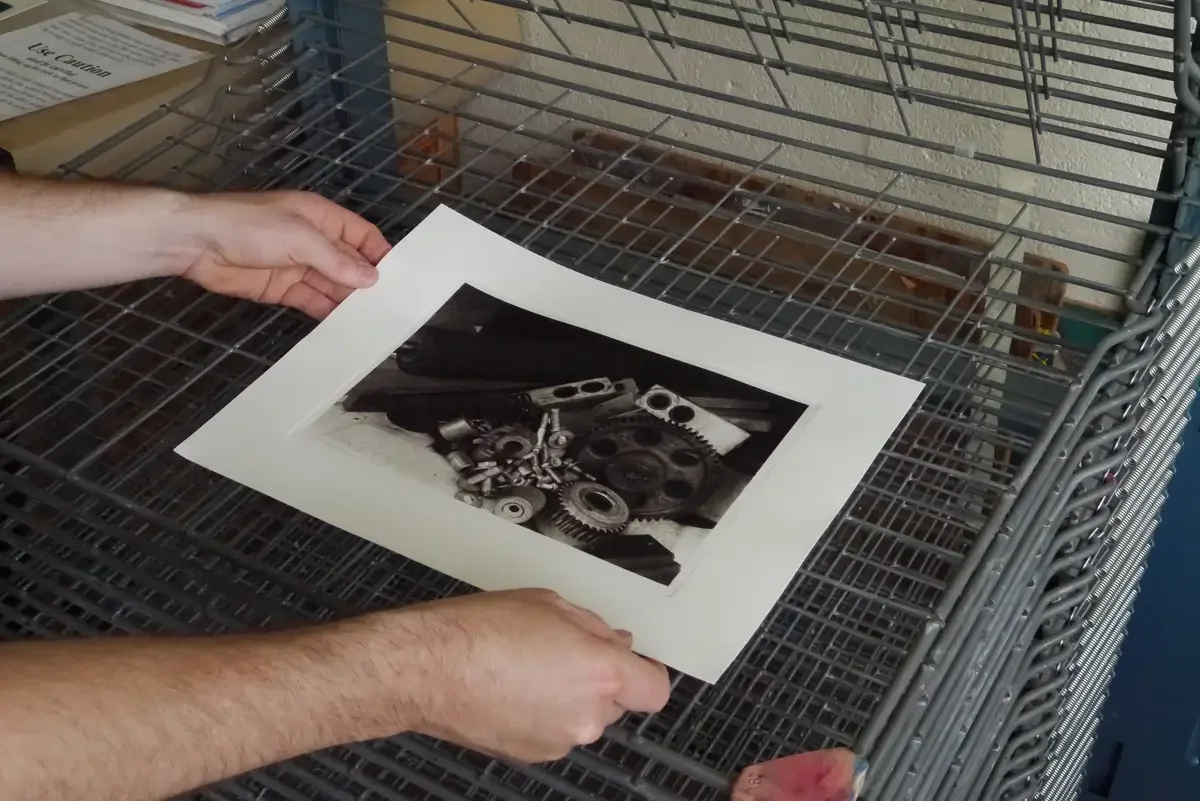
Place the print on a flat dry surface so that the paper can dry and the ink can cure. The print can be handled in 24 hours, but the ink needs at least a week to cure before you can store it (stack it) with other prints.
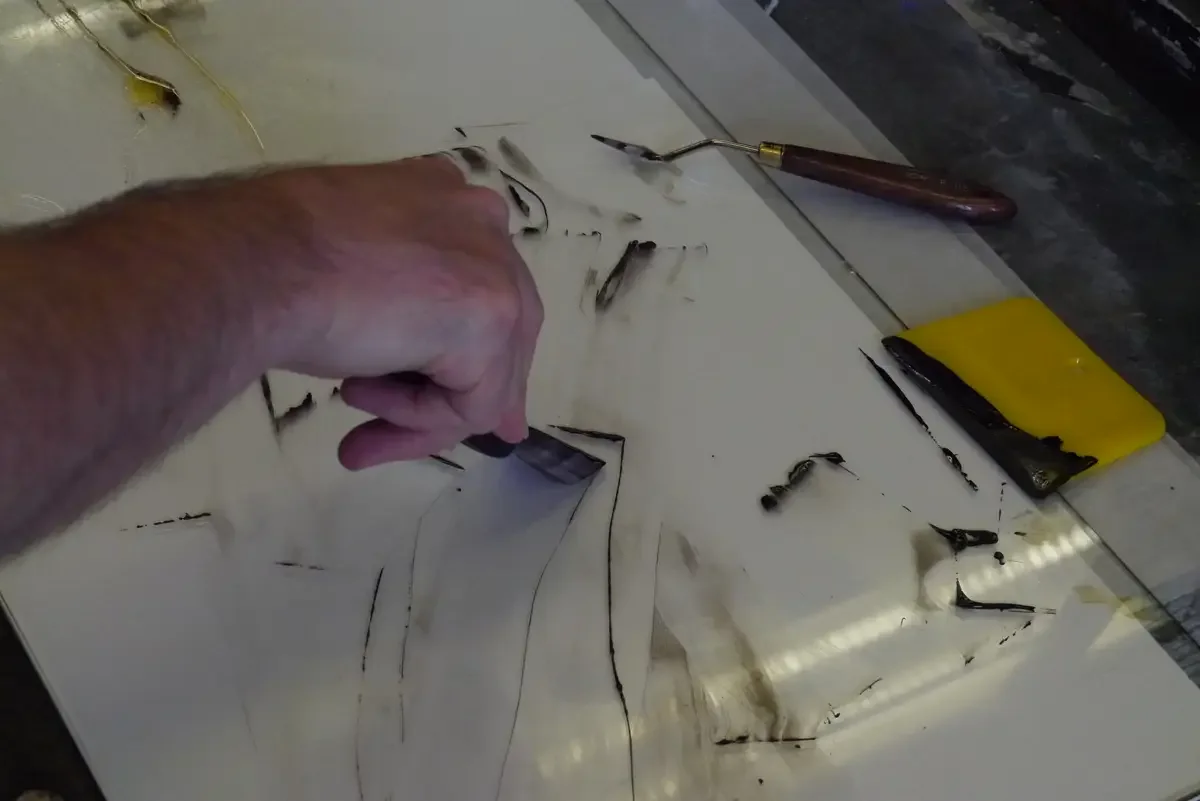
After you have made many prints, use the flat scaper to remove excess ink from the glass palette. Most of the cleanup relies on physcial work like scraping and scrubbing. 98% of leftover ink can be removed with a scraper and one paper towel.
Wear gloves when cleaning up.
Open a window, or use direct ventilation (depending on the requirements of the solvents used).
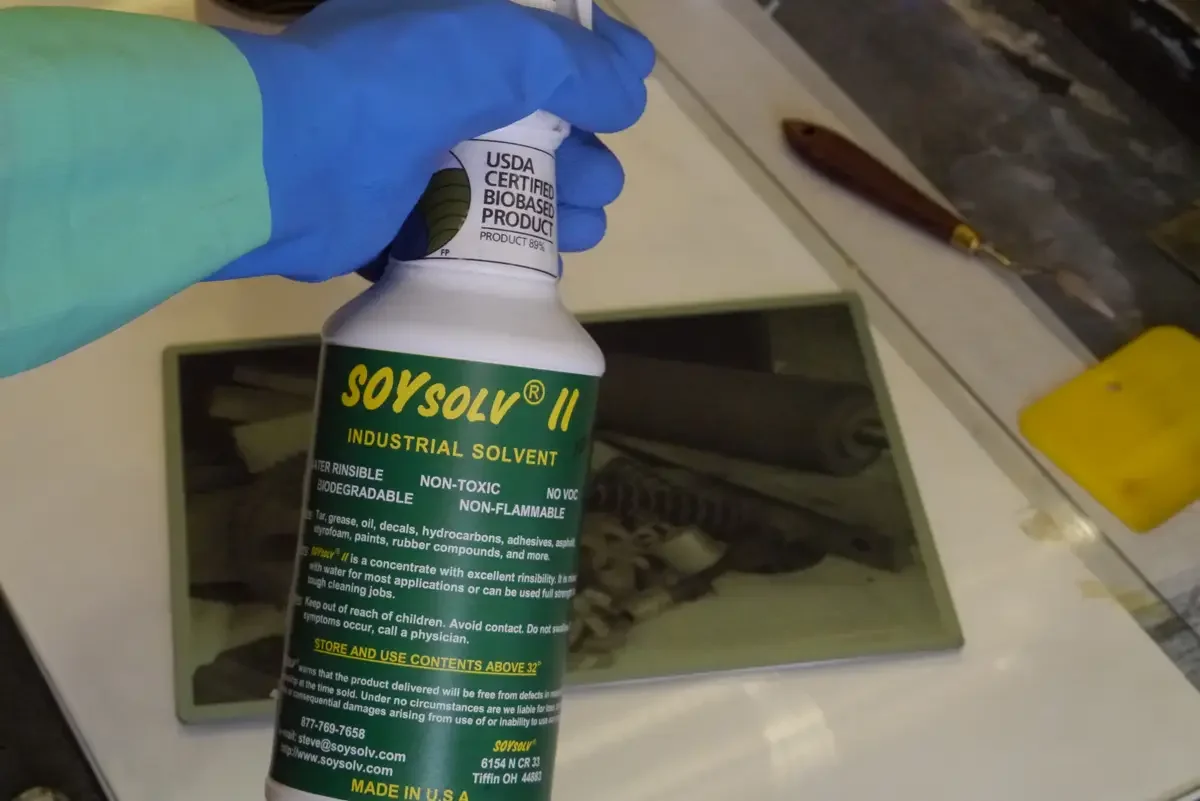
Spray some SoySolve II on the KM73 plate. Let it stand for 2 minutes as it emulsifies the ink.
Other solvents work too (at your own risk). Mineral spirits (odorless or not) are petrochemicals, thus should be used as little as possible. Turpentine will irritate skin and lungs. Mineral oil, baby oil, vegetable oil work quite well since they emulsify oil-based ink, and do not give off irritating vapors.
Once the ink is emulsified, use a soft brush to gently scrub the plate, pulling ink from the depths of the aquatint matrix.
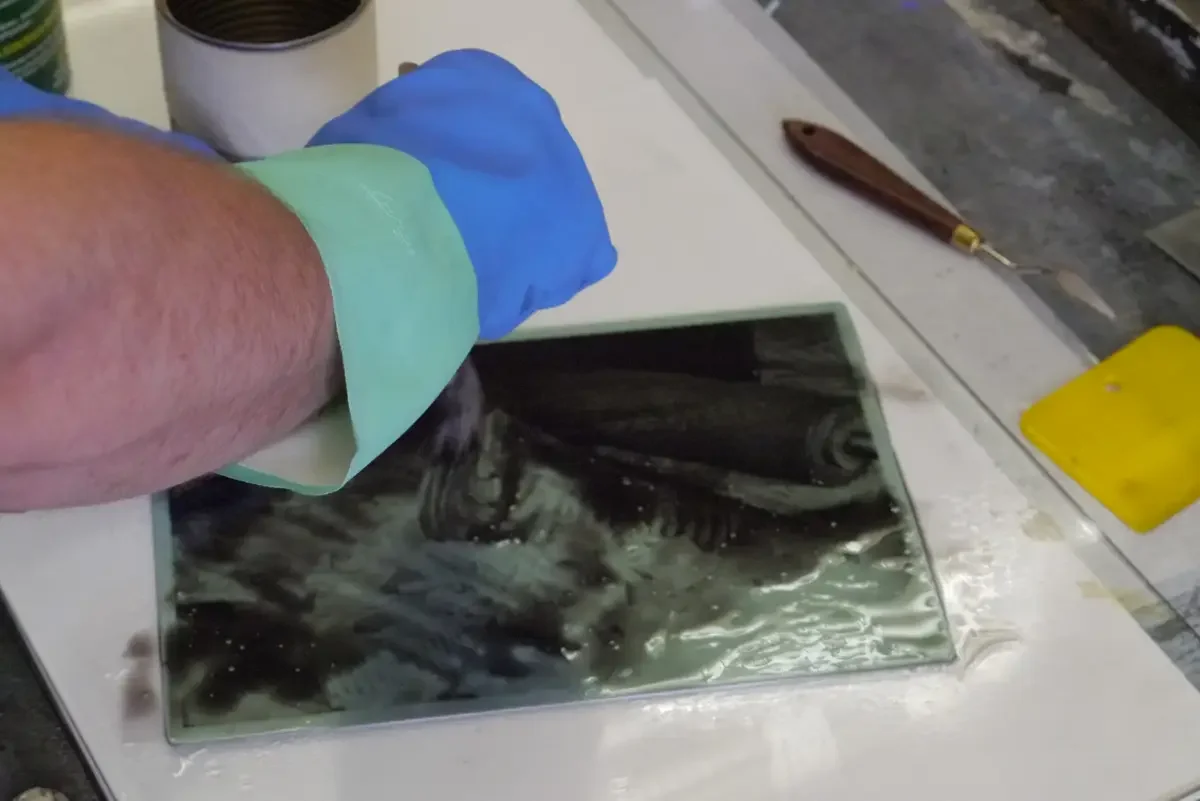
Use old pieces of newsprint or phone book pages to absorb the SoySolv II & Ink mess. Repeat this process until the plate is clean. It will have been stained during the first print run, thus not appear as pristine as when it was first made. But, the plate should not have any significant signs of ink left on it.
Caution: solvents and oils are subject to self combustion. Dispose of all rags and paper that contain oil or solvents properly.
Frequently Asked Questions
Why does printmaking paper need to be dampened before printing?
Damp paper is flexible enough to reach into the recessed aquatint matrix and pull ink from the plate. It also has wicking properties that allow ink to spread evenly across the surface, producing smoother tonal transitions. Paper that is too dry will not reach into the recesses. Paper that is too wet will damage easily under press pressure and produce uneven results.
What is tarlatan and how is it used in intaglio printing?
Tarlatan is a stiffened cheesecloth used to wipe excess ink from the surface of a printing plate while leaving ink in the recessed areas. It is folded into a ball with a smooth, flat working surface and moved across the plate with light, even pressure. The goal is to clean the plate surface without removing ink from the aquatint matrix that forms the image.
What is burnt plate oil and why is it added to etching ink?
Burnt plate oil is a processed linseed oil used to adjust the viscosity of etching ink. Adding a small amount makes the ink easier to work into the plate recesses and easier to wipe from the surface. Burnt plate oil #000 has very low viscosity and is used to loosen stiff ink. Burnt plate oil #2 is closer in viscosity to the oil already in the ink and is used for finer adjustments.
Why is a second sheet of printmaking paper placed on top of the first before running through the press?
The second sheet acts as an additional blanket, adding pressure that matches the exact grain pattern of the printmaking paper being used. This helps achieve even ink transfer across the entire image area, particularly in the lighter tonal values that require the most pressure to print cleanly.
How do I know if my etching press pressure is correct?
Run a dry plate through the press with dry paper and blankets first. The paper should show a clear plate mark and possibly a faint image impression. If no plate mark appears, pressure is too low. I paper wrinkles or tears, pressure is too high. Fine-tune with dampened paper during the actual print run, as damp paper responds differently than dry. Record pressure settings every time you print.