Finding Base Exposure Time
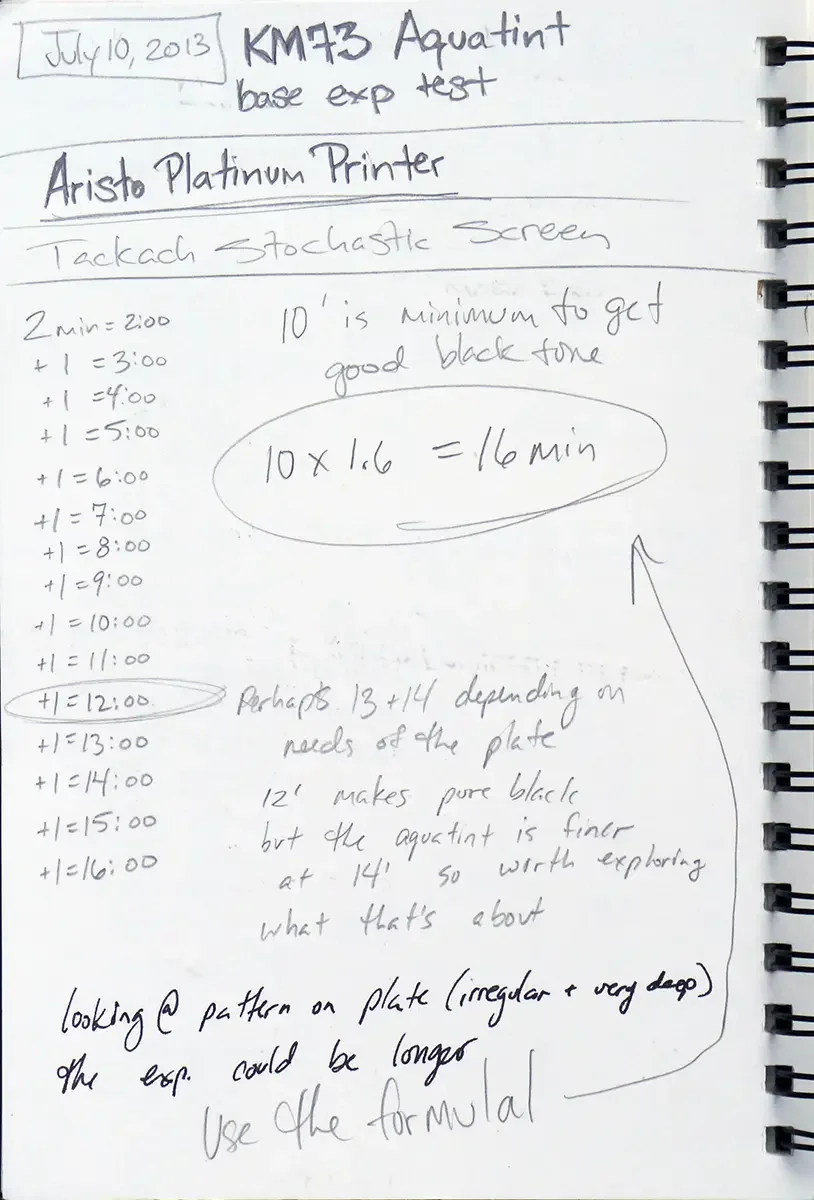
The base exposure time is the minimum time needed to achieve 100% black. The time is different for each person’s workflow because of several variables that affect the intensity of ultraviolet radiation.
Strength (and type) of UV Light
Different exposure units emit more or less powerful levels of ultraviolet light. They will also emit different wavelengths of ultraviolet light. Many commercially available exposure units are calibrated to emit between 340 - 370 nm, but you need to check the bulb type to confirm.
Distance from UV Source
The farther away the plate is from the light source, the less UV it will receive over the same time. The plate will need more exposure time the farther away it is from the UV source..
UV Absorbing Layers
Glass and plastic block varying amounts of ultraviolet light. Thicker glass or plastic will block more UV light than thinnner glass or plastic. The image transparency is made of plastic, and will block some ultraviolet light before it has any ink printed on it. Glass (or plastic) in the exposure unit, glass (or plastic) in a contact frame will block some UV light. Acrylic sheet (“plexiglas”) will block UV light much more than simple window glazing glass. (caution: while these layers block small amounts of UV light that will make a difference in your pictures, they do not block enough to make the work environment safe for your eyes. Protect your eyes by making sure your system does not have any places where light can escape. Wearing UV-blocking safety glasses adds another layer of protection)
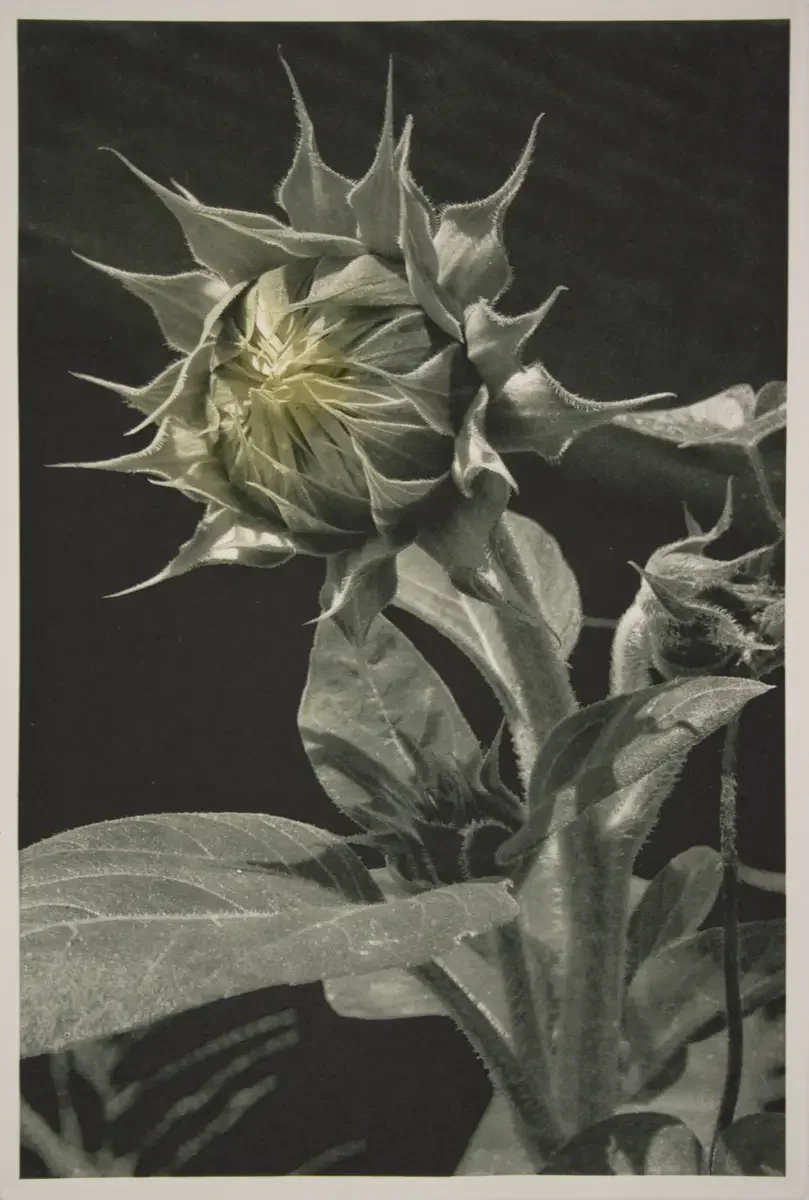
Photogravure is an intaglio printmaking process. Traditional copper photogravure uses an aquatint pattern (made with rosin) to create a very fine dot matrix in which the artist controls the depth of each dot. The deeper the dot, the more ink it wil hold. More ink means deeper tone. Less ink means lighter tone. Polymer plates are fine enough to hold a similar dot matrix. However, the way the “aquatint” is created is different. Instead of using fine grains of rosin, polymer plates must be exposed to a film that has a random dot pattern (typically a stochastic screening process that appears random to the human eye). The “stochastic screen” creates the “aquatint” on the polymer plate. The terms “stochastic screen” and “aquatint screen” are used interchangablely in many printmaking circles.
Each artist must experiment to discover how long to expose the polymer plates, with the stochastic screen, to make a good enough aquatint pattern to print 100% black. Once that base exposure time (minimum time) is found, a simple calculation can be made to find the optimum exposure time.
Optimum Time Calulator
Base Exposure Time x 1.6 = Optimum Exposure Time

The Process
With the safe light turned on in the darkroom, take out one of the polymer plates and place it on the contact frame. Trace a line around the plate. If the frame has a black backing, you can use masking tape to create a line around the plate.
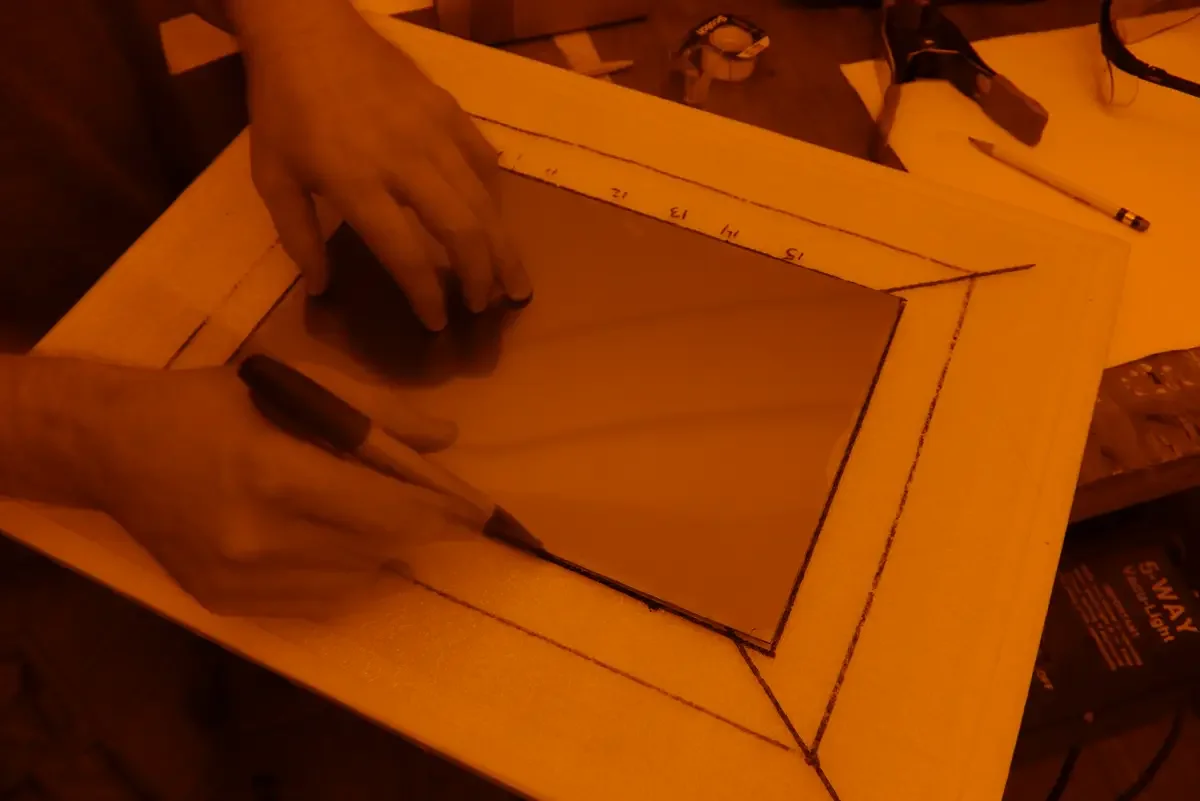
Make marks at regular intervals outside the traced rectangle. These will help guide you as you expose different parts of the plate for different amounts of time.
Times can vary from just over 1 minute to well past 16 minutes. If you do not know the intensity of your system, you may want to make many marks, allowing you to make many exposures.
I heard of someone who made a first set of exposures in 3 minute increments. After analyzing the plate, they created another experiment in smaller increments for more precision.
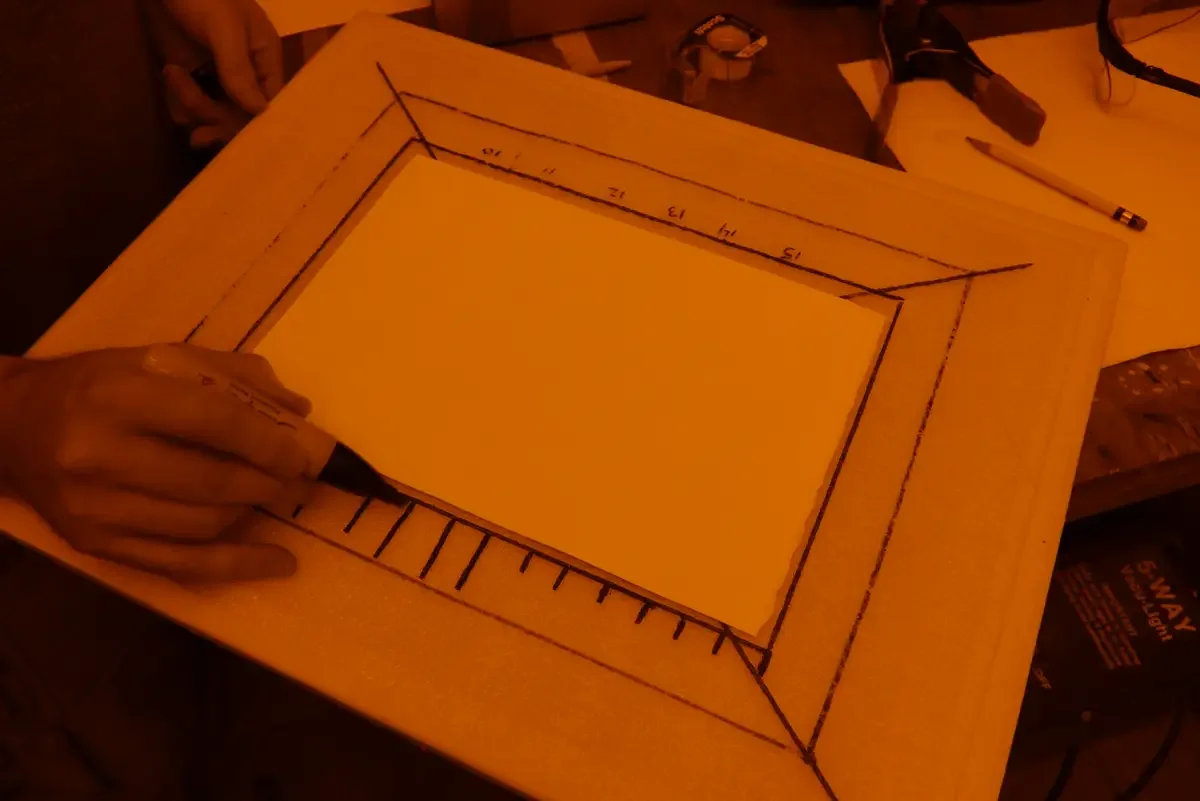
Write the times on the contact frame (or masking tape). Do not rely on memory to record the exposure time.
The experiment shown in this section exposed this plate from 2 minutes to 16 minutes, in 1 minute intervals.
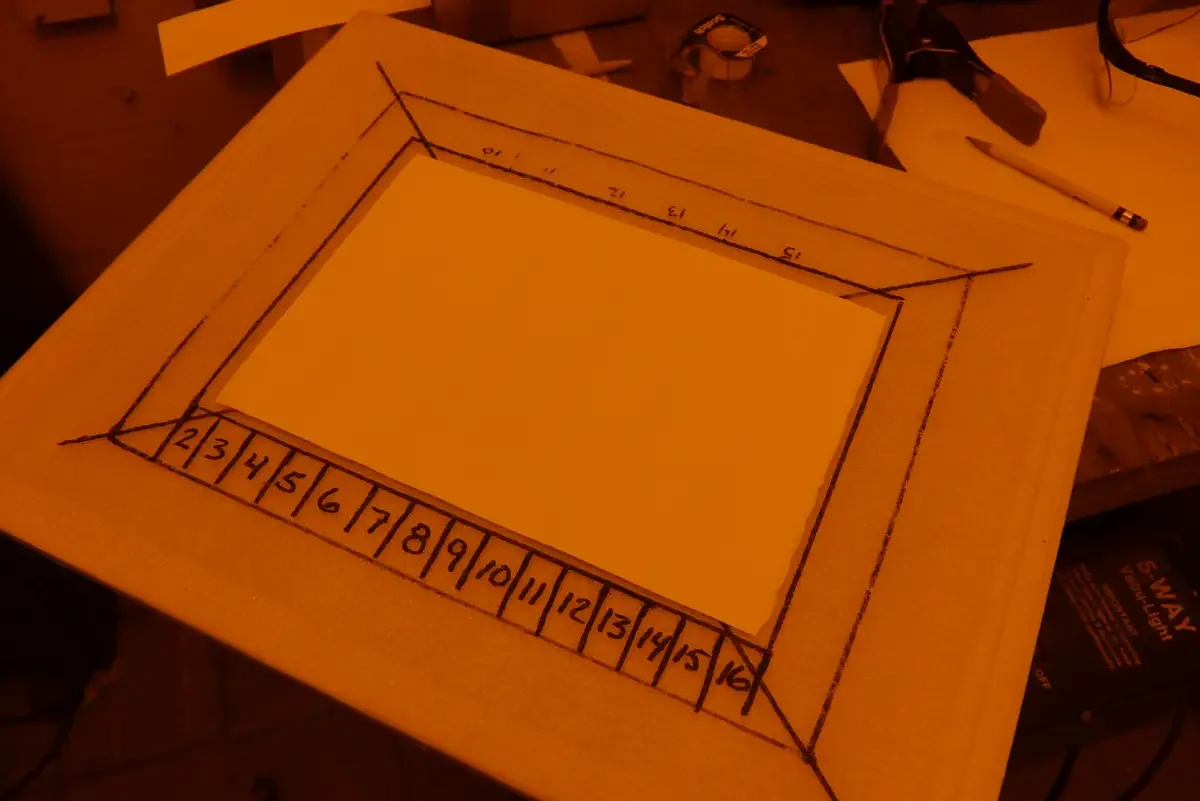
Remove the protective film from the top of the plate.
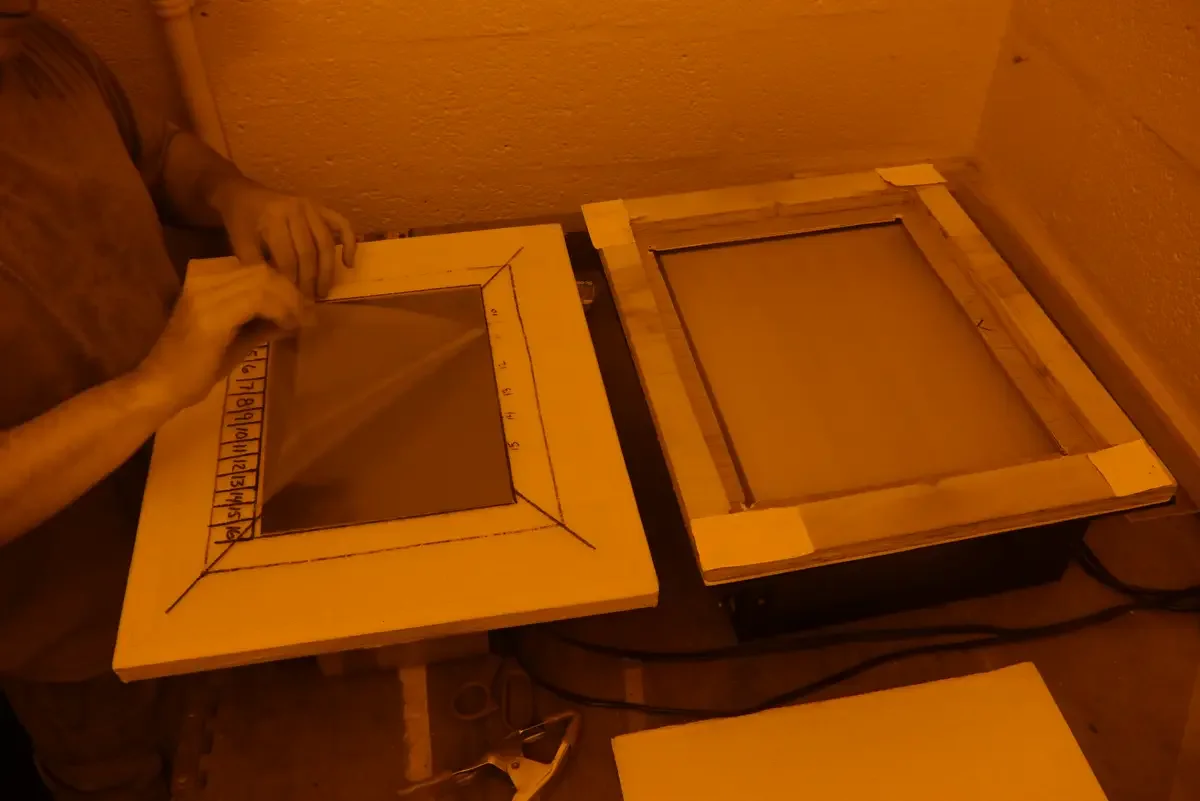
With the KM73 plate back on the contact frame and transfer the lines from the contact frame to the plate. Just little marks on the edge of the plate, something you can see on close inspection later.
The marker will wash off the plate during processing, but the ink will have blocked enough light to leave visible marks. You can also scratch the plate instead of using a marker. The plate needs to be marked so that the times can be found later.
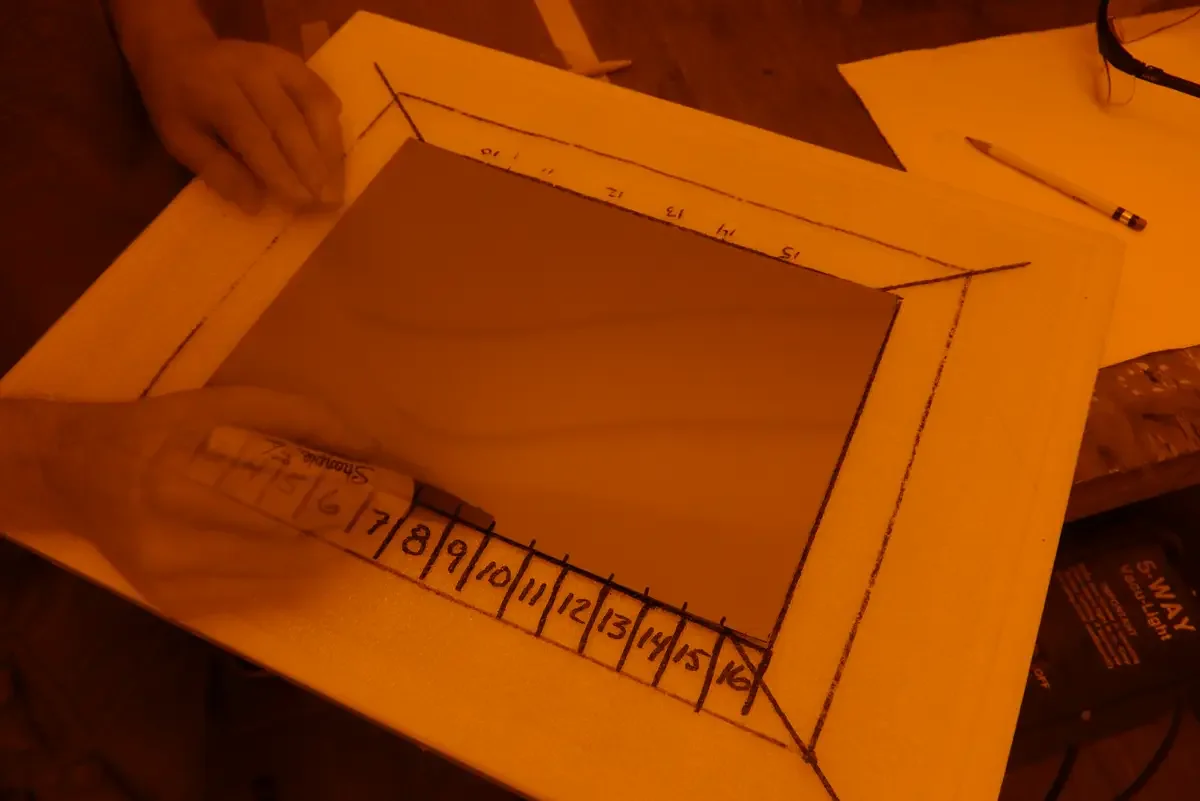
Make sure that the marks on the contact frame and the marks on the plate are lined up.
Being slow and methodical during this entire process will save you a lot of headache in the future. The goal is to get useful information that is going to be the basis of future calculations. Make sure that the plate does not move during this experiment.
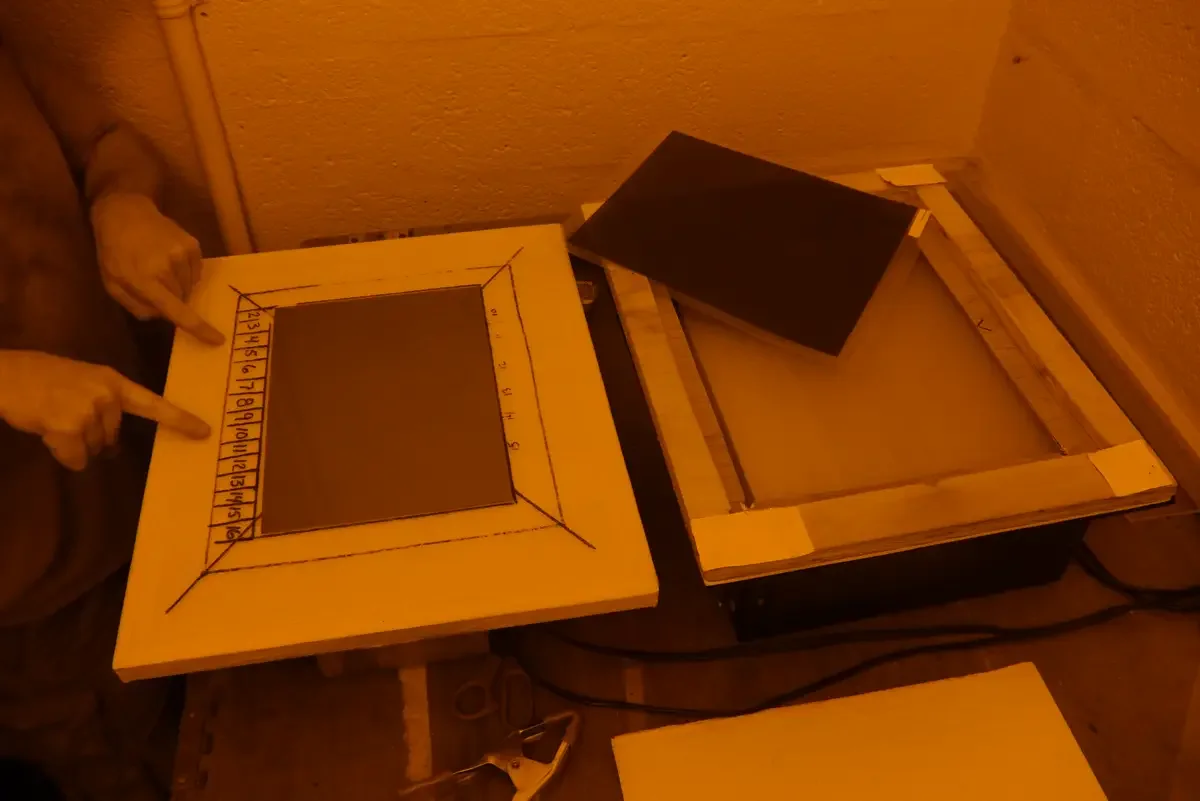
Place the stochastic screen (“aquatint” screen) on top of the plate.
The printed side of the screen must face the emulsion side of the plate. The KM73 plates have steel backings with greenish polymer emulsion on the front. The printed side of the stochastic screen has a more matte appearance to it than the non-printed side. Often, the non-printed side is glossy.

Leave a small part of the plate uncovered by the stochastic screen. The small uncovered part should be along the same edge as all of the numbers and markings.
Leaving a small part of the plate uncovered will give it full exposure to UV light, curing it. Any writing on that part will be readable. This is the part where you will have made marks by scratching (or with some kind of marker) that will allow you to track the different exposure times.
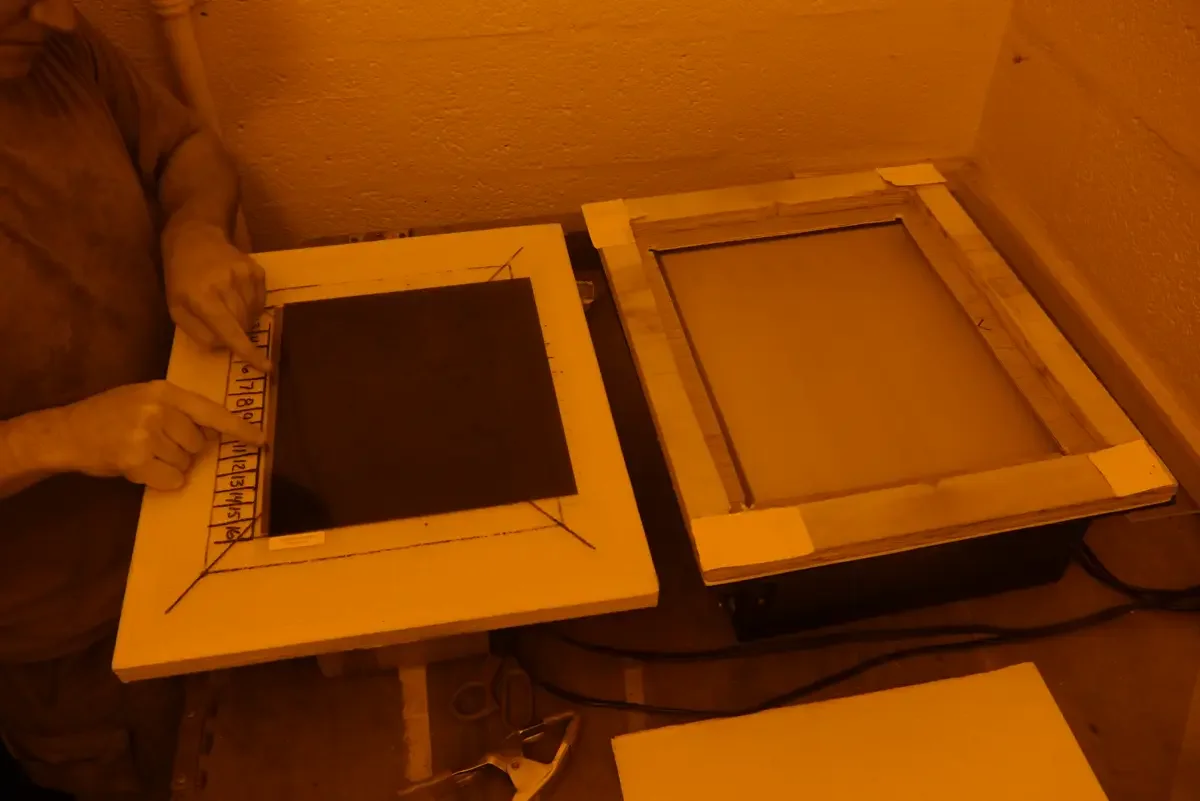
Clamp the glass to the top of the contact frame to hold everything in place.
The acid-etched side of the glass (matte) must go against the stochastic screen.
Here is the order for the stack you have created:
UV exposure unit
contact frame glass (acid-etched side against stochastic screen)
stochastic screen (printed side against KM73 plate)
KM73 plate
contact frame back
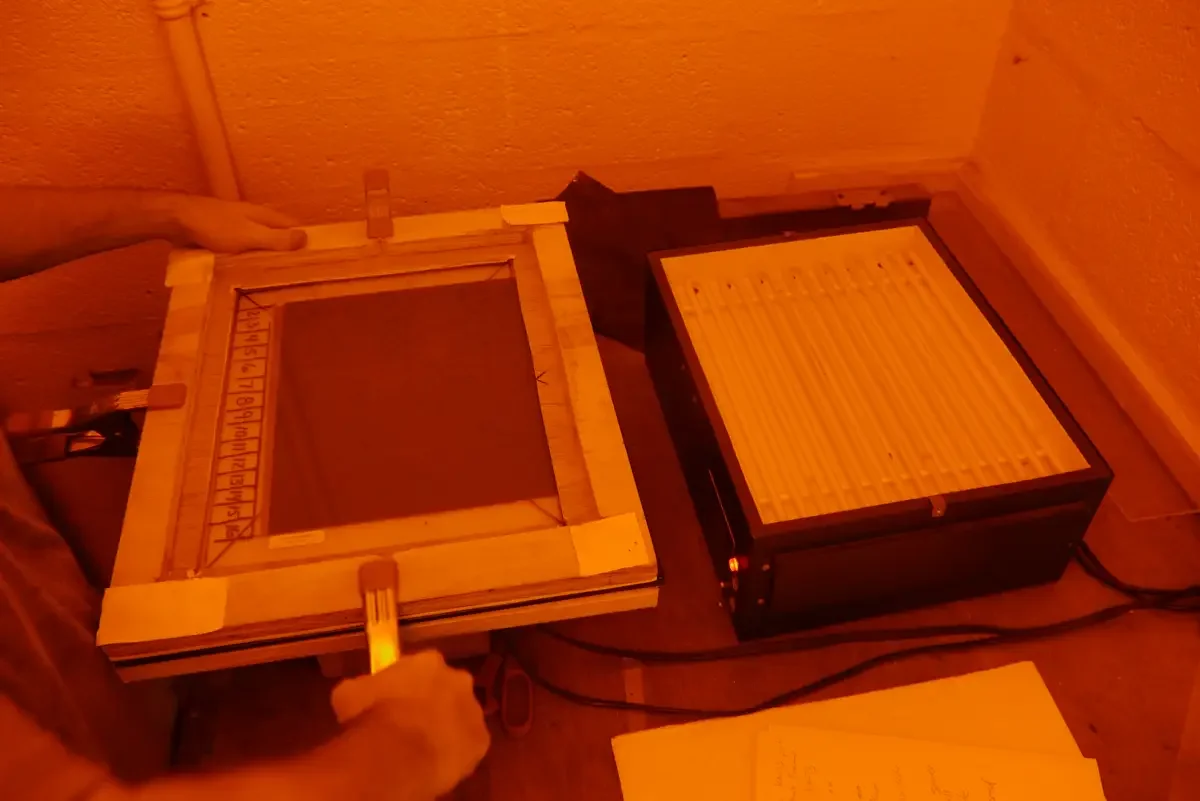
Place the contact frame over the exposure unit.
Expose the plate for 2 minutes.
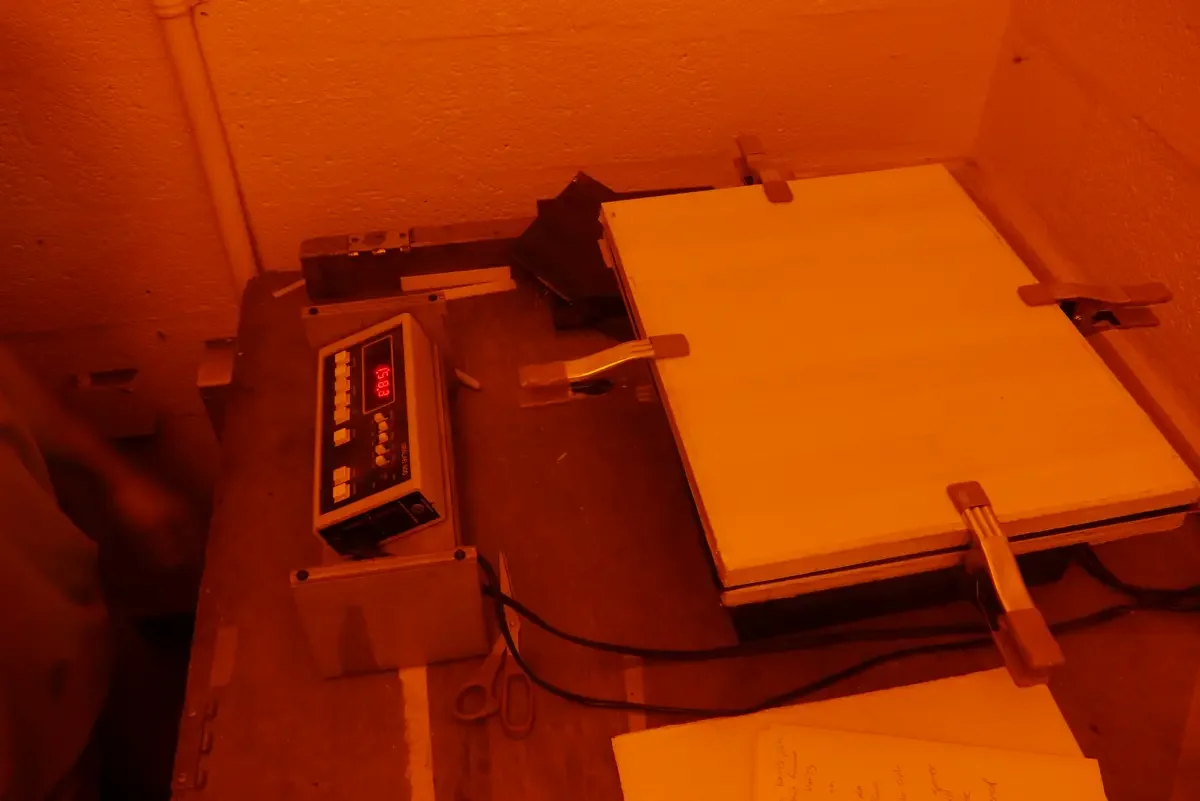
Remove the contact frame from the exposure unit.
Carefully unclamp and remove the glass. Do not allow the screen or the plate to move in this process.
Using the light-blocking bag that plates are shipped in, cover a strip of the plate that was marked with 2’.
The light-blocking back goes on top of the stochastic screen. If it went between the screen and the plate, it would create gaps through which light could leak.
Make sure that the edge of the light-blocking bag lines up with the mark that was made on the plate and contact frame. This is how you are tracking your exposure time.
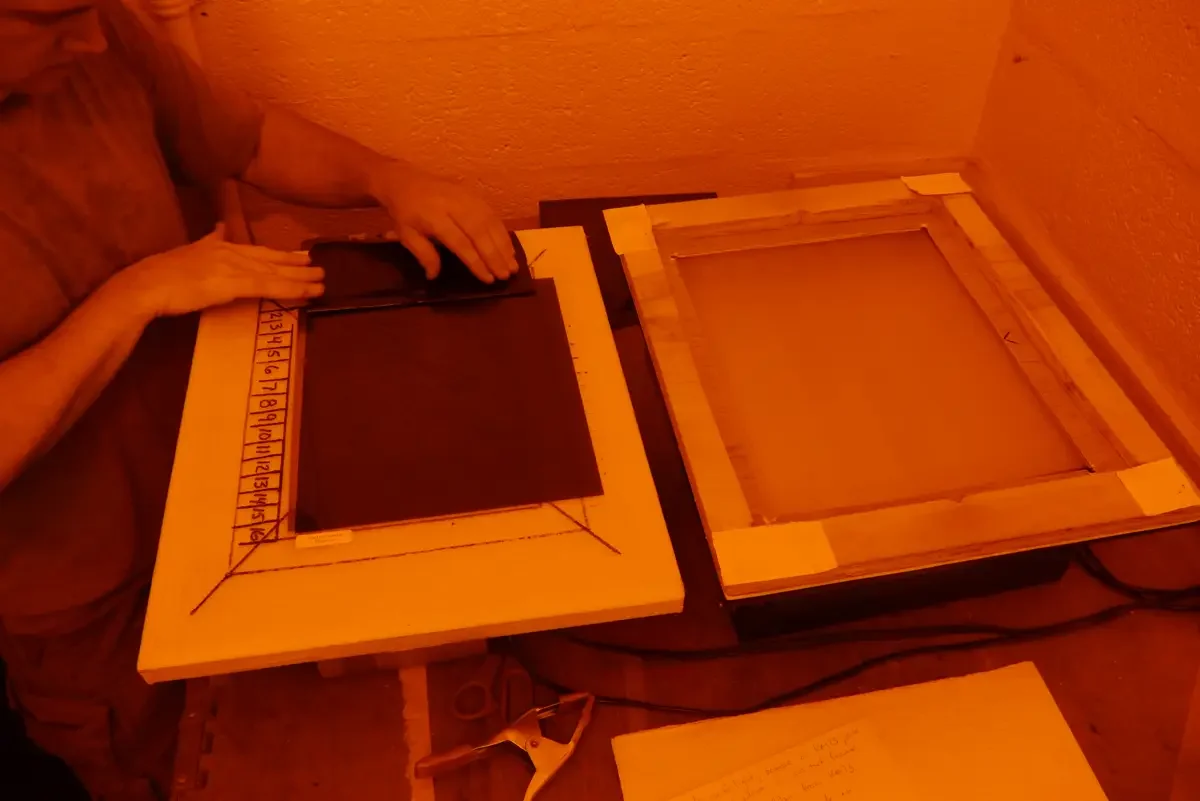
Clamp the glass on top of the bag (screen and plate). Place the entire contact frame on the top of the UV exposure unit.
Expose for 1 more minute.
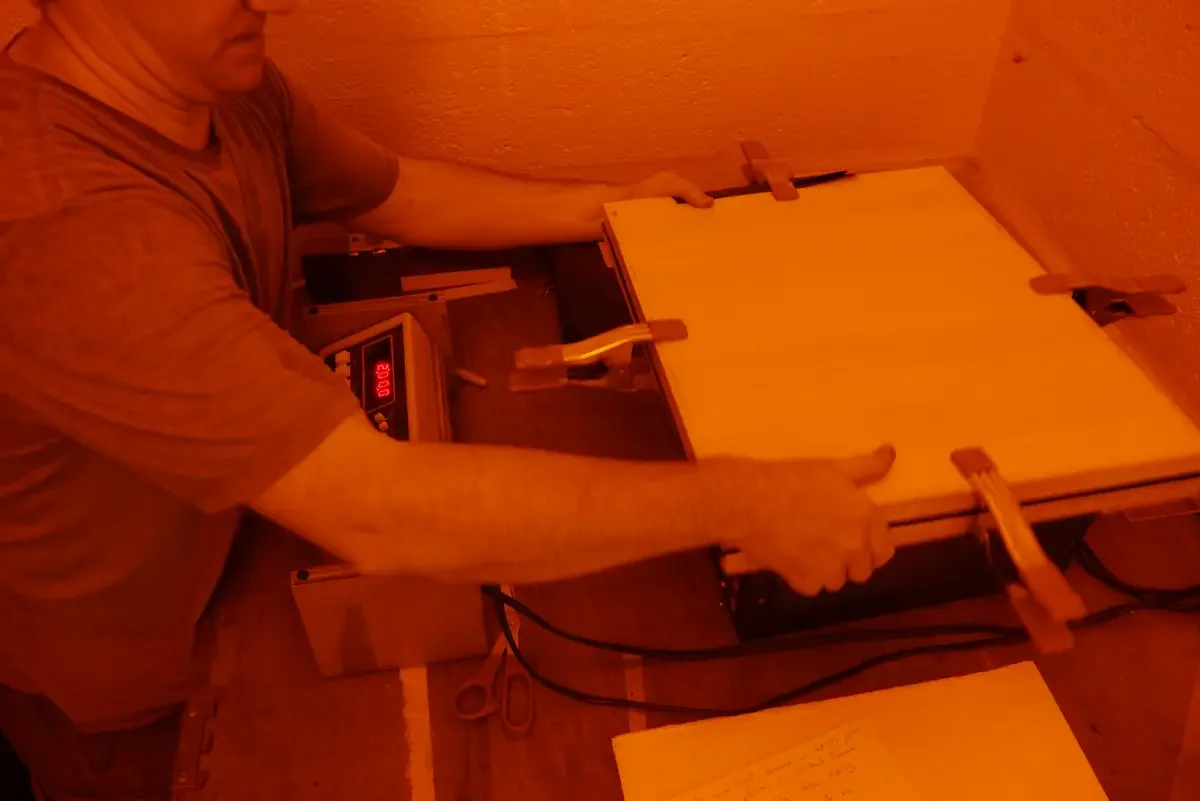
After the 1 minute exposure, remove the glass.
Move the light-blocking bag over by one mark.
Replace the clamp and glass.
Expose for 1 more minute.
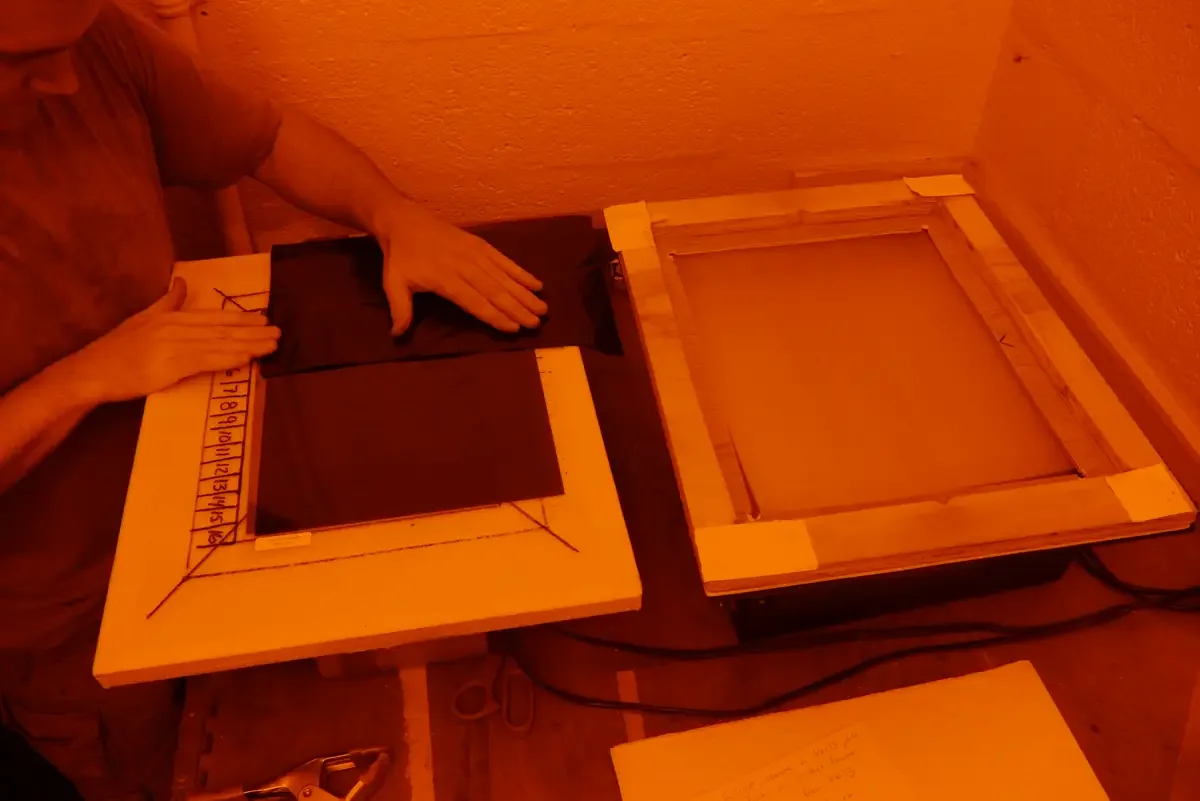
After the 1 minute exposure, remove the glass.
Move the light-blocking bag over by one mark.
Replace the clamp and glass.
Expose for 1 more minute….
This exposure process is additive.
The initial exposure of 2 minutes + any time the section is left uncovered.
2 minutes
+1 = 3 minutes
+1 = 4 minutes
+1 = 5 minutes
etc.
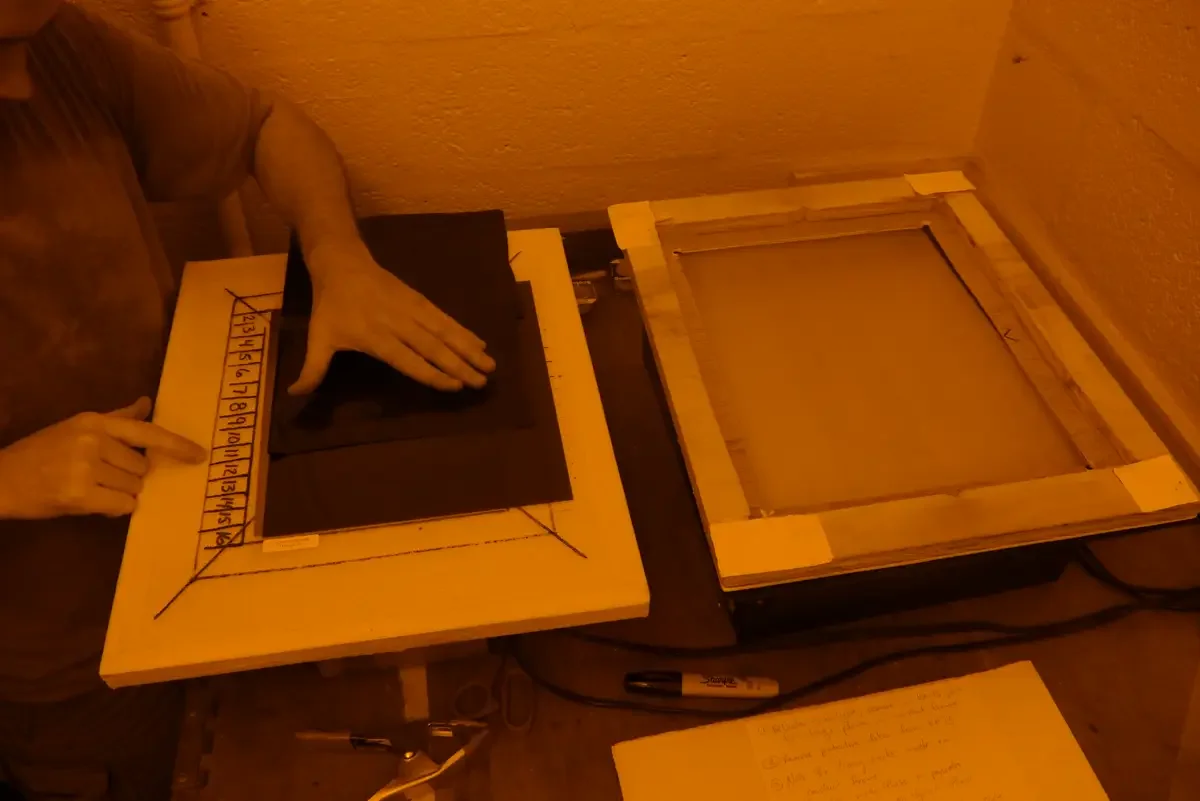
After making all of the exposures, place the plate in water and let it sit for 1 minute.
This entire process only takes 2 minutes:
1 minute soaking
1 minute gentlly brushing
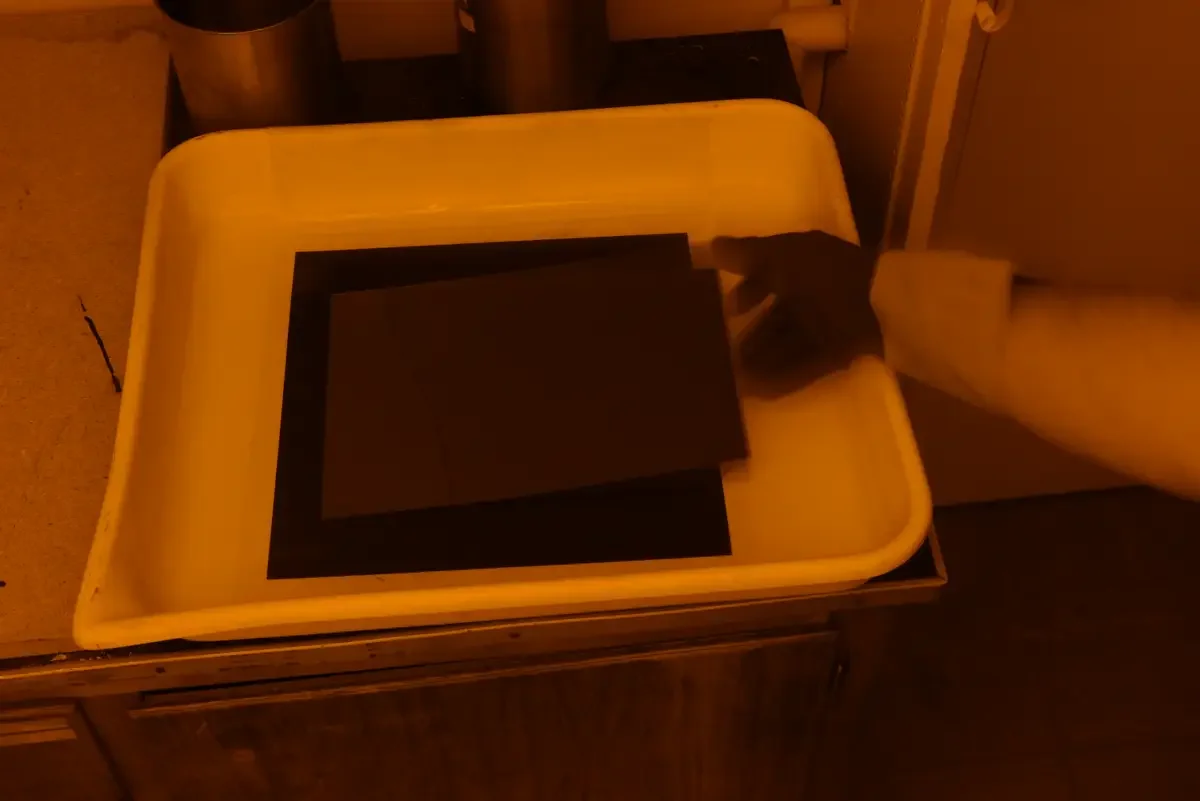
After sitting in water for 1 minute,
gently move the soft brush across the surface for 1 minute to remove the unexposed polymer.
The brush should move back and forth across the plate in a varying pattern with nor more weight on it than the weight of your resting and relaxed hand.
Caution: wear gloves for this part of the process. These commercial plates were not designed for handling with bare hands.
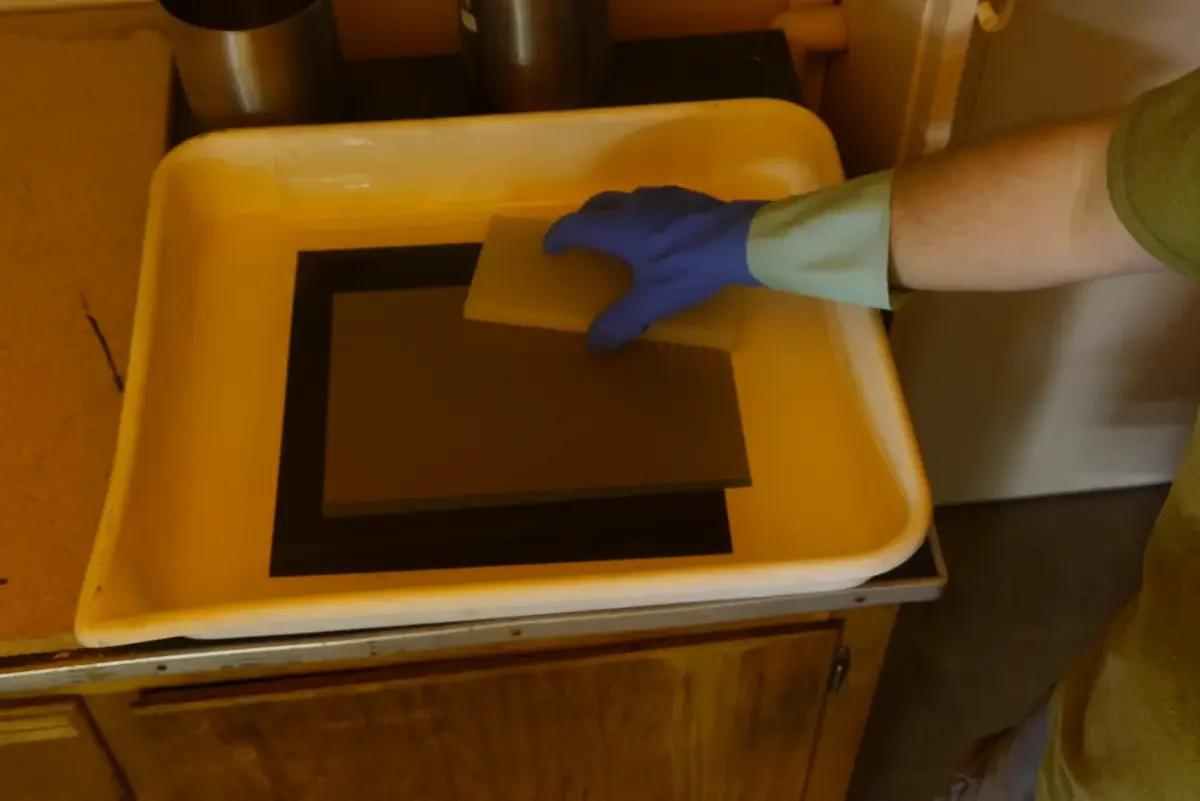
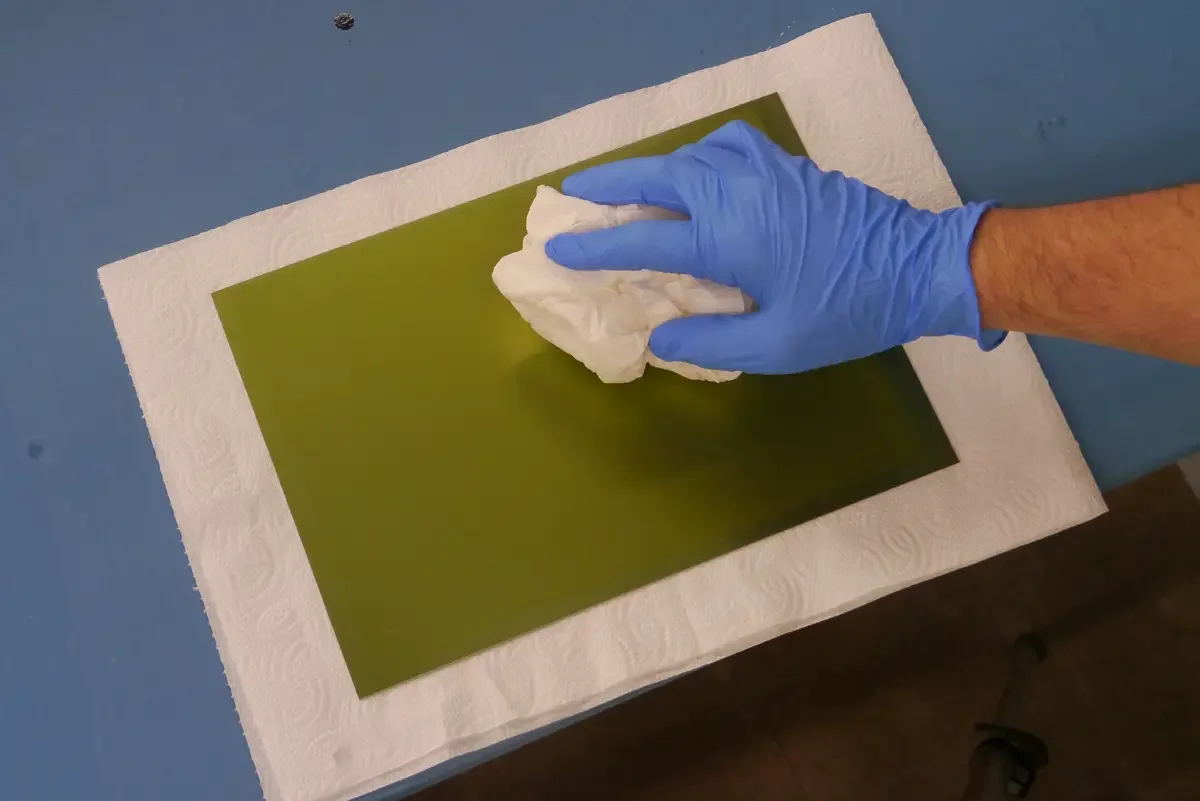
Immediately after washout, bring the plate over to a flat surface and dry it with paper towels.
Wet polymer plates are still not 100% cured, and are vulnerable to over-handling.
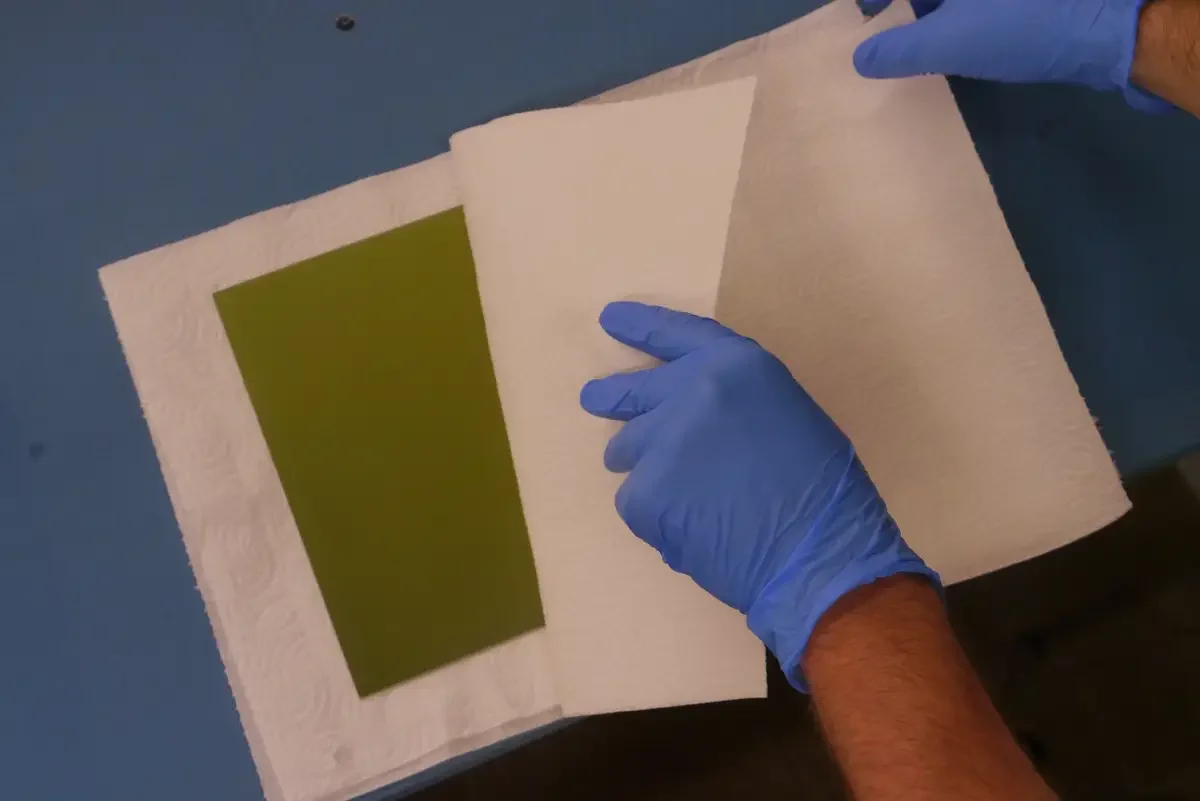
Gently pat the paper towels to quick absorb most of the water.
Remove the water quickly and gently.
Do not scrub the plate or you will ruin the dot matrix that has been created by the stochastic screen.
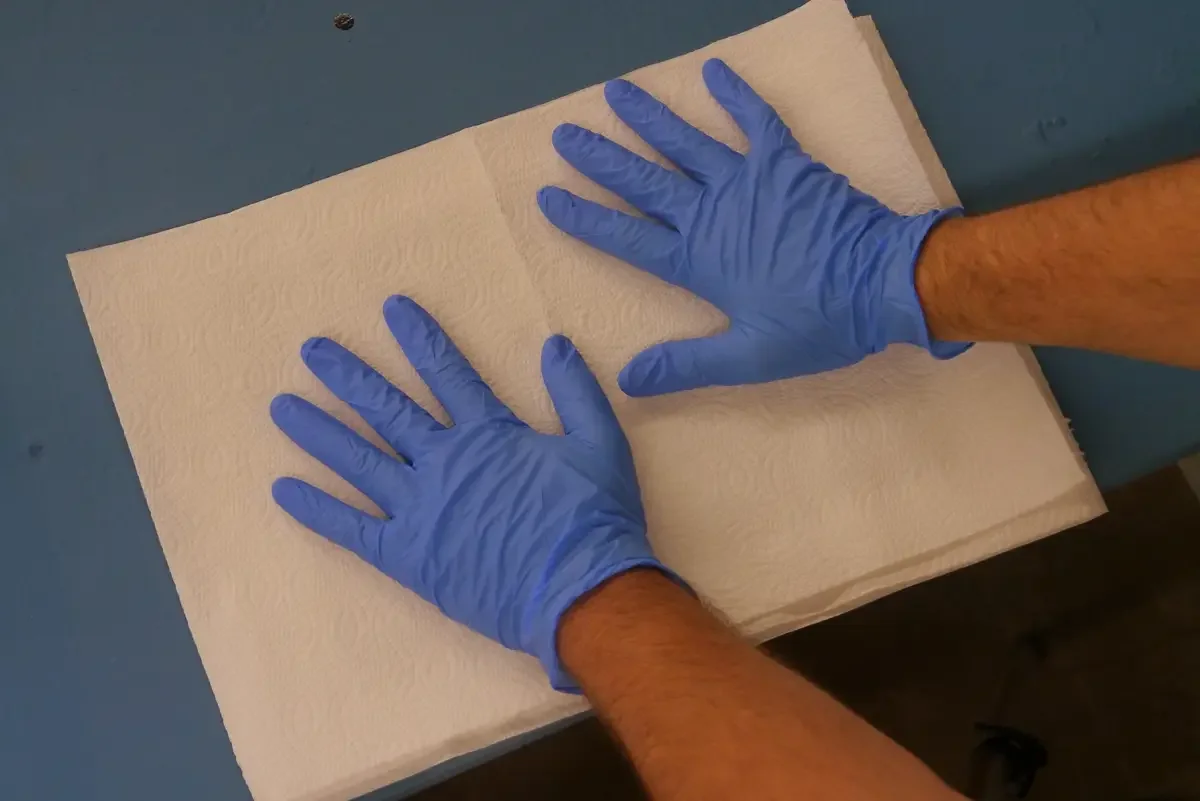
Crunch the paper towels into a ball, quickly and carefully blot the rest of the water from the plate.
This part of the process can be tricky. Applying too much pressure with the paper towel will leave an impression on the polymer plate. Any water that is not removed from the plate quickly will also leave marks.
Set up paper towels before beginning the exposure process so that they are ready for use as soon as the plate is removed from the washout tray.
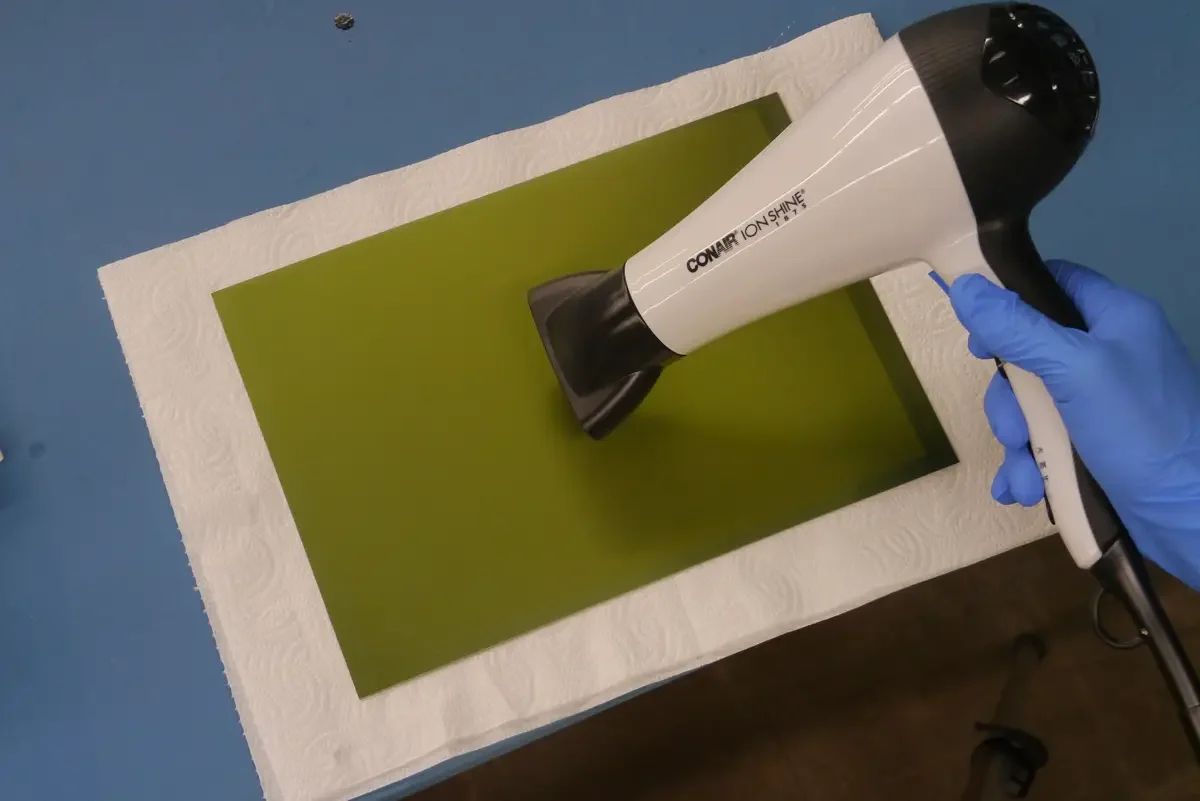
Run a hairdryer across the plate for 5 - 9 minutes. This will start to cure the polymer with heat.
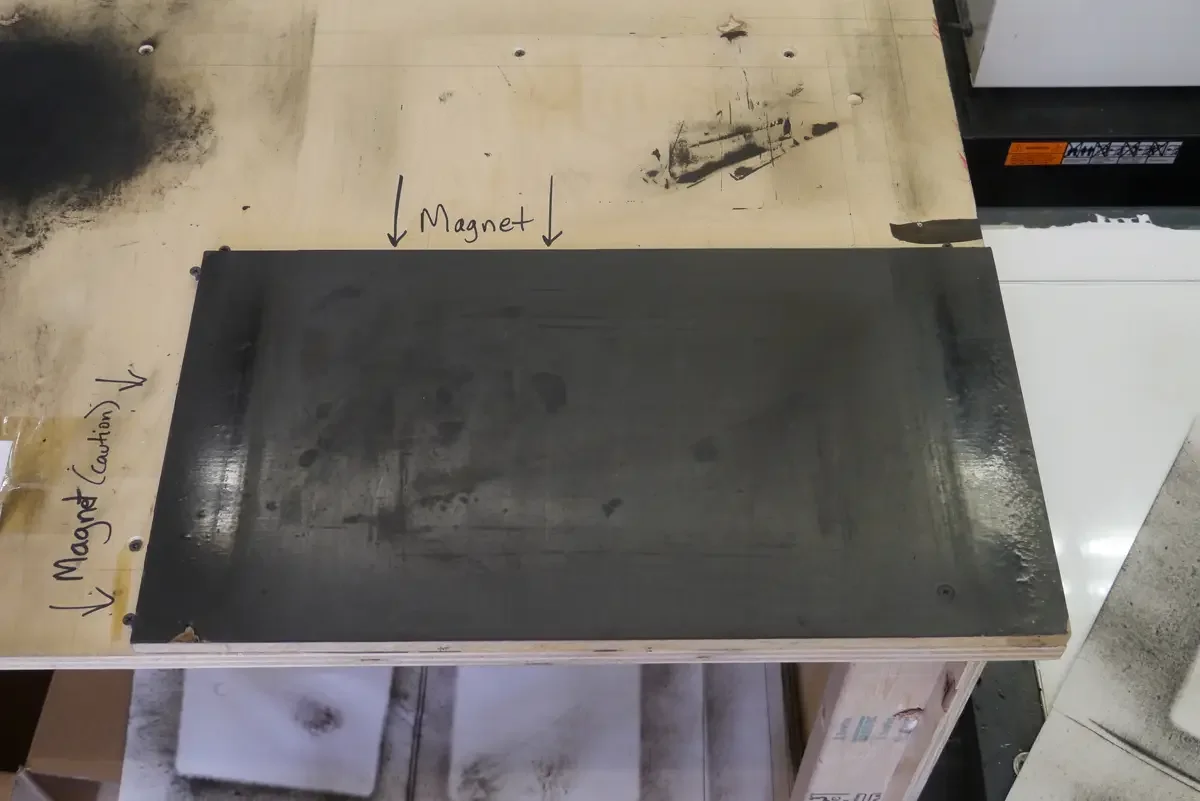
Prepare the magnetic work surface for printing.
The polymer plate must still be post-exposed (after being fully heat cured) before printing. The additional exposure (post-exposure) time is at least as long as the base exposure time. Since this experiment is about finding the yet-to-be-known base exposure time, then it is better to err on the side of caution.
Let the heat-cured plate sit in a sunny window for an hour. After that exposure to sunlight, post-expose the plate for the same amount of time as the longest exposure time in the experiment. (16 minutes in this example)
Review the Main Workflow if needed.
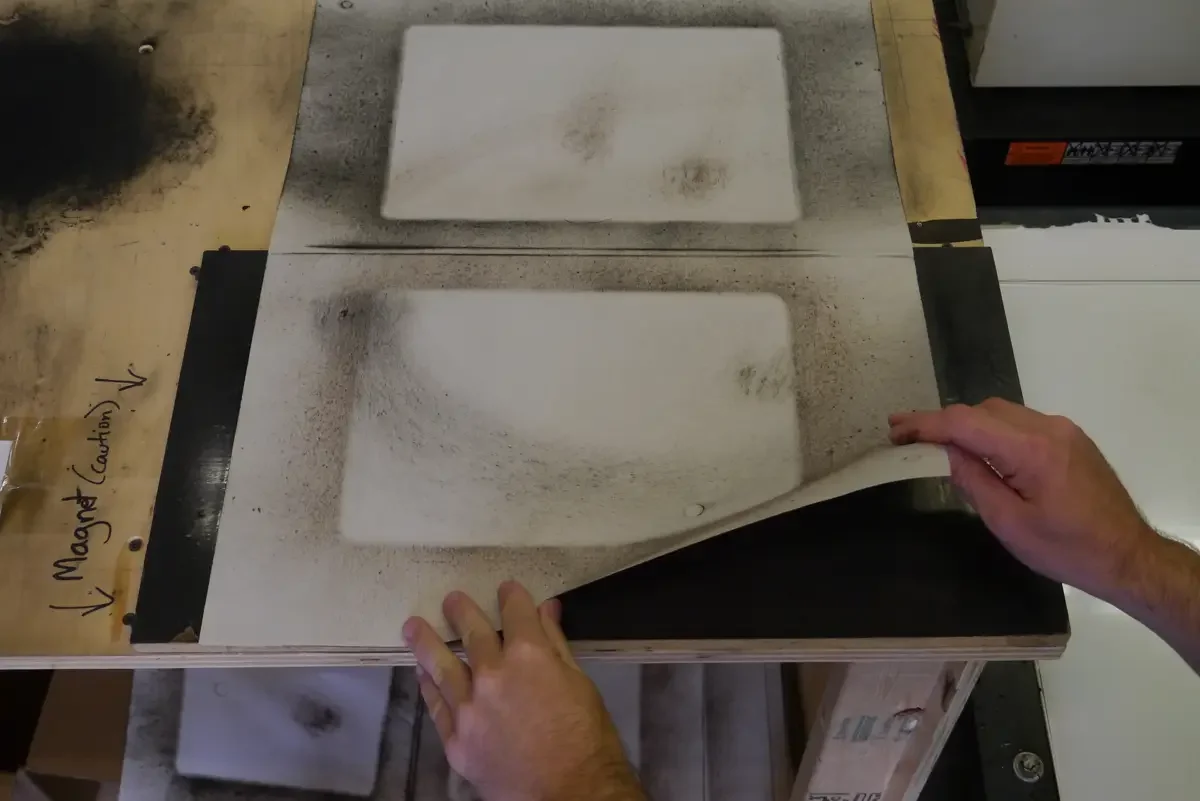
Placing a piece of newsprint over the magnetic surface will help keep the work area clean, and allow you to pick up the steel-backed polymer plate from the magnetic work area.
Prepare ink for printing.
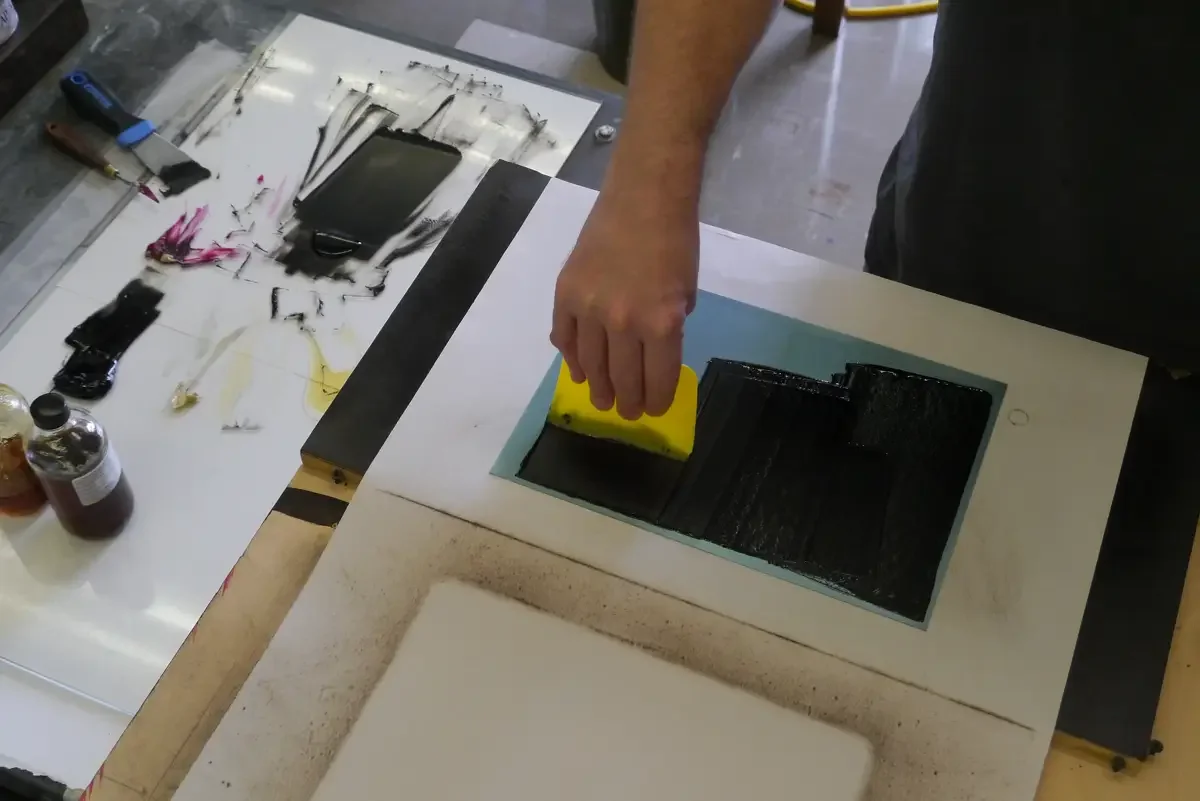
Use a soft plastic scraper to pick up the prepared ink and spread it on to the plate.
See Main Workflow for printing tips.
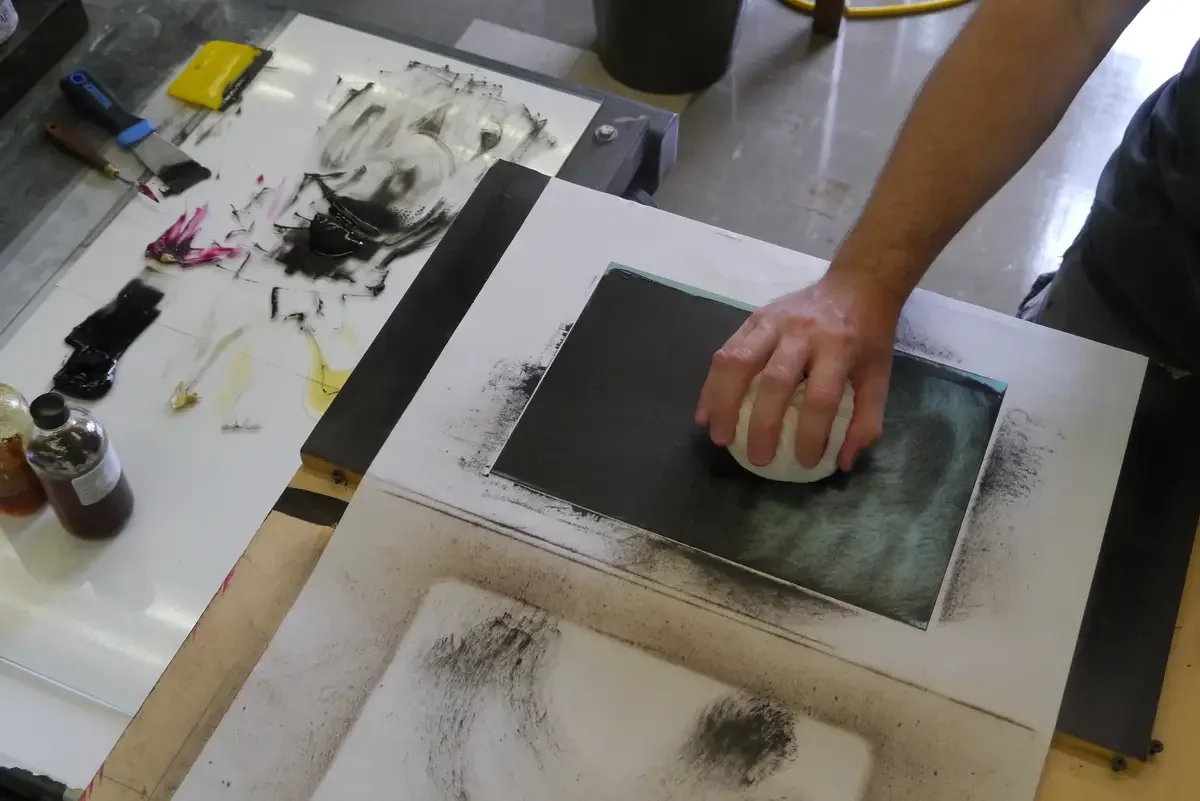
Wipe plate with tarlatan.
See Main Workflow for printing tips.
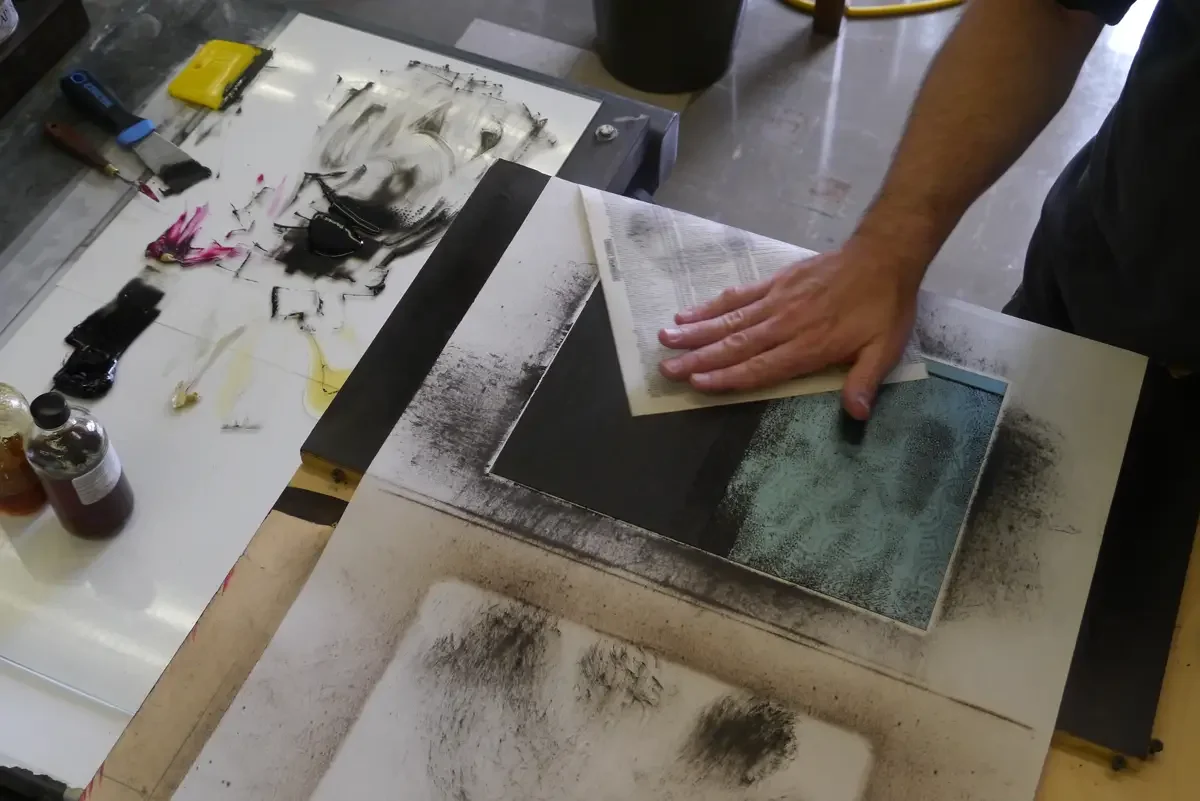
Final wipe with pieces of phone book or tissue paper.
See Main Workflow for printing tips.
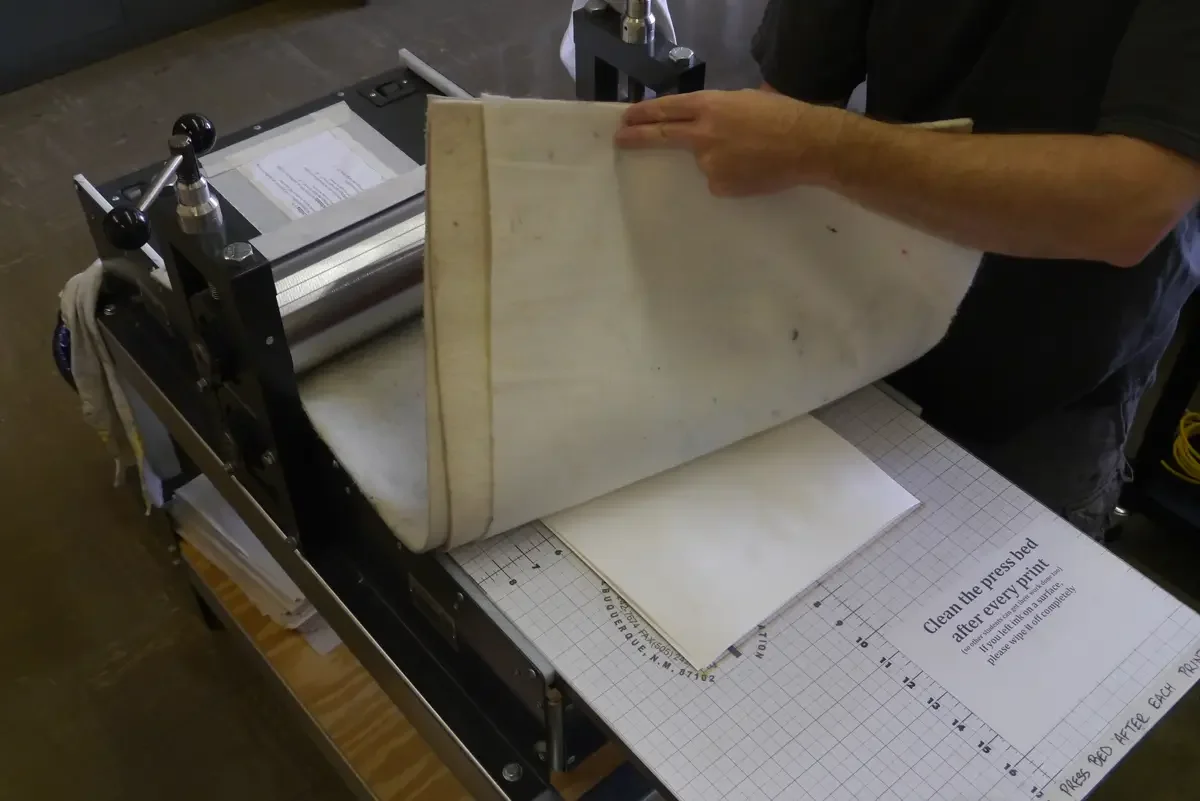
Print.
See Main Workflow for printing tips.
Compare the print with the plate.
Look for the first strip that prints 100% black.
Note the exposure time for that strip.

Paper towel pattern will show up in the print in the underexposed areas of polymer. Do not worry about this pattern in those areas.
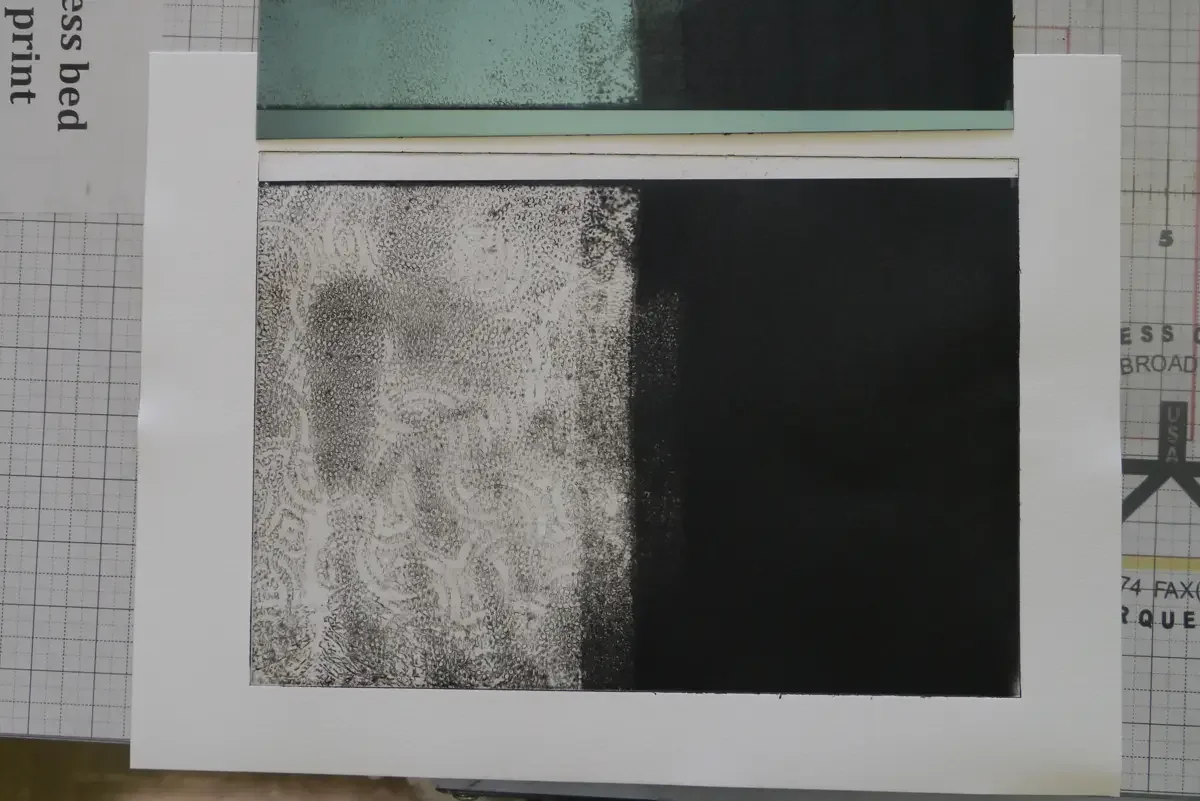
Do not clean the plate right away.
It contains valuable information that is sometimes easier to read when it has ink still in it.
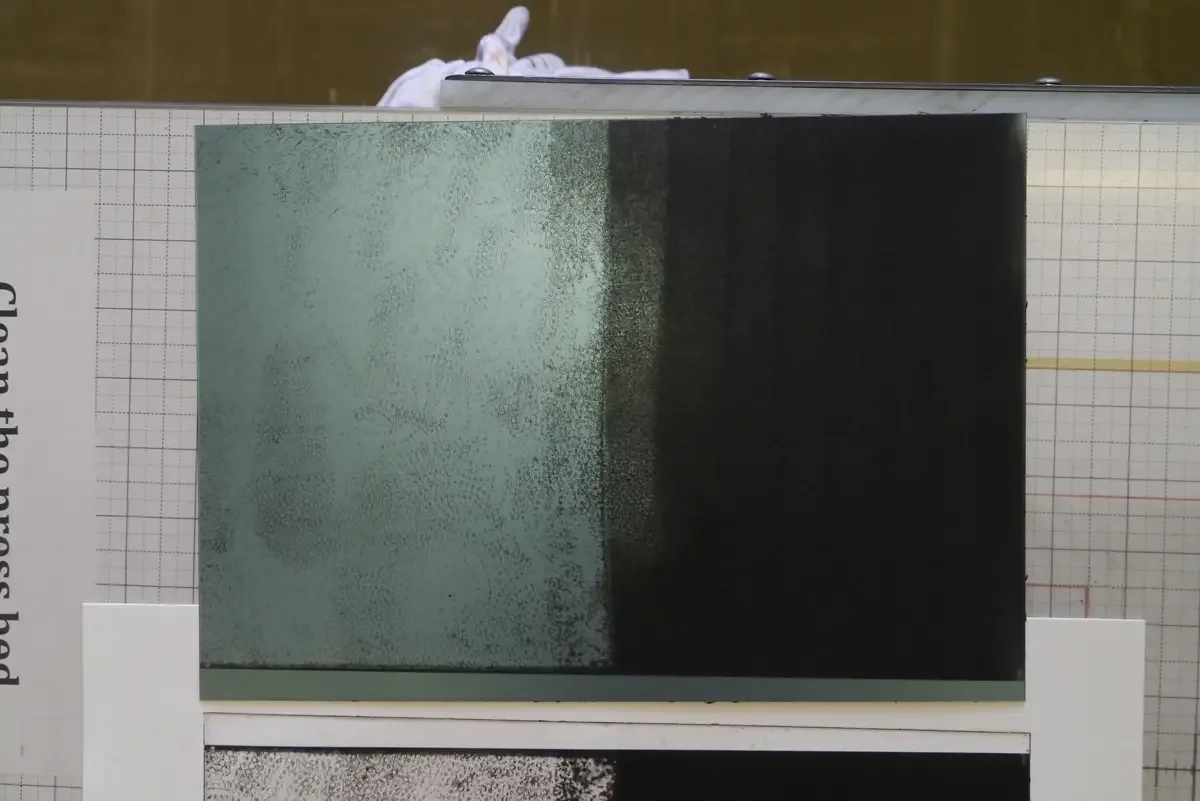
Place the inked plate on the contact frame and match the numbers.
Make note of the first strip to hold 100% black.
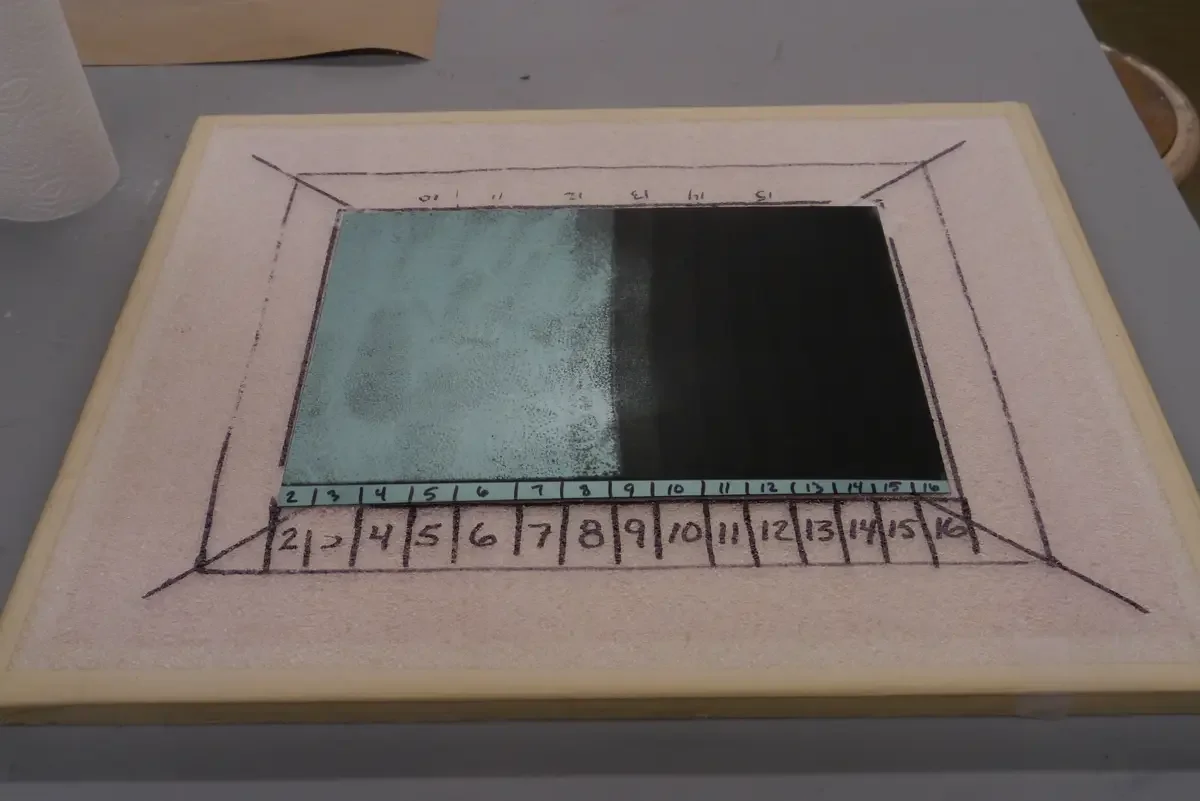
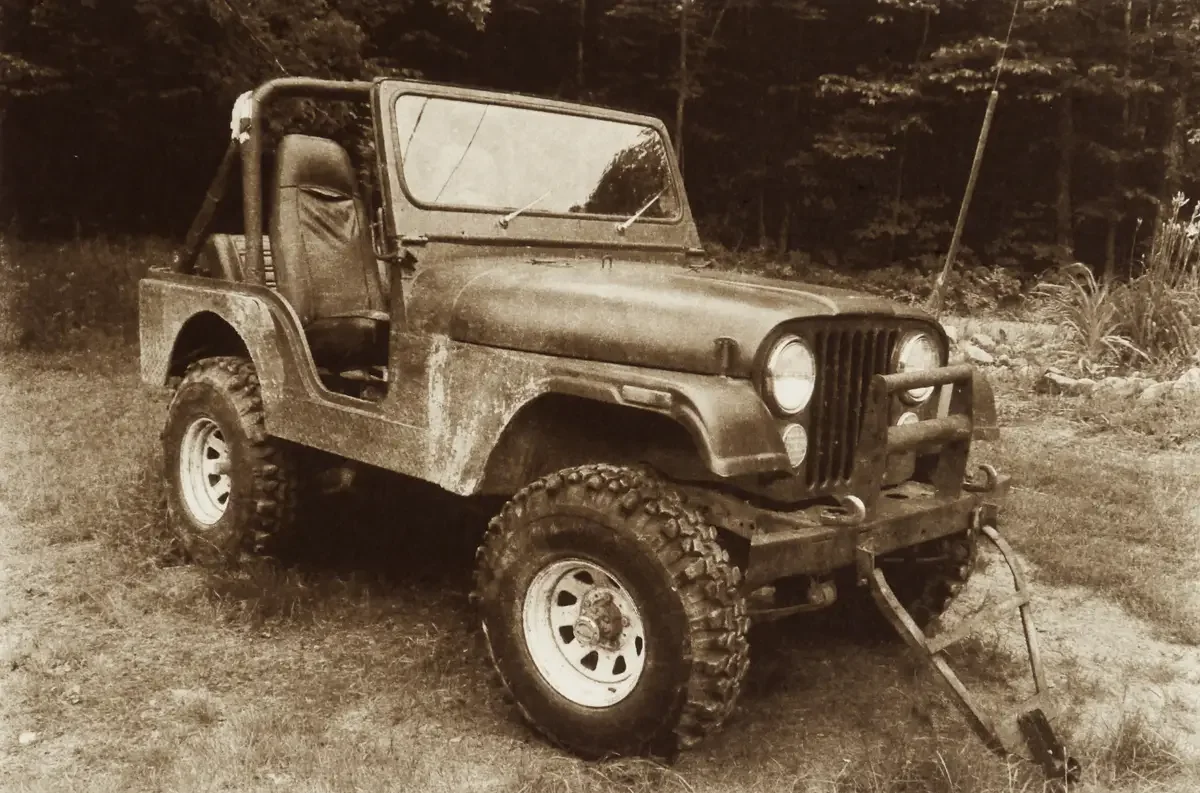
In this example, 10 minutes seems to be the time needed.
Looking at the plate, however, seems to indicate that there is some more density in longer time. This is information that the print does not fully communicate, but the inked plate (after printing) can.
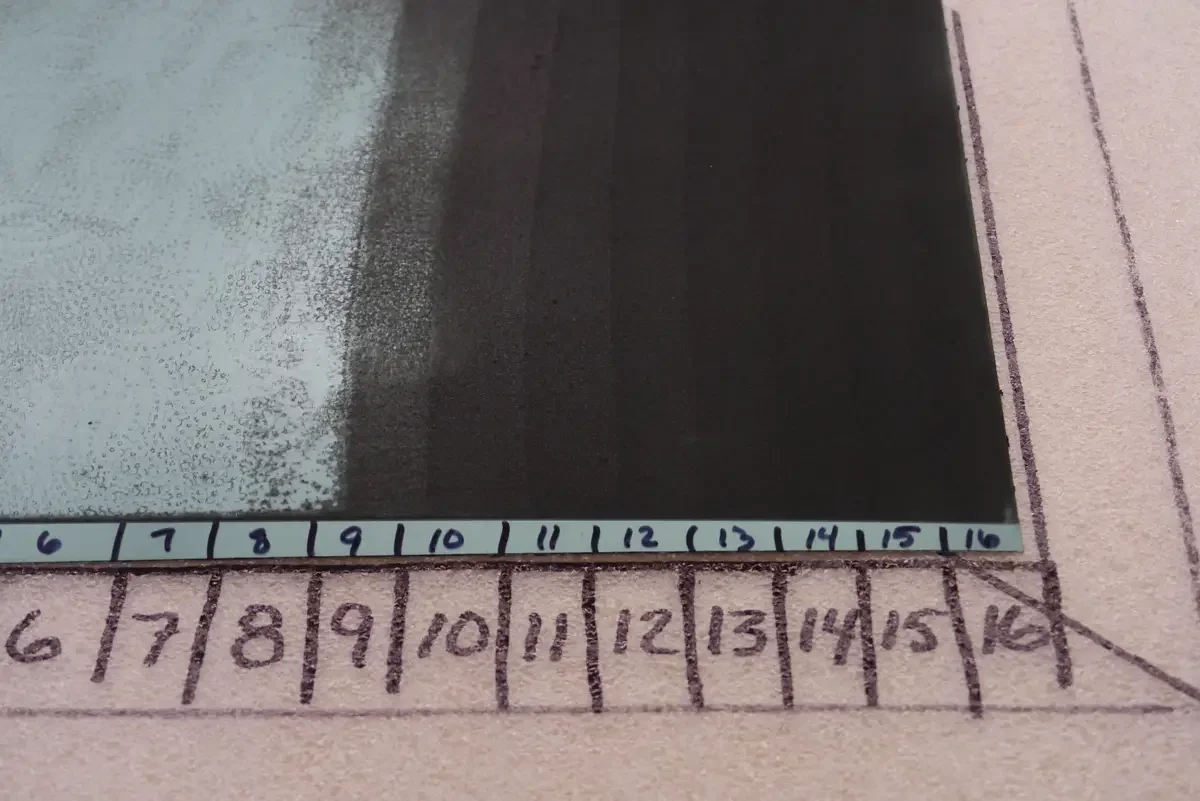
10 minutes is the shortest exposure that achieve 100% black in this print. But, there is more to it than just reaching 100% black. The minimum exposure time is the base exposure time, but it is not the optimum exposure time. Looking at the plate after printing, while it still held ink, indicates that the 10 minute strip has a rough aquatint pattern. Longer exposure times still printed 100% black, but the plate showed a finer dot pattern. A finer dot pattern will yield better tonal range in later steps.
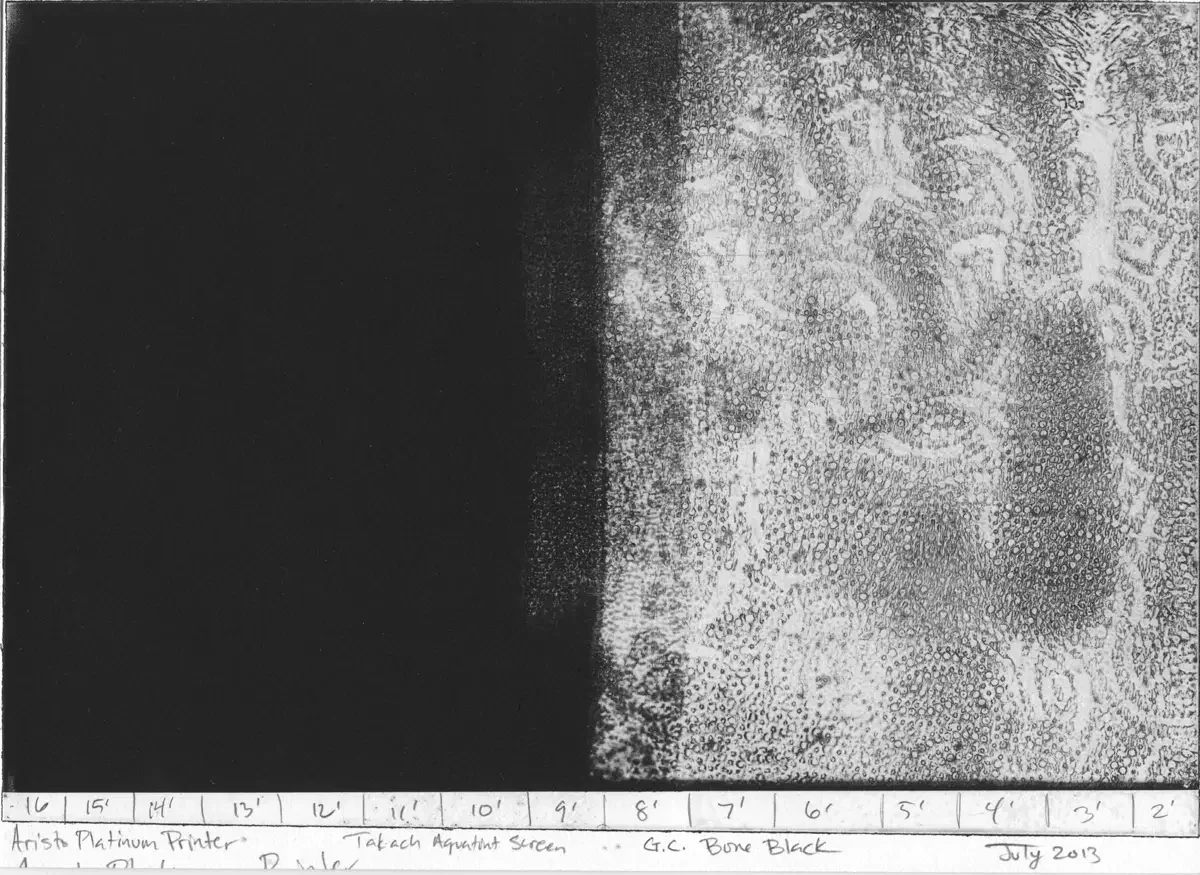
Under such high printing pressure, ink blurs and blends. This blending compensates for some imperfections in the aquatint pattern on the plate. But, it only compensates for 100 - 90% black. The imperfections start to show at 80% and lighter. After experimenting with a few different exposure units, having run this bse exposure time experiment several times, I have developed a formula that provides an optimum exposure time. The optimum exposure time is one that produces and aquatint pattern that most accurately matches the pattern of the stochastic screen.
minimum exposure time x 1.6 = optimum exposure time
I use the optimum exposure time as the time for both the stochastic screen exposure and the image exposure when creating images.
For the experiment in this section, the minimum exposure time (a.k.a. base exposure time) is 10 minutes.
To find the optimum exposure time, multiply by 1.6 to get 16 minutes.
When making an image, as simple formula is to use the same time for both screen and image.
I’d expose the stochastic screen for 16 minutes.
I’d expose the image transparency for 16 minutes.
(there are more sophisticated options in the next section)