Intaglio Printmaking
This section contains information that was too long to include in other sections. The Main Workflow section about inking and printing should be the primary resource for the manual process of intaglio printmaking used for making photogravures with polymer plates. For the uninitiated, however, there are some important areas that could use clarifcation and/or expanding.
Printmaking Paper
Use thick cotton printmaking paper.
100% cotton paper (sometimes called “rag”) is very strong and naturally acid free. It is the best choice for beginners and experts alike. It can withstand the pressure of printing. It will last a very long time without becoming yellow and fragile.
Do not use alpha cellulose paper.
Be wary of less expensive paper, that has wood pulp (alpha cellulose), even in the smallest amount. Wood pulp is not strong, and it contains a lot of acid. Papers that contain wood pulp are often marked “acid free”. This is a purposely deceiving marketing tactic in which enough buffer is mixed into the paper so that it tests pH neutral. The buffer eventually breaks down and the natural acid of the wood pulp will make the paper yellow and brittle.
Other acceptable sources for paper exist. Bamboo can be good. Kozo makes nice prints. However, until you develop better knowledge about art papers, keep using 100% cotton printmaking paper. My go-to paper is Rives BFK. I have used others, but Rives BFK is the one I return to most frequently.
Paper needs to be damp so that it can be flexible enough to reach into the recesses of the aquatint matrix and pick up the ink. Damp paper also has wicking properties, allowing the ink to spread evenly across the surface, making smoother tonal transitions. Other than the resolution of the image transparency, two factors play important roles in creating smooth tones: pressure setting on the etching press, and paper that is evenly damp.
While the paper needs to be damp, it should not feel like a sponge, or have any excess water on its surface. The paper should feel cold to the touch, but should not make your hand feel like it is wet. All of the examples in this book show the use of a tub of water to soak the paper for 30 minutes or more. After the paper is evenly soaked throughout, it is removed from the water and pressed between pieces of blotter paper. Blotter paper removes excess water through a wicking action, and is assisted by the pressure applied with your hands. Many people use a kitchen rolling pin to press the blotter paper against the printmaking paper. I find that using my hands works enough for me.
Try a Wetpack
Many printmakers create what they call a “wet pack” of paper the day before a print run. They dunk printmaking paper in water, then place it flat on top of a piece of cotton blotter paper. Alternating layers of wet printmaking paper and dry blotter paper are assembled into a stack. The stack is stored, flat, in a plastic bag, sandwiched between straight boards with some weight on top until the next day, when the print run requires a piece of paper.
Setting Etching Press Pressure
Do a dry run through the press with the plates, paper, and blankets that you will use for a print run. It will act as the first step in the calibration process. Fine-tuning is part of the actual print run since different images and inks will require slight adjustments. Make notes as you go, so you can pick up where you left off each day.
Make sure the plate is where you will put it during a print run. Same for paper. Mimick all the variables of a print run. The first pass, however, you can use dry paper. Dry paper will show too little or too much pressure more easily than can be seen with the pliable nature of a properly prepared piece of printmaking paper.
After this first “dry run” through the press, inspect the paper. It should have a clear plate mark. It might even have a very slight image impression (rare, but it does happen).
This photogravure process requires a lot of pressure to get the fullest tonal range possible. High pressure will make sure that the very light gray areas will print. Too much pressure, however, will make the dark areas block together into 100% black. Using dry paper for the initial tests allows you to see when you have the pressure set too high.
Place one of the photopolymer plates on the bed of the press.
Follow typical printing steps.
Place print paper on top of the plate.
Place the extra piece of buffer paper on top of that.
Place the catcher, pusher, and cushion blankets on top.
Run everything through the press.
Notice the feeling when the plate runs under the main cylinder.
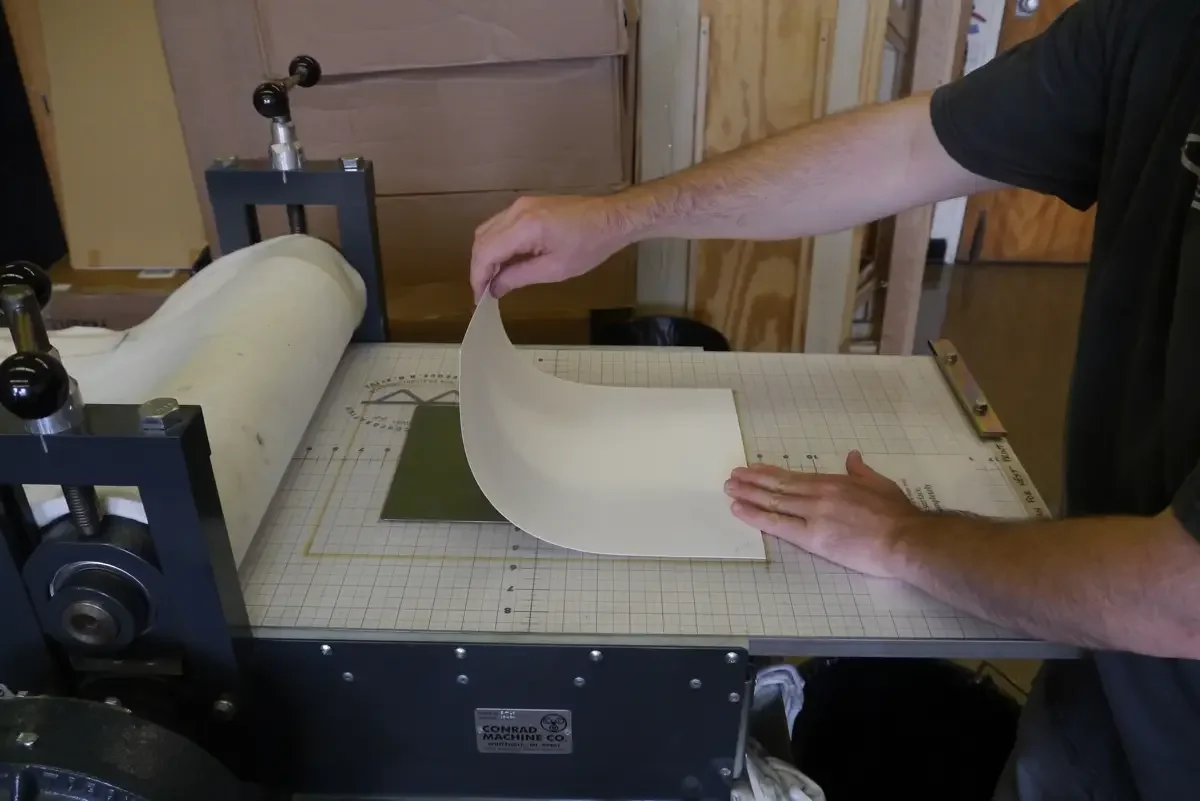
Inspect the paper for plate marks. Make a note if the plate marks seem too light, too deep, or uneven. Adjust pressure settings, if needed, and repeat the process with a new piece of paper.
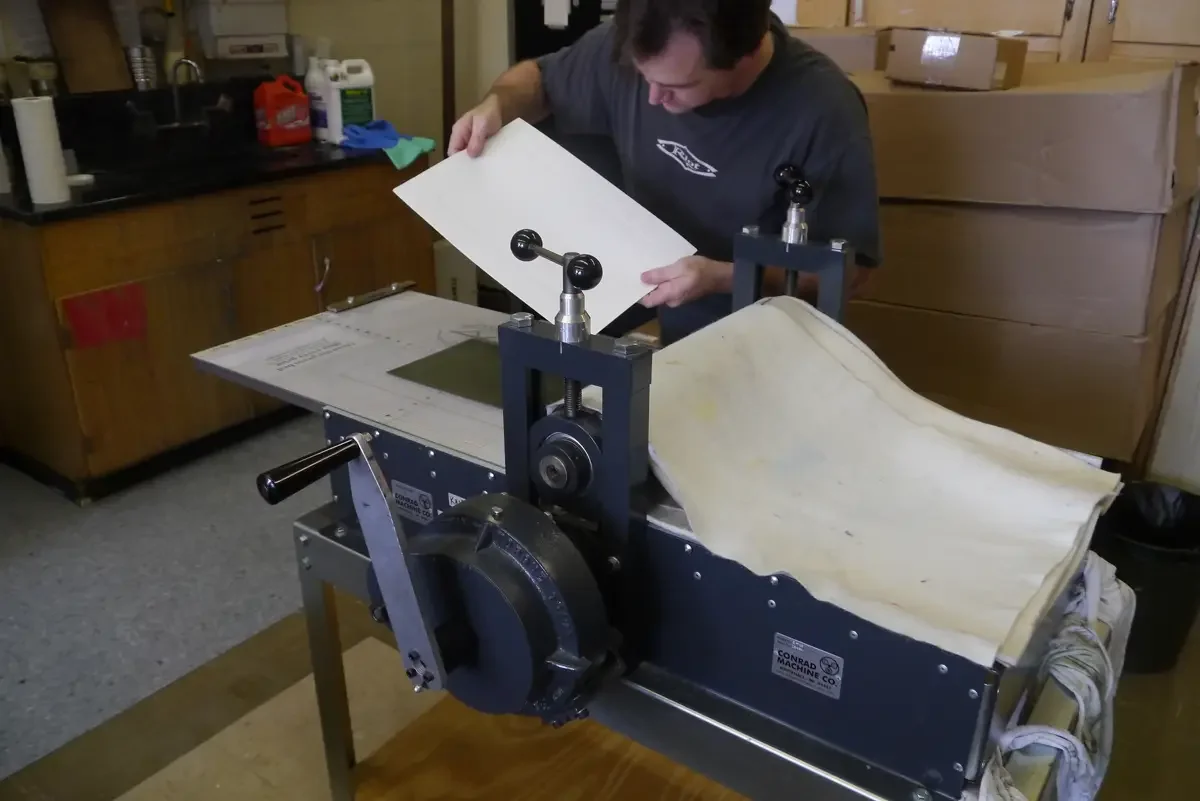
Keep track of pressure settings. Make sure they are the same on both sides. Record the numbers so you can use the data to set the press how you want it every time.

Preparing Etching Ink
High quality printmaking ink is made with burnt plate oil and pigment. Very few (if any) additives are used to make the ink. This means that most ink is thick, and will be somewhat difficult to apply to the print plate. Depending on the pigments used, different colors of ink will be more “stiff” (feels thick and pasty, has a high viscosity) or “loose” (thinner, with a more buttery feel, has low viscosity). All ink has to be prepared so that it has a viscosity approriate for the intaglio technique employed.
Ink that is packaged in both tubes and tins is exposed to air. When ink is exposed to air it starts to become harder through a curing process. Cured ink cannot be reconditioned, so must be removed. Take steps to minimize ink exposure to air before it is used to make prints. Tubes of ink should never be left without capts, and the ink should be level with the opening of the tube. Tins of ink require some extra care. Remove ink only with a flat scraper or palette knife. And, remove ink evenly, without digging into the ink with any depth. Making sure to leave a smooth flat surface will expose only that smooth flat surface to air. A thin hard film will form on that surface, but it is easily removed later. If the palette knife digs into the ink, it will expose the deeper layers of ink to air, curing more of the unused ink and introducing unuseable hardened pieces to the entire tin of ink.
Warming the ink will lower viscosity. If the studio is warmer than 65 degrees, most ink can be warmed up without an external heat source. Simply drawing the ink across the palette, several times, with a scrape, with start to warm it up. (“Drawing” ink means smashing it with the scraper and pulling it down across the palette) On colder days, ink needs a hot plate, or some other source of low heat to help change the viscosity. I have had success by placing a cheap oil-filled space heater next to my inking table, allowing the glass palette to hang off the table over the heater.
Adding burnt plate oil will change the viscosity of intaglio printmaking ink. Burnt plate oil #000 has a very low viscosity. Burnt plate oil #2 has a viscosity that is close to the oil used to make ink. Higher numbers have higher viscosity (they feel thicker).
Printmaking ink is sticky. For the most part, this is a good thing. But, too much tack (stickiness) makes wiping the ink out of the highlights a challenge. Every ink manufacturer makes their own tack reducer. Most ink conditioners will work, regardless of brand, as long as the inks are traditional intaglio printmaking inks. I prefer Easy Wipe by Graphic Chemical, but have been using Gamblin’s Tack Reducer with some success recently A little bit of tack reducer goes a long way. Add very small amounts at a time. With time, you will get a feel for it.
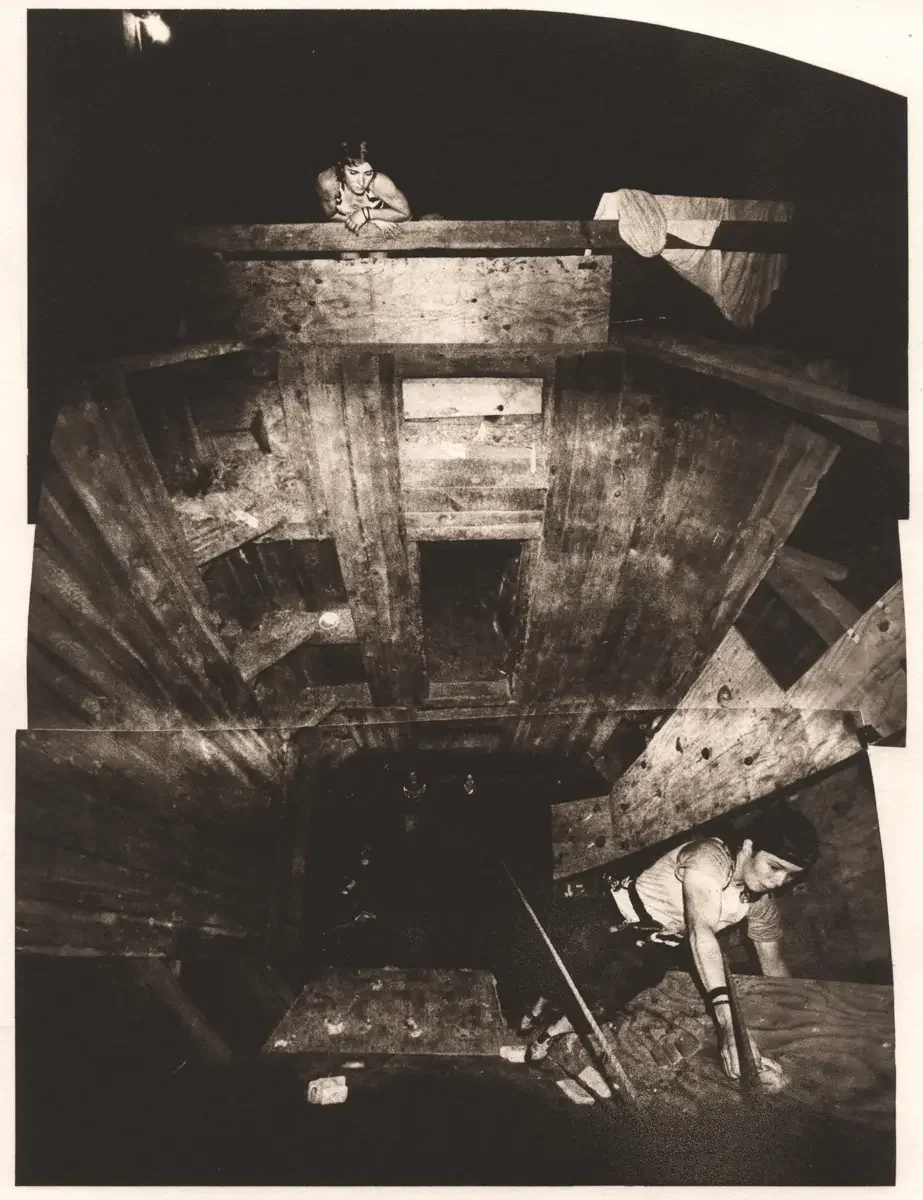
Like so much in printmaking, an explanation of preparing ink can only get you started. Making useful ink combinations takes practice. Different viscosities will yield different results. As you change viscosity by adding more oil, you introduce a bit more transparency to the ink too. While you are learning this photogravure process, you will surely experiment. However, once you find a combination that works well, make sure you consistently mix the same ink and conditioner combinations. Every variable that you change will effect the entire workflow.
Start by getting required ink and modifiers on your palette. A little bit at a time. Once out of their containers, they cannot be put back.
Pour out a very small drop of burnt plate oils #000 and #2.
Put a little bit of tack reducer on the palette.
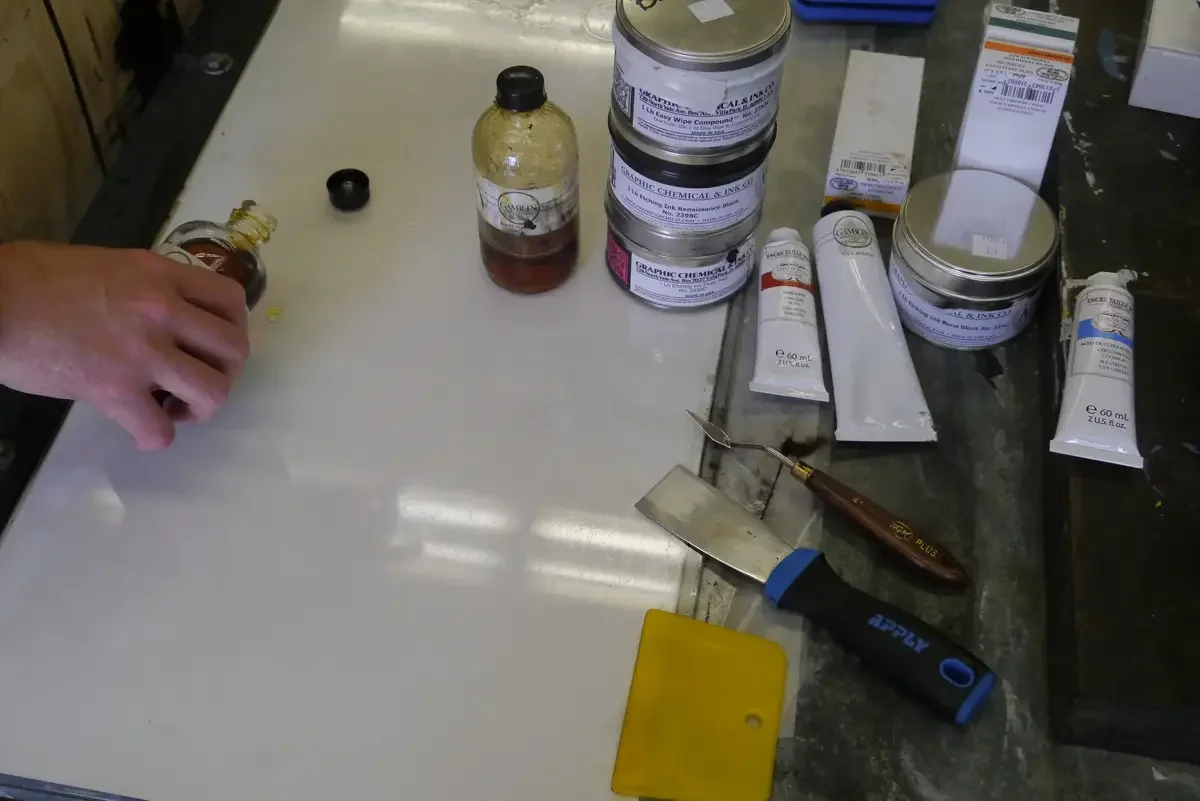
Use a flat scraper to remove ink from the tin. Be sure to take an even layer from across the top of the in. Do not dig down into the ink. Exposing ink to air will make it start to cure, and the ink will not last as long in the can.
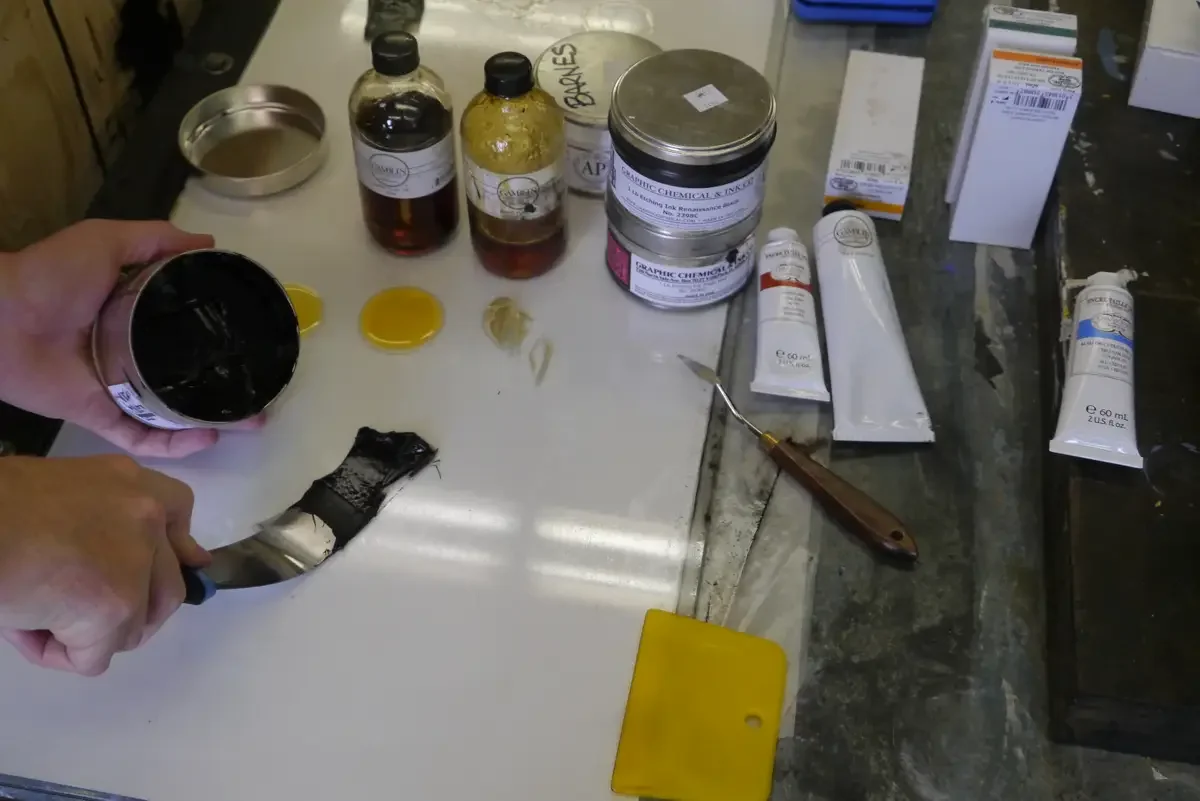
Add a small amount of tack reducer and oil to the ink and draw the combination down by smashing it with the scraper and pulling it down the palette. This begins the mixing process.
This is not cake batter. Etching ink is thick. Mixing requires pressure between the scraper and the palette.
Press. Draw. Press. Draw. Scrape it up into a pile and do it again.
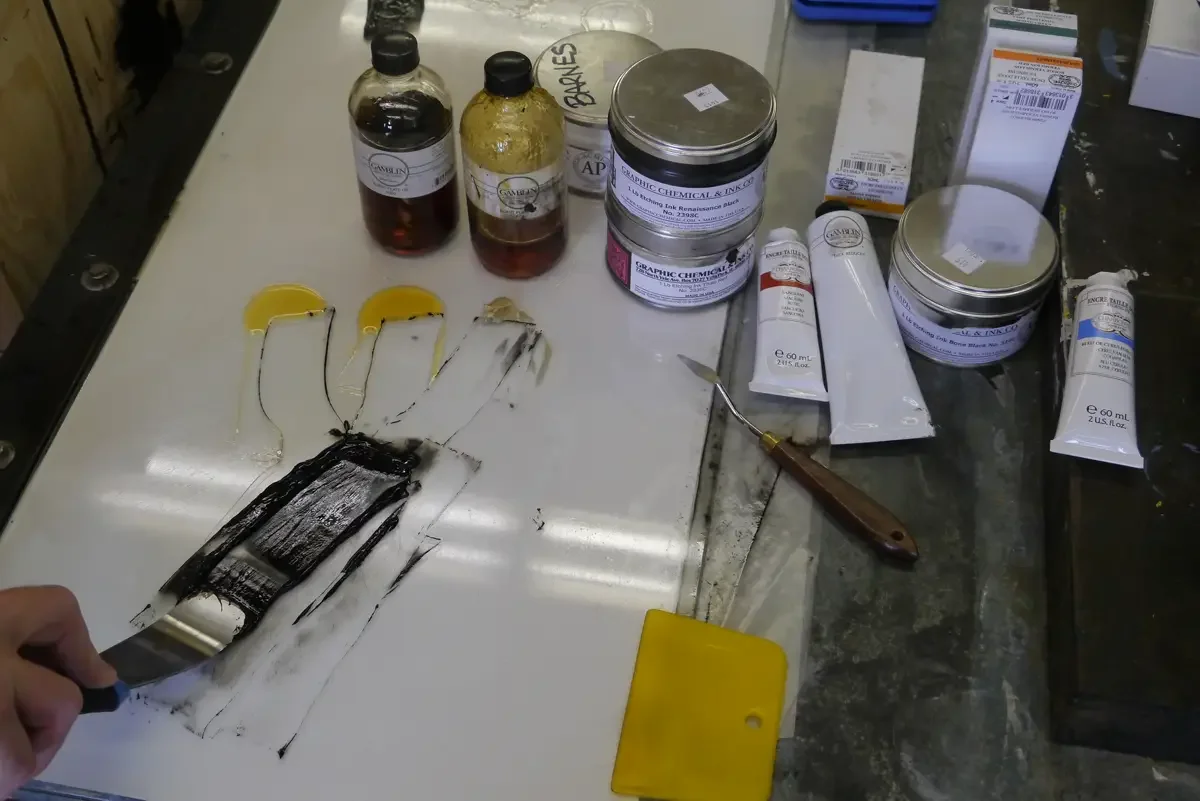
Scrape up the drawn out combination of ink and conditioners.
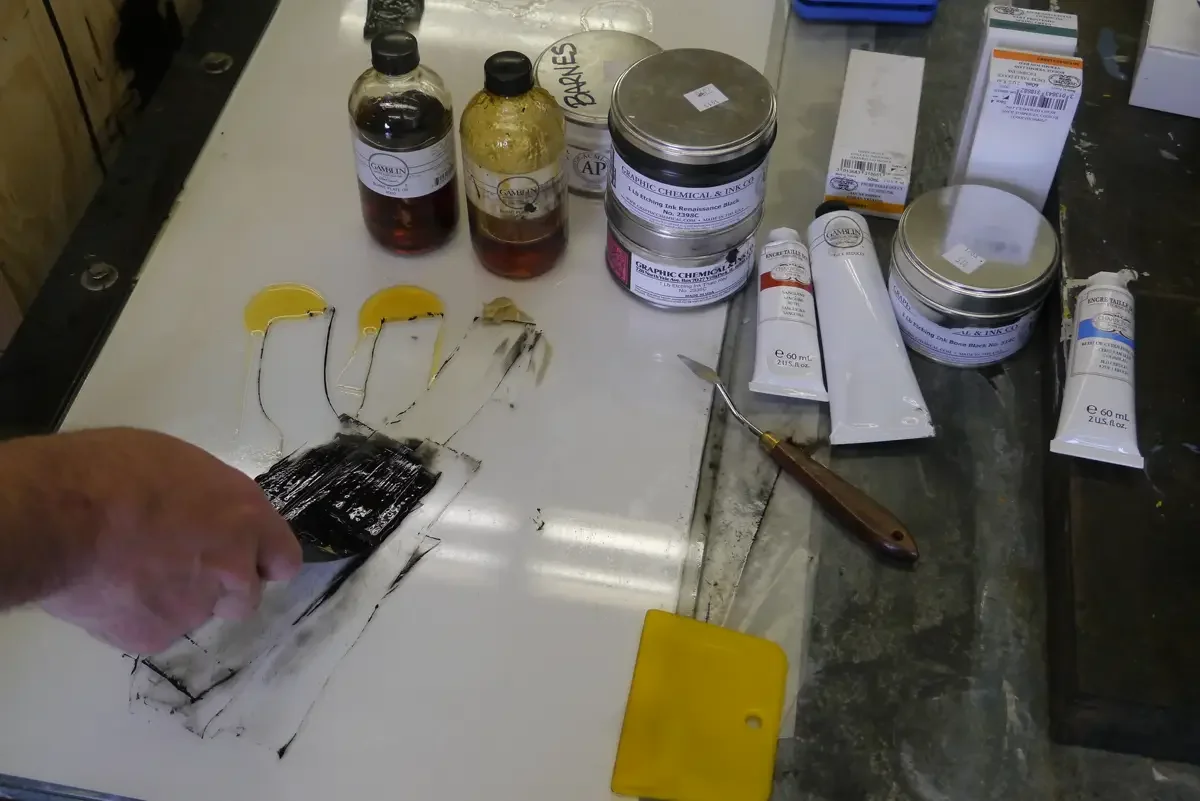
Smash the pile and draw the ink down again.

Repeat the process until everything is combined and the ink is warmed up to a point where it slowly drips off the edge of the scaper like thick cold honey.
Finding the right combination of ink and conditioners takes practice. You can read, watch videos, ask questions, but you still need to go through the process dozens of times to start to understand what works best for your image.
Plate oil is transparent. Quality etching ink as just barely enough oil in it to suspend the pigment. Different pigments require different amounts of oil. Some pigments are more opaque, some more transparent. Oil adds transparency too, so be warned, using a different color ink can yield different tonal ranges with the same plate.
Folding Tarlatan
Tarlatan is cheesecloth with sizing added to make it stiff. Some distributors offer regular tarlatan and stiff tarlatan. I have tried both and don’t notice enough difference to have a strong preference. Tarlatan is used to wipe the majority of the ink off the surface of the printing press, while leaving ink in the recessed aquatint area. It must be folded into a tool that will wipe the surface of the plate, but not dip into the recesses and remove ink from the areas that you intend to print. Some printmakiners fold tarlatan into a square. I prefer to make a ball, then flatten out the smooth side into a working tool.
Tarlatan is relatively inexpensive. Intaglio printmaking processes use a lot of it. I suggest that you buy several yards at a time.
How you fold tarlatan will become unique as you become a better printmaker. No single method is perfectly correct. The goal is to get a smooth wiping surface that does not have any dried ink or other debris that can scratch the plate. You will get better with experimentation and practice.
I have found that fresh tarlatan almost removes too much ink, thus have to be careful with the first print made using that fresh tarlatan. As it get charged with ink, the tarlatan tends to wipe more predictably. It does have a limit. Once it is full of too much ink, it must be folded again around other clean spot.
Many printmakers keep progressively cleaner balls of tarlatan in their workspace during a print run. The ones with the most ink are used for an initial wipe, removing large amounts of ink. The cleaner ones are used towards the end of the wiping process, with less pressure applied. I have a habit of using only one, and end up re-folding it many times.
Spread the tarlatan out on a clean surface. Look for an area that does not have any ink. that will become the outer layer of the ball.
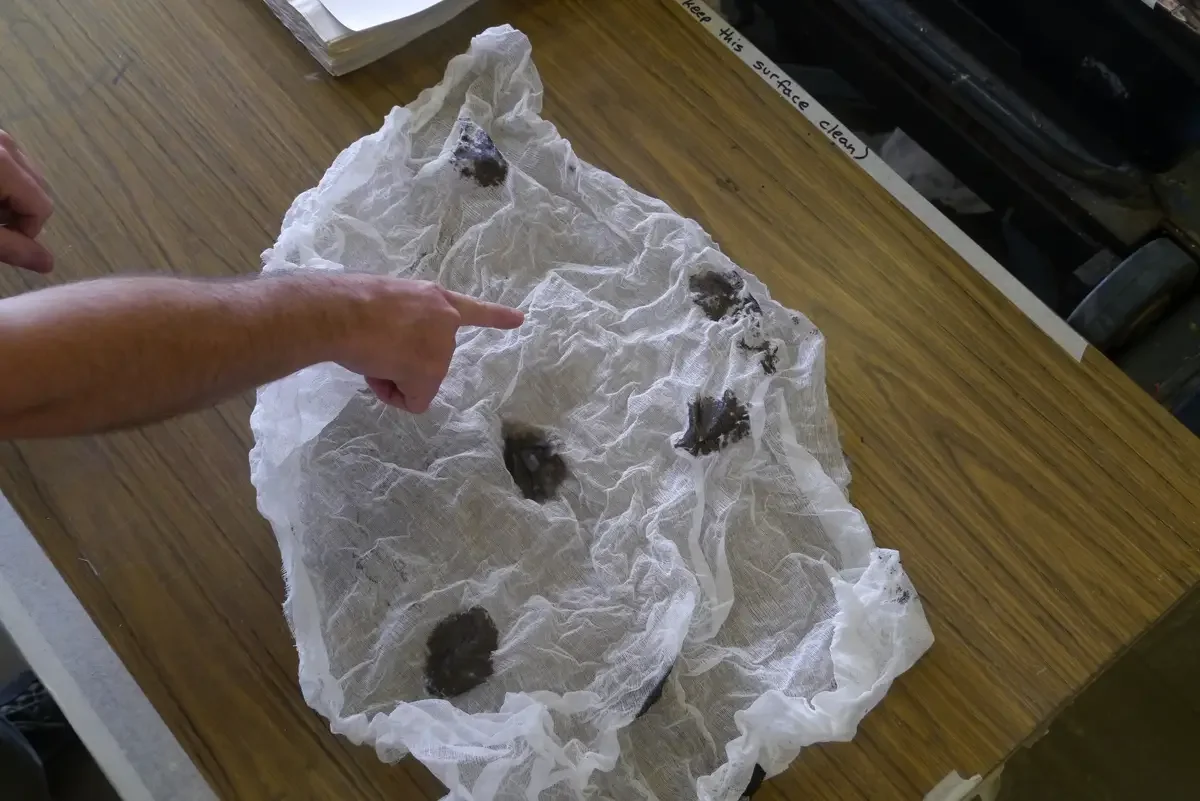
Fold another clean point on to the first one, so that you have two layers of clean tarlatan.

Find a third clean area and fold it on top of the previous two.
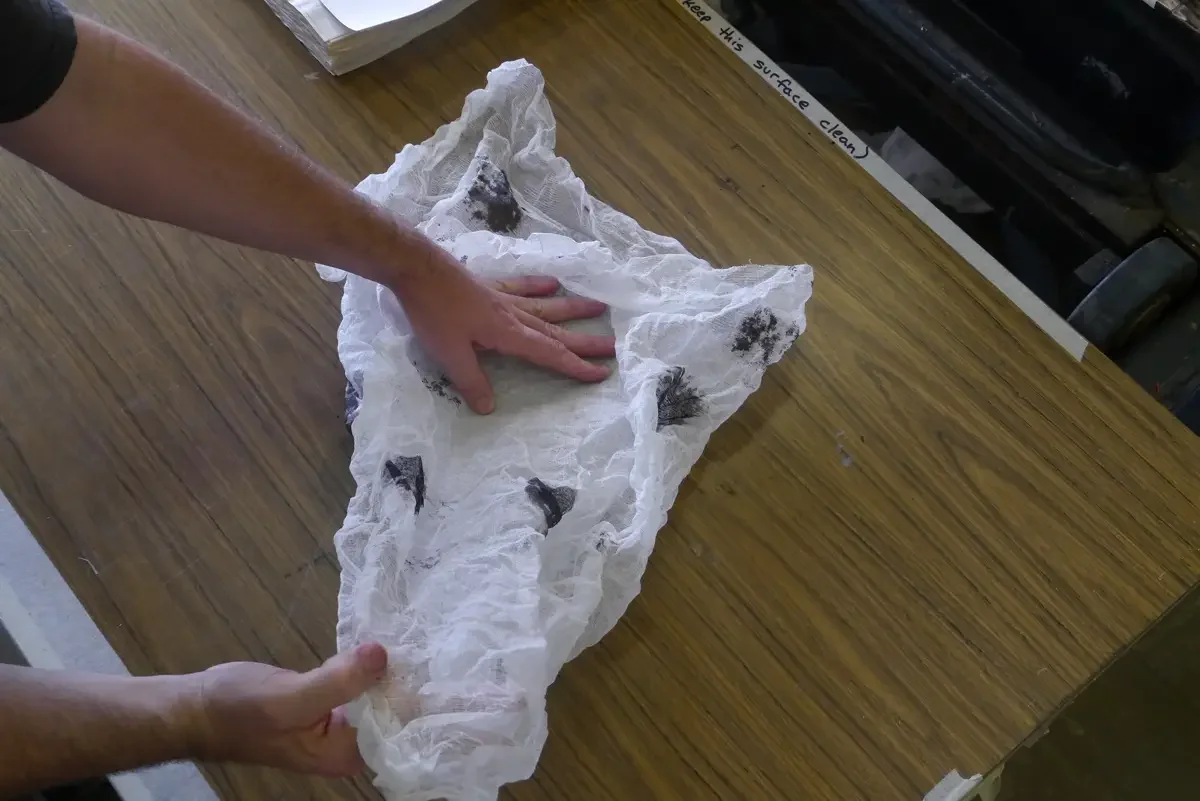
Repeat the folding process, working around the outside so that the first clean point is the center of this newly formed rough circle, with multiple layers of clean cloth behind that first clean section.
A secondary goal is to work all the outer edges, with seams and folds, inside the circle so they are not found as strays hanging out of the final ball you are making.
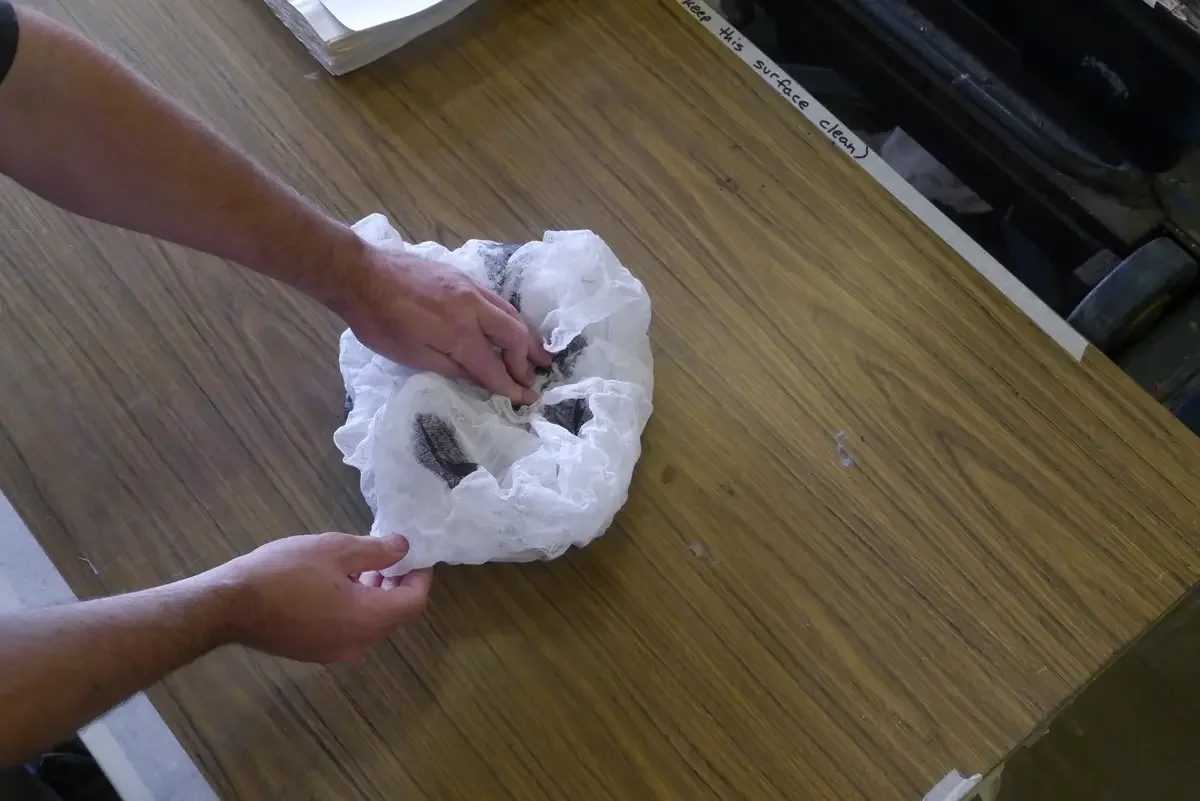
At some point the ball is going to fold in on itself. It won’t look perfect. the key is to make sure that the two outside layers (the first two steps) do not have any folds or tears in them. Any folds or tears will dip into the recessed aquatint areas and pull up ink that you did not intend to remove.
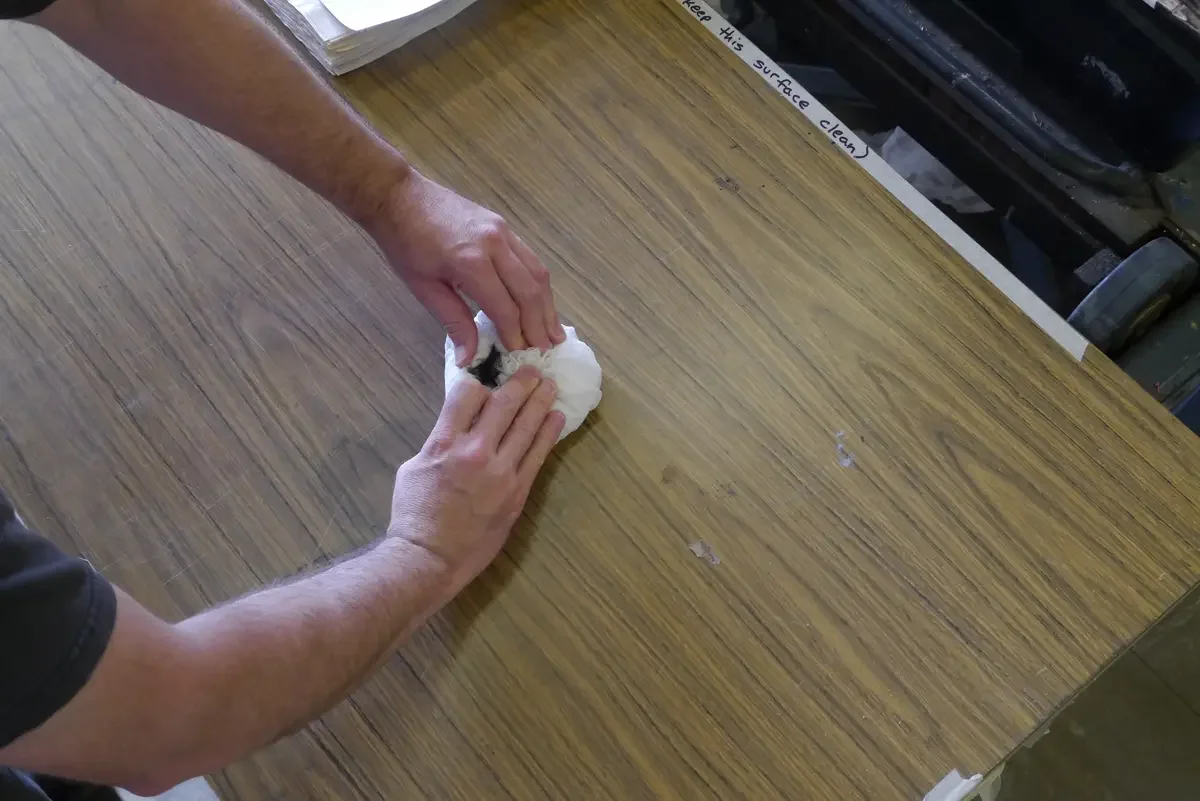
Turn the ball over so the smooth part is facing you. Using your fingers on the opposite side, draw all the loose ends together to make as tight a ball as possible, ensuring that one side is smooth and clean.
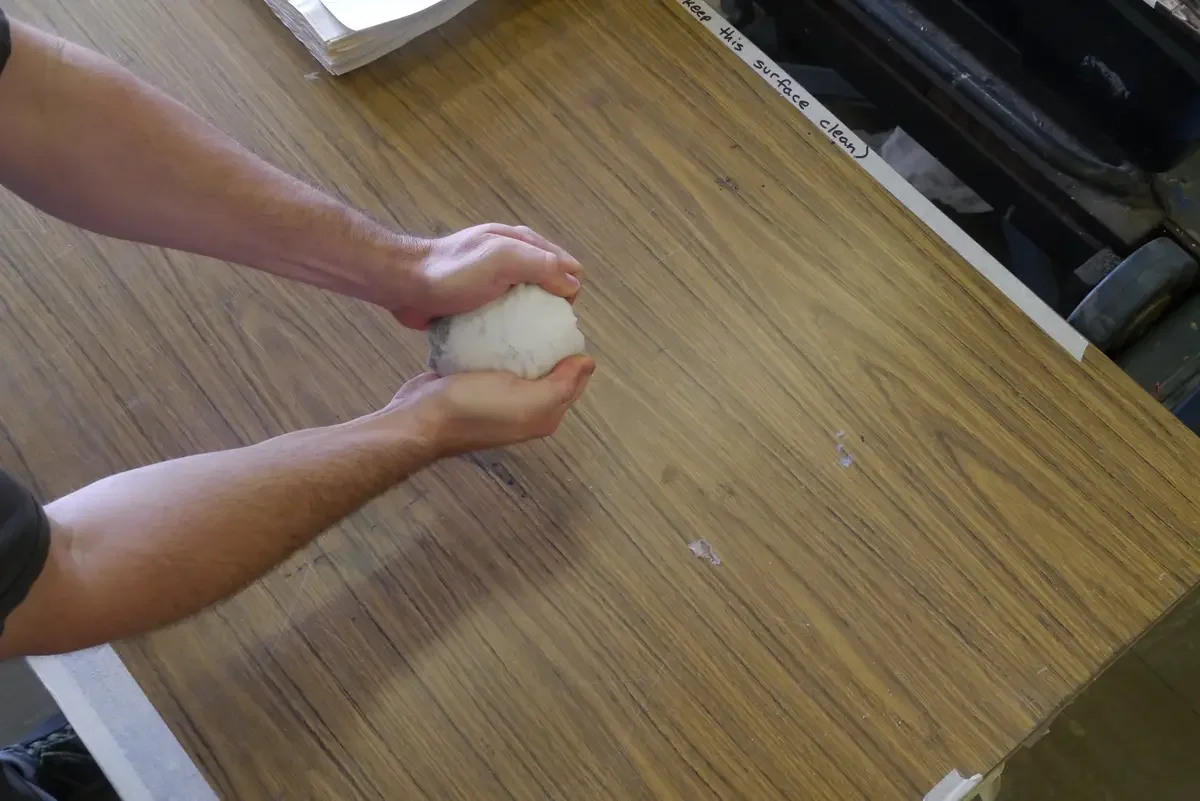
Fingers and palm holding the loose ends together, you need to flatten the smooth side of the ball. Hold it by the folded side so the smooth side is exposed like in this image.
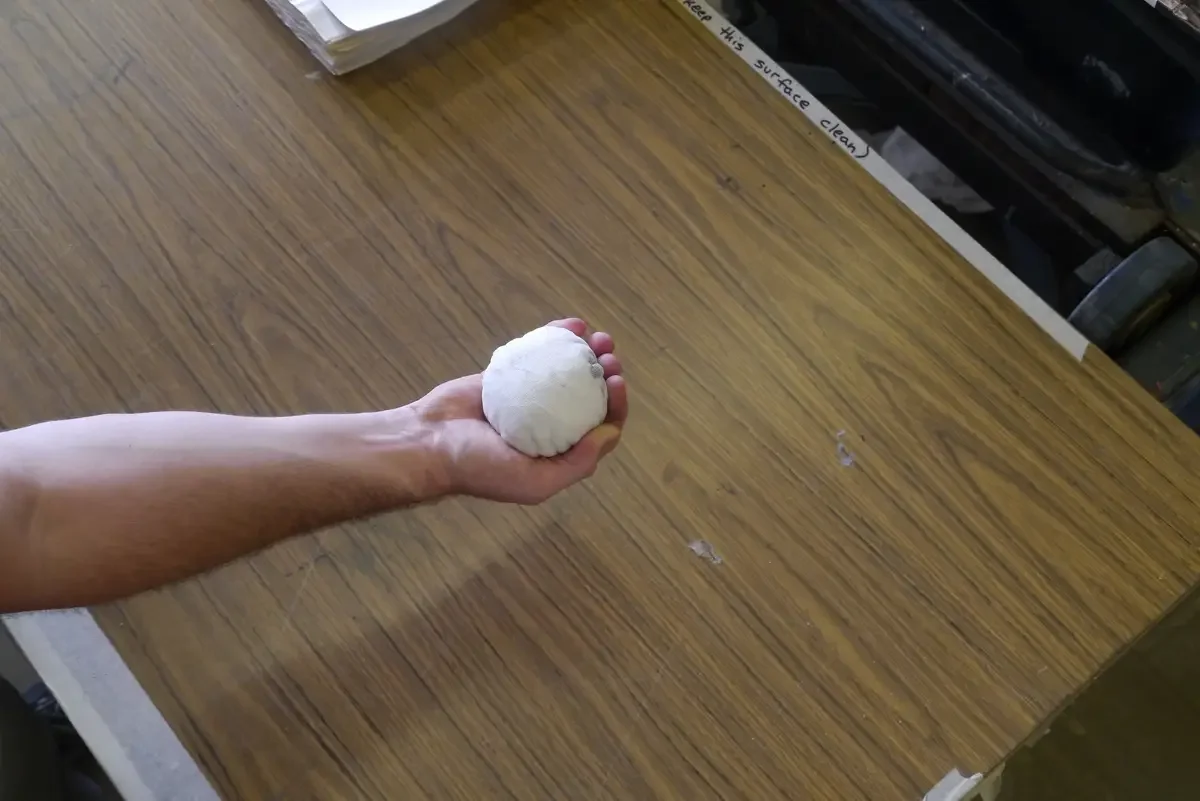
Knock the smooth side of the ball against a clean flat surface a few times. This will create a flat spot. You must hold the open side together with your fingers as you do this.
The flat spot is what will come in to contact with the printing plate as you wipe ink from that plate. The smooth flat spot will remove ink from the surface, and leave ink in the recesses for printing.